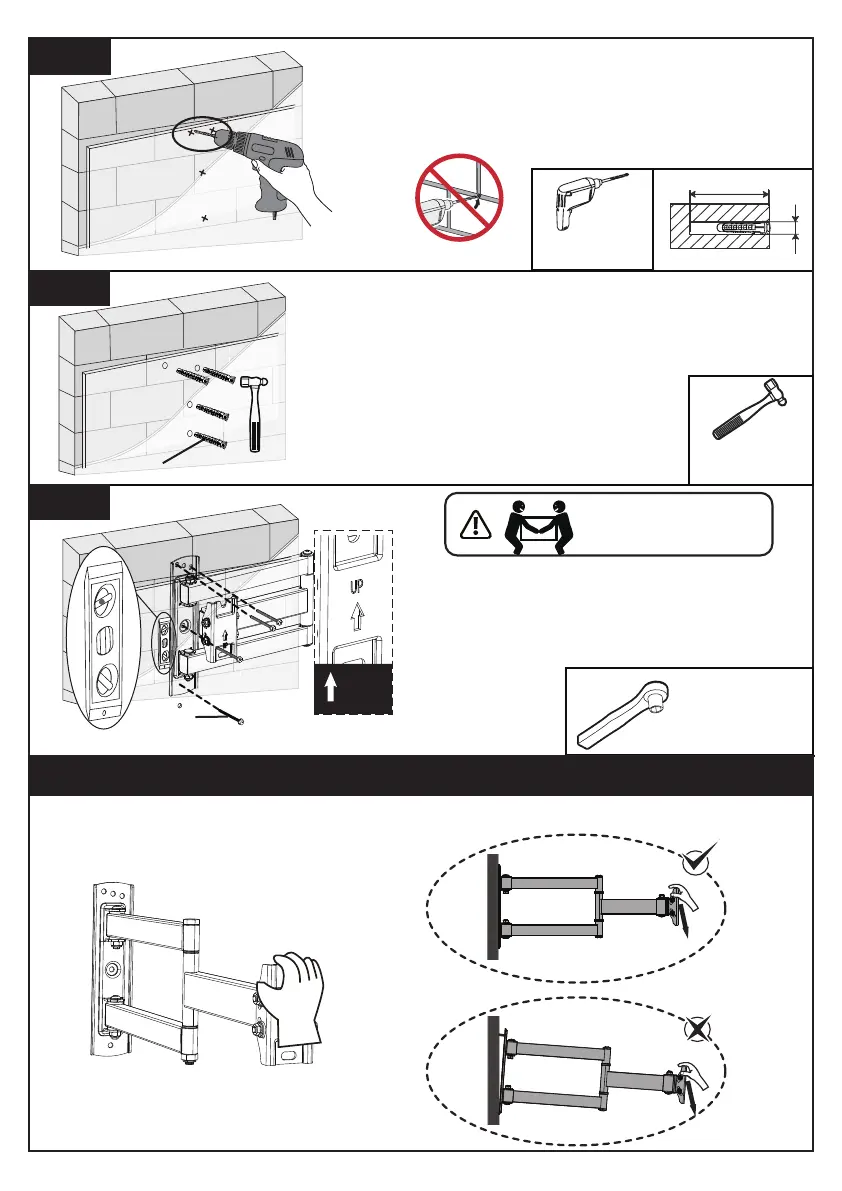
3/8” (10mm)
3” (75mm)
Drill 4 pilot holes using a 3/8” (10mm)
diameter drill bit. Make sure the depth is
not less than 3” (75mm). Never drill into
the mortar between blocks.
3B-2
Use the hammer to knock anchors [A2]
into the wall. Be sure the anchors [A2]
are seated flush with the concrete
surface.
3B-3
3B-4
Install wall plate using lag screws [A1] and
anchors [A2]. Tighten the lag bolts [A1]
only until they are pulled firmly against the
wall plate. DO NOT over-tighten the lag
screws [A1].
7/16” (11mm)
Socket Wrench
(Not Included)
HEAVY! You may need
assistance with this step.
A2
UP
A1
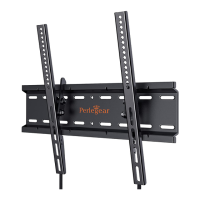
Step 4 Verify Wall Mount Installation by Putting Pressure on Wall Mount
Before attaching the TV to the mount, please try to pull down the TV wall mount with
your hands to check whether it is firmly secured.
Electric Drill
(Not lncluded)
Hammer
(Not lncluded)
01 02 03 04 05 06 07 08 09 10 11
12 13 14 15 16 17 18 19 20 21 22
23 24 25 26 27 28 29 30 31 32 33
34 35 36 37 38 39 40 41 42 43 44
45 46 47 48 49 50 51 52 53 54 55