13
Setting the working wavelength
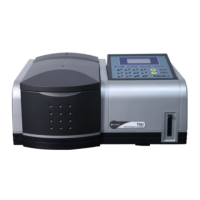
In the case of photometric measurement (Fig.3-1), press【GOTOλ】 to set wavelength, as shown in
Fig.3-9.
(Fig. 3-9)
At the bottom of this page, enter the wavelength by pressing the numeric keys (0~9) and decimal point
【.】. Press 【RETURN】 key to clear the mistakes, and press 【CE】 to clear step by step, then press
【ENTER】 key to confirm . If nothing is to be entered, press 【RETURN】 key to quit this page
directly. The range is from 190 to 1100. If the entered figure exceeds the range, the system will delete what
has been entered automatically and you should start a new entry again.
Auto Zero
In the case of photometric measurement (Fig.3-1), press 【ZERO】 to zero the Abs (or 100%T) at
current wavelength. Put the blank sample into the sample compartment before correction.
Measurement
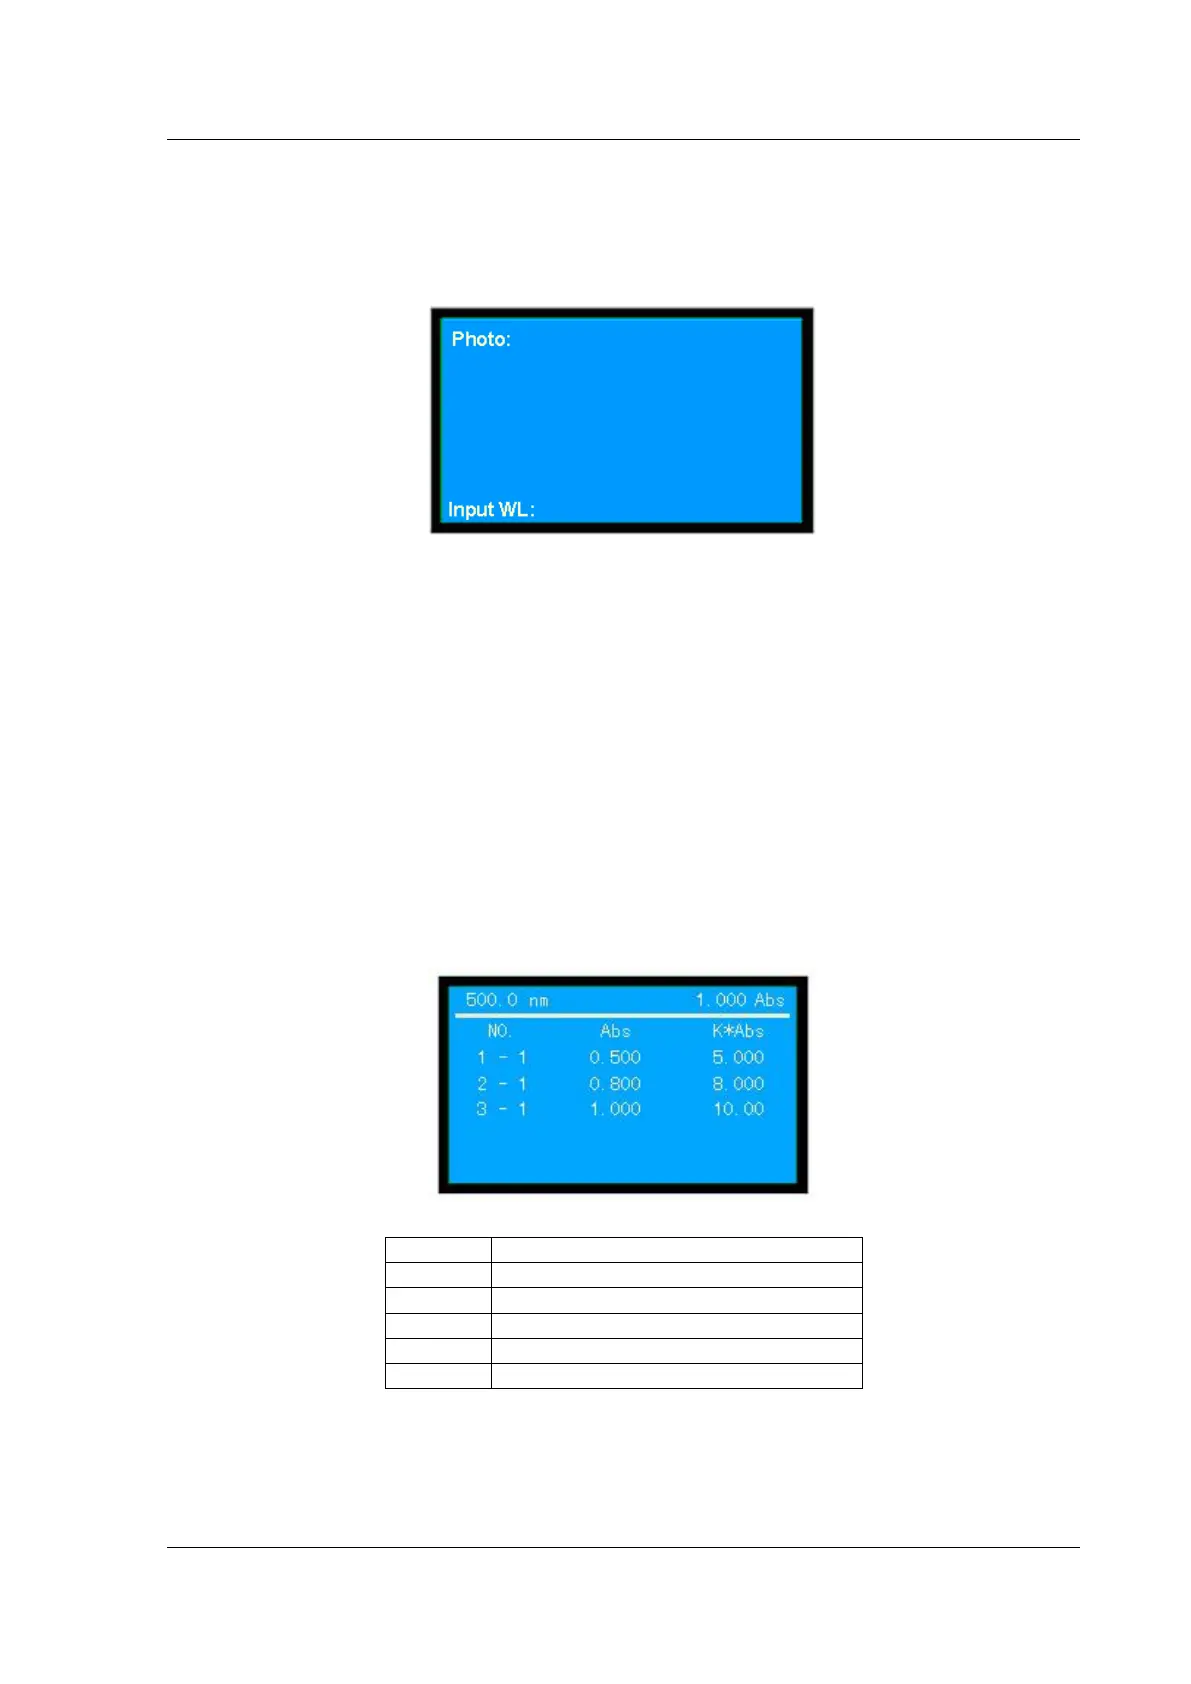
In the case of photometric measurement (Fig.3-1), press 【START】 to gain access to the measurement
menu, then press 【START】 again to measure the samples at current wavelength in the auto cell changer
or the fixed cell holder, as shown in Fig.3-10.
(Fig. 3-10)
The actual measured value of current cell
The first measurement value of No.1 Cell
Factor K multiply by the current Abs
Five rows of data can be displayed on the screen, the others can be displayed by pressing
【▲】
and
【▼】
.
Printout