STEP 5 - OPERATION
STEP 6 - CLEANUP
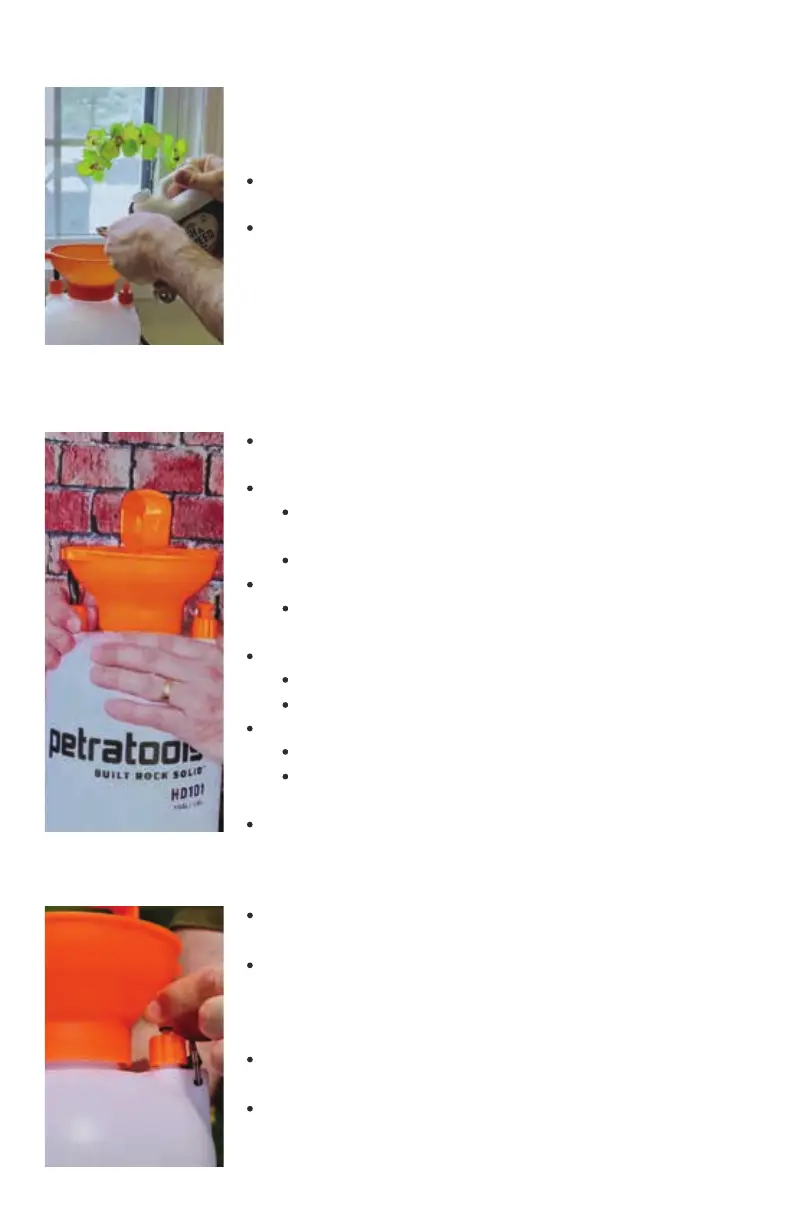
STEP 4 - ADDING SOLUTION
Carefully pour the solution through the wide-mouth lid of
the tank.
After filling the tank, re-thread the pump assembly back
into the tank and tighten clockwise.
5
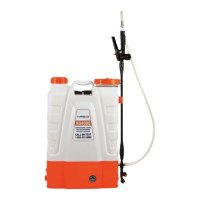
Check Connections: Make sure the pressure relief valve
and hose connections are tight.
Prepare the Pump Handle:
Turn the pump handle to align the tabs with the slots
in the pump housing.
Pull the handle straight up.
Pressurize the Sprayer:
Pump the handle up and down 20-30 times or until it
becomes difficult to pump.
Secure the Pump Handle:
Push the handle down fully, aligning the tabs.
Turn the handle clockwise to lock it into the lid.
Begin Spraying:
Squeeze the valve handle to start spraying.
If the spray is weak or inconsistent, rotate the end of
the orange nozzle to adjust the spray pattern.
Pump again as needed to maintain pressure.
Lift the pressure release valve before opening the tank to
remove any remaining pressure in the tank.
When changing solutions, sprayer should be thoroughly
cleaned with soap and water to ensure smooth operation
during next use. Soap and water should be sprayed through
fully assembled unit to clean the hose, wand and nozzle.
Clean your sprayer after use with warm, soapy water to
ensure it is clean and ready for your next use.
Leaving solutions in the sprayer for extended periods can
result in clogged filters or nozzle.
WHEN USING GLUES THE SPRAYER SHOULD
BE CLEANED IMMEDIATELY AFTER USE.