Quick Tip: When you’re not using the collar, you’ll want to turn it off to increase the battery life.
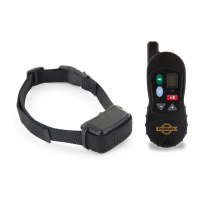
Test the Remote Trainer
We recommend you experience firsthand how the static stimulation functions. Always begin at the lowest level, and
increase the intensity up to your personal comfort level.
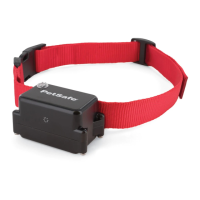
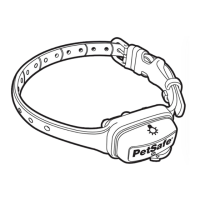
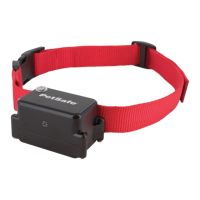
1. Place one finger over both contact points of the training collar.
2. Hold your remote approximately 2 ft. from the training collar. Starting at level 0, press the vibration button
continuously for 1 to 2 seconds. You should feel continuous vibration. There is only one level of vibration.
3. Increase the level to 1 for static stimulation. At this level you may not feel the stimulation. NOTE: Continuous
stimulation will transmit for no more than 10 continuous seconds. To reactivate, release and repress the button.
4. Increase the level until the sensation begins to feel uncomfortable.
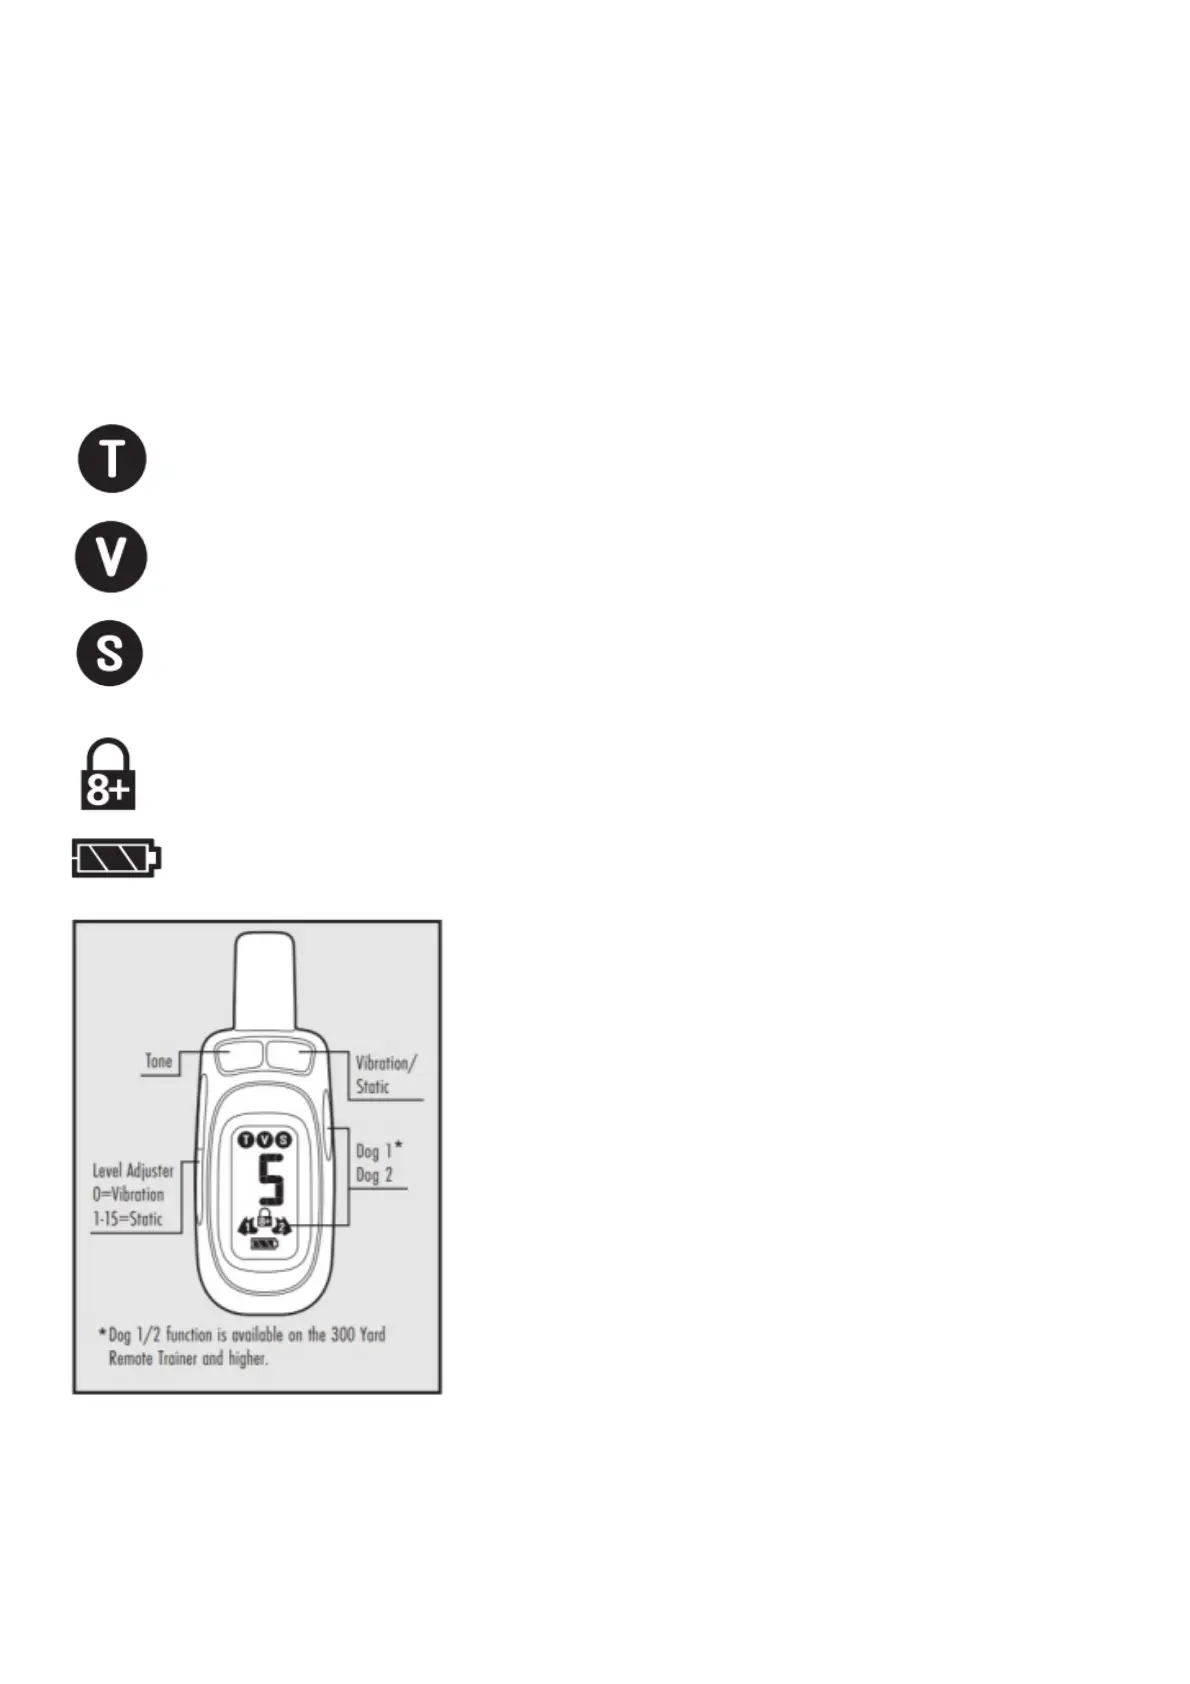
Tone Symbol: Delivers a tone with non-adjustable volume to the collar.
Vibration Symbol: Sends 1 non-adjustable level of vibration stimulation to the collar.
Static Symbol: Delivers up to 15 levels of static stimulation to the collar that can be adjusted with the side
button.
Lock Symbol: Indicates static stimulation levels 8-15 are locked or unlocked.
Battery Indicator: Indicates the amount of battery remaining in the remote.
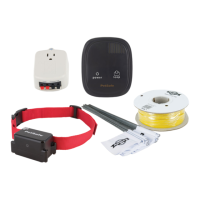
Pairing a Second Collar with the Remote
Note: available on the 300 Yard trainer or higher.
1. Use the Dog 1/2 button on the remote to select Dog 2. With the remote turned on and the collar turned off,
press and hold the on/off button on the collar.
2. After about 5 seconds the LED on collar will turn off indicating that it is ready for pairing.