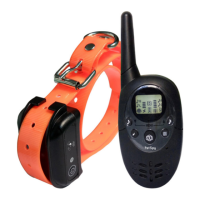
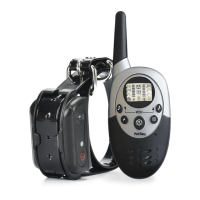
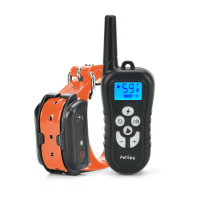
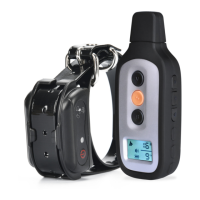
PETSPY ADVANCED DUAL DOG TRAINING COLLAR OPERATION GUIDE
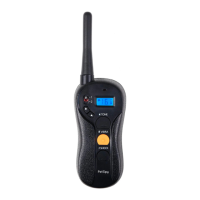
Preparing Remote Transmitter for your rst use:
•Please charge the Remote Transmitter for approximately 30 minutes.
•e Charging Port is located on the top of the transmitter (next to antenna).
•During the charge, the Battery Indicator icon will be ashing. When the battery is fully
charged the indicator will turn solid, notifying you that the charging is completed.
REMOTE TRANSMITTER OPERATION
1. Press the Power Button to turn on the remote. Press and hold the Power Button for
about 3 seconds to turn it o.
2. You can select which Receiver is being controlled (A, B, or A&B) by pressing the
Menu/Mode Button.
3. Press the Vibration Button to deliver the Vibration Stimulation to your dog.
4. Press the Static Shock Button to deliver the Static Shock Stimulation to your dog.
5. Press the Receiver Tone Button to deliver beeping noise to your dog during the
Sound Training.
6. e Remote Transmitter will enter into Standby Mode if not operated for 2 minutes
and will turn O aer 5 minutes.
7. In Standby Mode, press Menu/Mode Button to wake the Transmitter up.
REMOTE TRANSMITTER PROGRAMMING
1. Turn ON the Remote Transmitter by pressing the Power Button
2. Press and Hold the Menu/Mode Button for 3 seconds until you hear a beep to enter
the Programming Mode. e Receiver to be programmed (A, B, or A&B) will start
ashing. If Receiver A is ashing, but you would like to program Receiver B or both Re-
ceivers A&B, simply use 2 Tone Buttons (upper le and upper right) to switch between
the Receivers.
3. When desired Receiver is selected to be programmed (A, B, or A&B), press Menu/
Mode Button to start setting it up. e setup process starts with the Receiver Tone
Level. Use 2 Tone Buttons (upper le and upper right) to adjust its Level and then press
Menu/Mode Button to conrm. Next, it will take you to the Vibration Intensity Level
setup, Static Shock Intensity Level setup, and nally to the Transmitter Tone Level
setup.
4. When Programming is complete, press and hold Menu/Mode button to save your
settings.
5. You can repeat Steps 2-4 to program Receiver A, Receiver B, or both Receivers A&B.