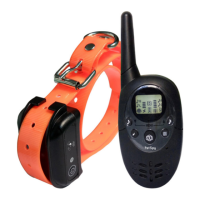
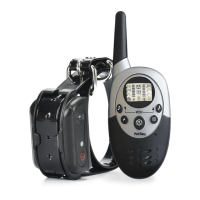
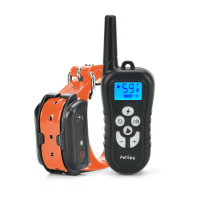
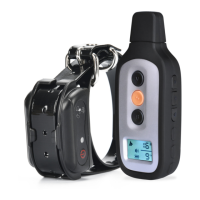
TESTING PETSPY DOG TRAINING SYSTEM
Static Shock Test:
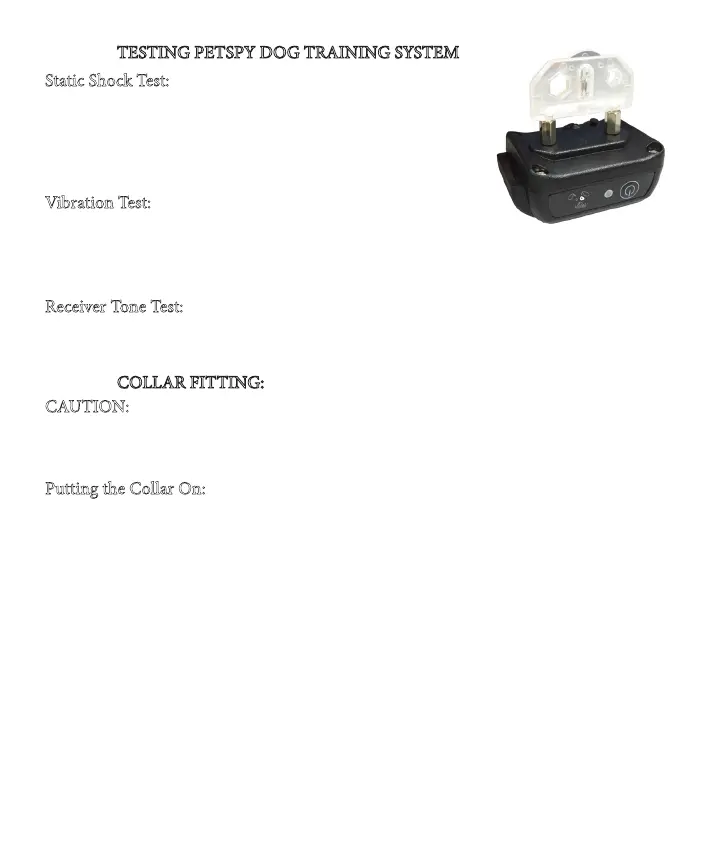
•Take the included Test Light Kit and put its metal wire
on the Receiver Collar’s Contact Points.
•Press the Static Shock Button on the Remote Transmitter.
•e Test Light will light up indicating that Shock is working.
•e higher the Static Shock level is the brighter it should be.
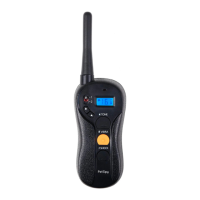
Vibration Test:
•Press the Vibration Button on the Remote Transmitter.
•e Receiver Collar will vibrate indicating that Vibration Stimulation is working.
•Try to adjust the level of vibration using the Knob and see how the intensity is chang-
ing.
Receiver Tone Test:
•Press the Receiver Tone Button on the Remote Transmitter.
•e Receiver Collar will beep indicating that Receiver Tone is working.
COLLAR FITTING:
CAUTION: proper tting and placement of PetSpy Dog Training Collar is important
for eective training. e collar must t your dog secure, but loose enough to allow
one nger space between the collar and your dog’s neck. e Contact Points must have
direct contact with your pet’s skin on the underside of dog’s neck.
Putting the Collar On:
1. Have your dog standing comfortably.
2. Center the Contact Points beneath the dog’s neck and touching the skin.
3. e Collar should t secure, yet loose enough to allow one nger space between the
collar and dog’s neck.
4. Allow your dog to wear the collar for several minutes and check the tment again
when your dog becomes more comfortable wearing the collar.
Please refer to PetSpy Dog Training Guide E-Book for more dog training tips. If for
some reason you don’t have it - just send us an email or visit
www.petspystore.com
to
download it - it is free!