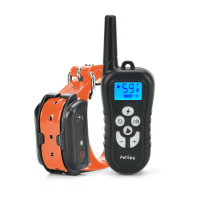
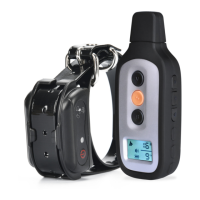
PREPARING RECEIVER COLLAR FOR YOUR FIRST USE:
Make sure that Receiver Collar is charged before proceeding to the training:
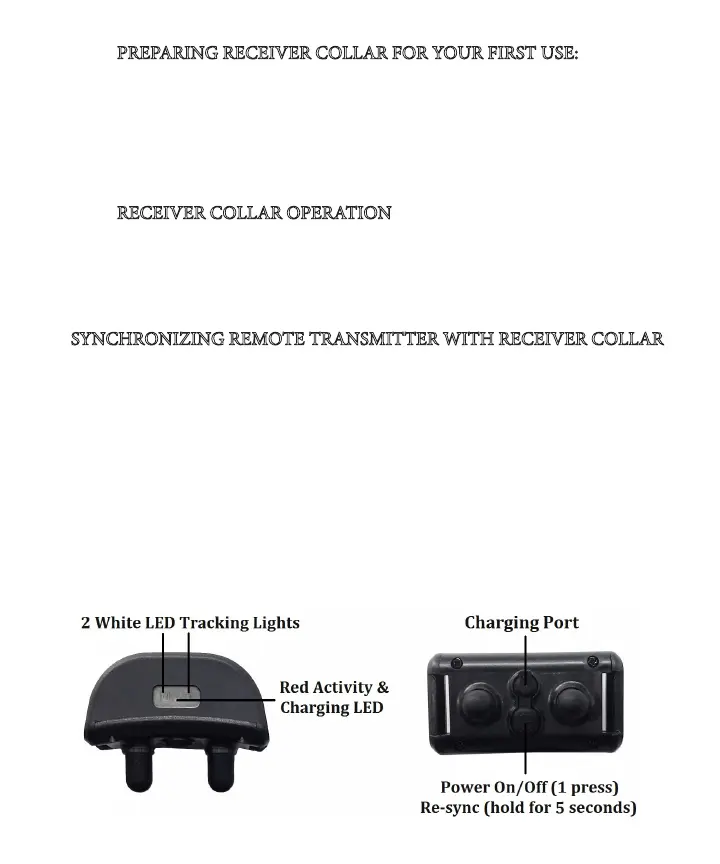
1. Carefully open the rubber cover over the charging port and connect the charger.
2. Red LED light will start ashing to indicate that receiver is charging.
3. Red LED indicator will stop ashing and turn solid red when collar is fully
charged. It takes about 2-4 hours.
4. Put the rubber cover back over the charging port to ensure collar is fully waterproof.
RECEIVER COLLAR OPERATION
1. When Receiver is charged and turned on, it always stays in the Standby Mode
waiting for any command to activate it. Red ashing LED indicates that receiver is
active.
2. If receiver is charged and turned on but it still does not respond to any com-
mand from remote - it has to be re-synchronized.
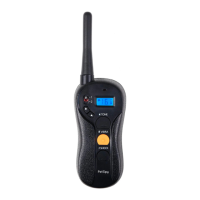
SYNCHRONIZING REMOTE TRANSMITTER WITH RECEIVER COLLAR
Sometimes the collar can loose connectivity with remote. e x is pretty quick
and simple. Follow these steps to re-synchronize the system:
1. Make sure that both the Transmitter and Receiver are fully charged and turned on.
2. Press and hold the Power button on the Receiver Collar for about 5 seconds to
enter the Synchronization Mode - the receiver will beep rst and right aer that
red LED will start ashing.
3. While red LED is ashing, send any correction command from remote. We rec-
ommend you to send a Vibration command by pressing and holding the Vibration
button on remote until you feel that collar is vibrating. If no command is sent, the
ashing will stop aer 15 seconds.
4. e system is now resynchronized - try to send any command to test it.
If you have 2 or 3 collars, repeat this steps for all collars on channels 1, 2 and 3.