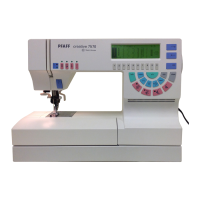
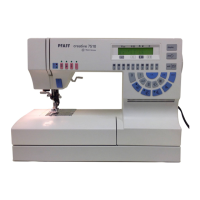
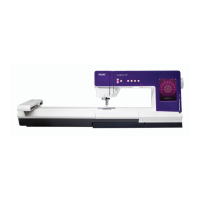
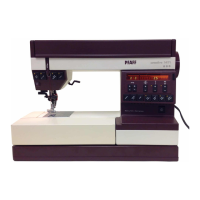
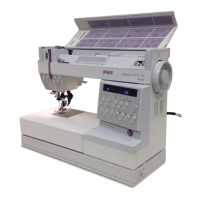
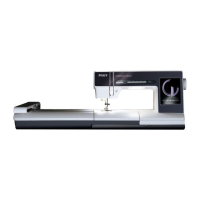
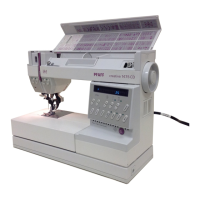
Do you have a question about the Pfaff Creative 7550 and is the answer not in the manual?
Recommended operating environment and handling precautions for the sewing machine.
Guidelines for cleaning the machine's housing and display screen.
Essential safety measures for operating and maintaining the sewing machine.
Overview of the sewing machine's technical and functional specifications.
Technical specifications for the motors integrated into the sewing machine.
Procedure to adjust the tension of the toothed drive belt.
Adjusting the feed dog driving shaft for correct sideways movement.
Steps to ensure the feed motion mechanism operates with correct timing.
Aligning the feed dog's lateral position within the feed slot.
Correctly setting the vertical height of the feed dog teeth.
Adjusting the synchronizer to control various machine functions.
Adjusting the presser bar to the correct height for sewing.
Positioning the top feed foot relative to the feed dog.
Setting the correct vertical height for the top feed foot.
Ensuring correct needle centering for straight and zigzag stitches.
Ensuring correct needle centering in the needle plate hole.
Precisely setting the gap between the hook point and the needle.
Adjusting bevel gears for smooth operation and accuracy.
Setting the timing of the hook mechanism relative to the needle.
Setting the needle bar height for proper hook engagement.
Adjusting the finger that guides the bobbin case into position.
Adjusting the needle threader's height and lateral position.
Adjusting the bobbin winder to stop at the correct thread level.
Setting the correct tension for the bobbin thread.
Adjusting needle thread tension for proper stitch interlacing.
Adjusting the thread check spring for correct thread slackening.
Ensuring uniform stitch length in both forward and reverse sewing.
Making a sample to verify stitch quality after adjustments.
Dismantling and reassembling the needle thread tension mechanism.
Replacing the pressure spring within the handwheel release.
Instructions for disassembling, cleaning, and reassembling the sewing hook.
Guidelines for routine cleaning and oiling of the sewing machine.
Detailed procedure for replacing the toothed drive belt.
Instructions for replacing bevel gears, noting pair replacement.
Procedure for replacing the main bottom circuit board.
Replacing the thread monitor unit along with the free-arm cover.
Steps for replacing the machine's control and programming panel.
Procedure for replacing the synchronizer unit.
Instructions for removing and installing the sewing machine motor.
Replacing the circuit board associated with the motor.
Procedure for replacing the motor pinion, often done with rotor exchange.
Replacing the cable reel mechanism within the foot control unit.
Replacing the stepping motor for sideways needle bar movement.
Replacing the stepping motor that controls the feed movement.
Procedure for replacing the stepping motor controlling transverse drive.
Instructions for replacing the buttonhole sensor unit.
How to initiate and perform a self-test on the sewing machine.
Procedures for entering codes and changing the display language.
Accessing and using pattern adjustment and buttonhole features.
Detailed table outlining steps for machine self-testing.
Specific test procedures for diagnosing the buttonhole sensor.
Cross-references error messages to potential replacement parts.
A flowchart to diagnose electronic faults in the Pfaff Creative 7550 CD.
A table listing common faults and suggested replacement parts.
Steps for testing the Creative Designer with the Pfaff 7550 CD.
Information on electrical safety testing standards and regulations.
Detailed steps for performing electrical safety tests using specific equipment.
Procedures for testing stray current and handling inadmissible test values.
| Built-in Fonts | 5 |
|---|---|
| Stitch Width | 7 mm |
| USB Port | Yes |
| Automatic Thread Cutter | Yes |
| Built-in Memory | Yes |
| Type | Sewing and Embroidery Machine |
| Stitches | Decorative |
| Display | Color Touch Screen |
| Bobbin | Top-loading |
| Embroidery Designs | 282 built-in embroidery designs |

