5
1. Slide the embroidery hoop into the hoop attach-
ment from front to back until it clicks into place.
2. Touch “OK” to conrm.
3. Remove the presser foot and the presser foot
ankle.
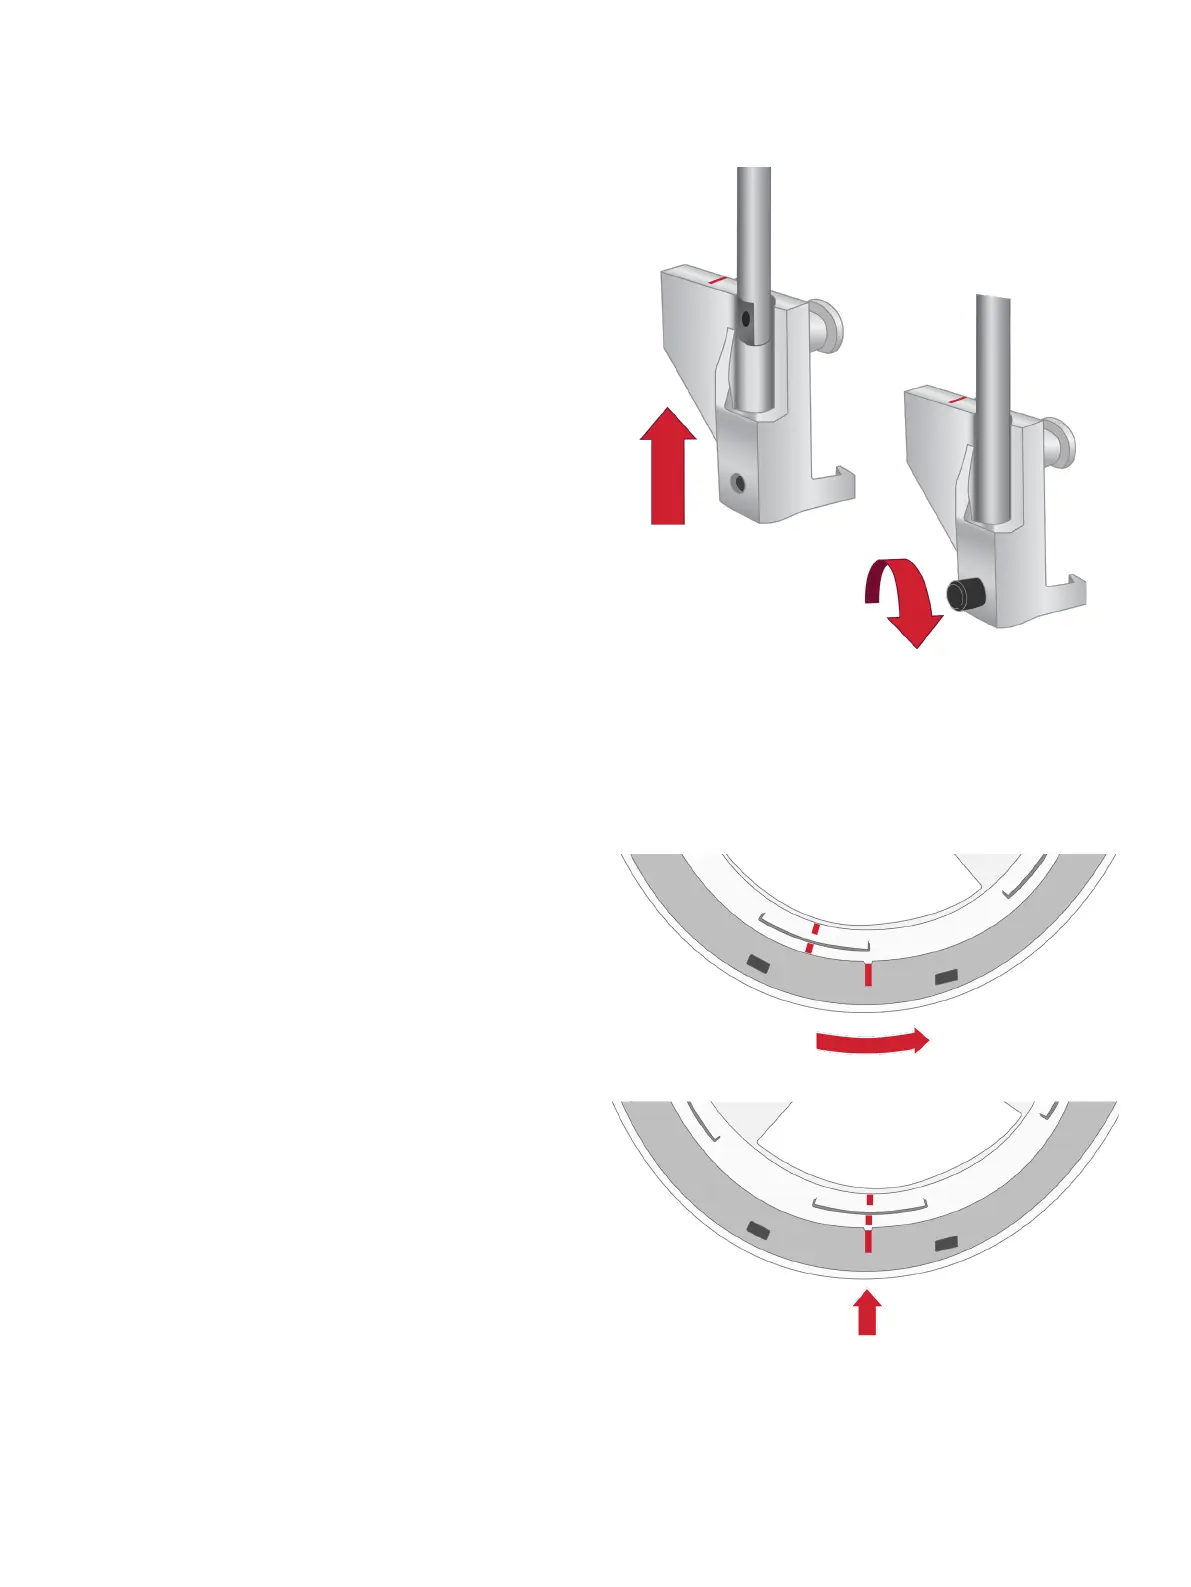
4. Position the attachment holder onto the presser
foot bar from below.
5. Insert and tighten the screw.
Attach the Hoop and Fasten the
Holder
Before attaching the Embellishment Attachment to the
machine, make sure that the red markings are correctly
aligned.
Two markings must match; the marking on the inner
guide and the marking on the base unit.
If the inner markings don’t match, hold the Embellish-
ment Attachment with one hand, turn the inner guide
with the other until the two red markings match.
Do not rotate the attachment manually when it is
plugged in to the machine.
Align the Markings on the
Embellishment Attachment