1-6-6 Z11PALEA
11. Sub-Brightness Adjustment
Purpose:
To get proper brightness.
Symptom of Misadjustment:
If Sub-Brightness is
incorrect, proper brightness cannot be obtained by
adjusting the Brightness Control.
Note:
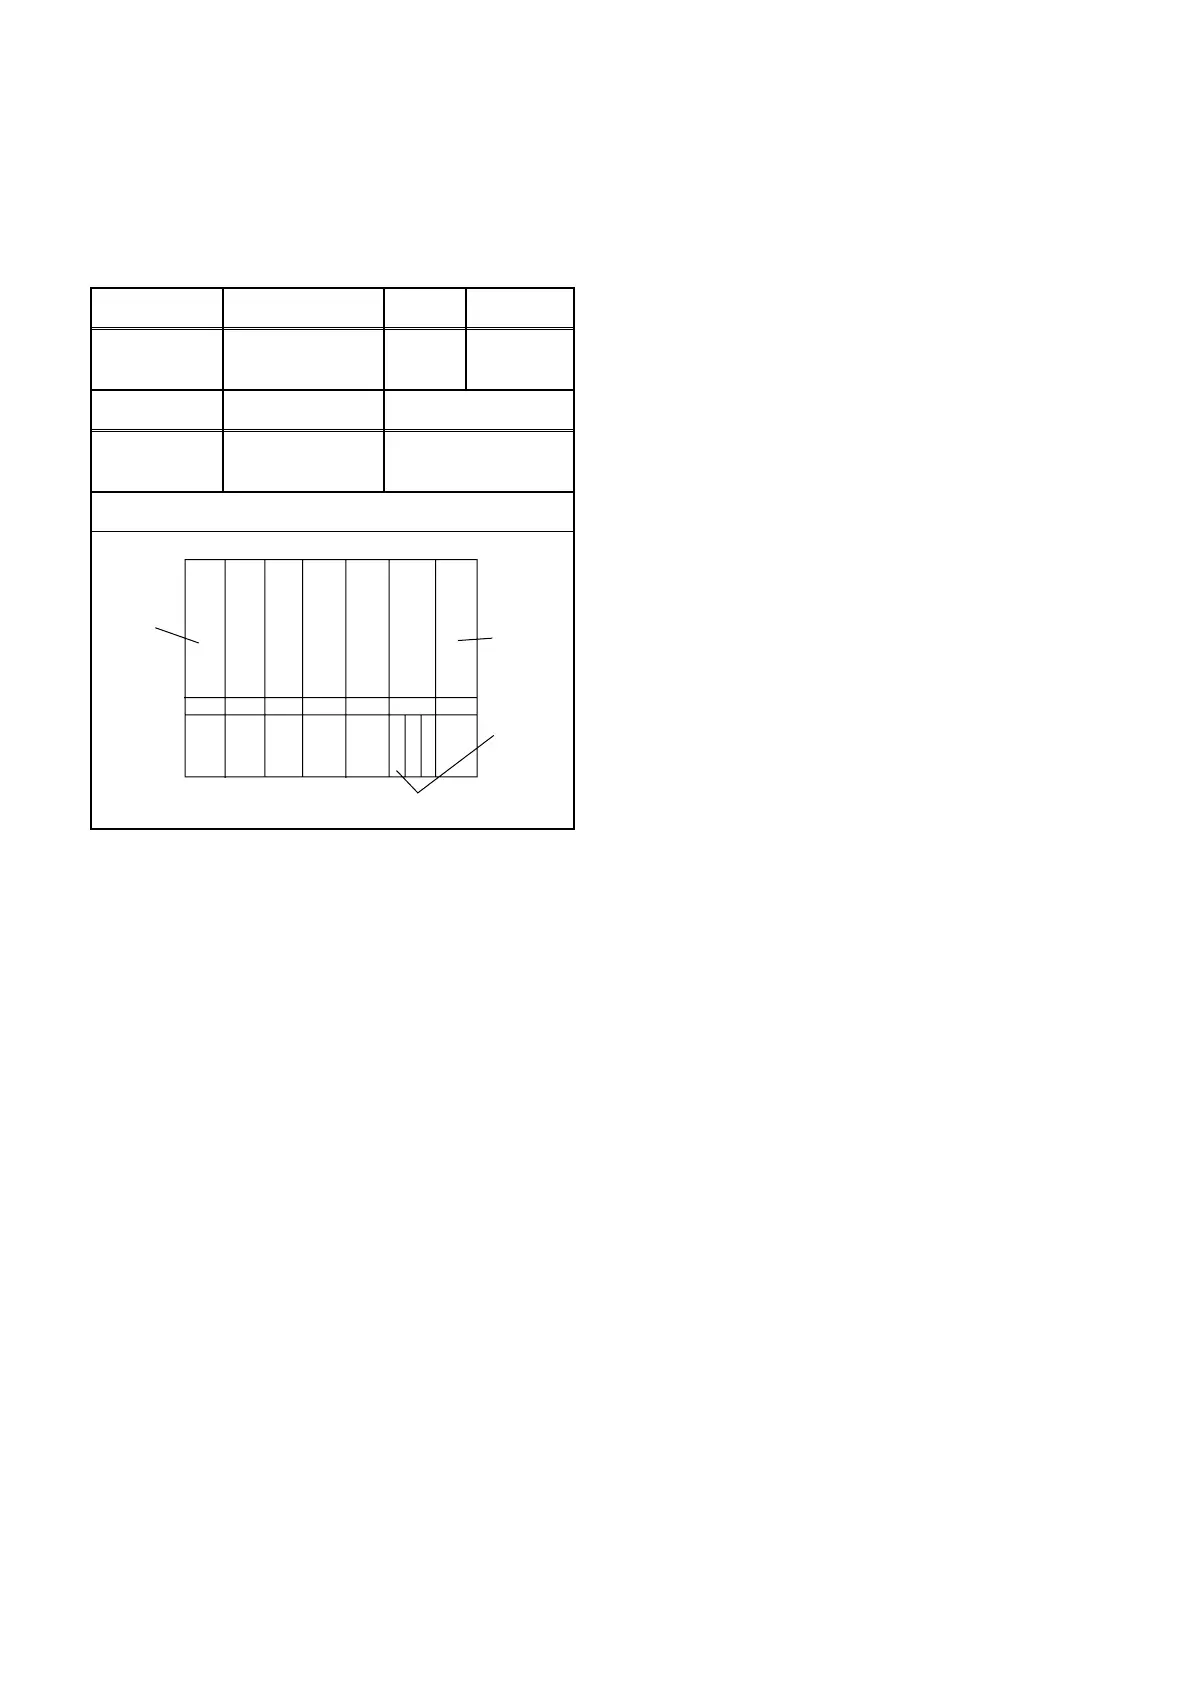
Bar (A) in Fig. 7 --- 0 IRE
1. Enter the Service Mode. (See page 1-6-1.)
Then input SYMPTE signal from RF input.
2. Press MENU button. (Each time MENU button is
pressed, display will change BRT, CNT, COL, TNT,
and SHP in that order.) Select BRT and press [P+/
P-] buttons so that the bar (A) in Fig. 7 is just visi-
ble.
3. Turn the power off and on again.
12. Setting for CONTRAST,
COLOR, TINT and SHARP
Data Values
General
1. Enter the Service mode. (See page 1-6-1)
2. Press MENU button. (Each time MENU button is
pressed, display will change BRT, CNT, COL, TNT,
and SHP in that order.)
CONTRAST (CNT)
1. Press "MENU" button on the remote control unit.
Then select CNT display.
2. Press [P+/P-] buttons on the remote control unit so
that the value of "CONTRAST" (CNT) becomes 85.
COLOR (COL)
1. Press "MENU" button on the remote control unit.
Then select "COLOR" (CLR) display.
2. Press [P+/P-] buttons on the remote control unit so
that the value of "COLOR" (COL) becomes 55.
TINT (TNT)
1. Press "MENU" button on the remote control unit.
Then select "TINT" (TNT) display.
2. Press [P+/P-] buttons on the remote control unit so
that the value of "TINT" (TNT) becomes 57.
SHARP (SHP)
1. Press "MENU" button on the remote control unit.
Then select "SHARP" (SHP) display.
2. Press [P+/P-] buttons on the remote control unit
and select "1."
Test point Adj. Point Mode Input
Screen
P+/P-
buttons
--- SYMPTE
Tape M. EQ. Spec.
---
Pattern
Generator
See below
Figure
Black
White
This bar
(A) just
visible
ABC
Fig. 7