11EN
5 Allow the pre-lter to air dry
thoroughly before placing back in
the air purier.
Note
• To optimize the lifetime of the
pre-lter, make sure it air dries
completely after cleaning.
• Wash your hands after handling the
lter.
6 Put the pre-lter back into the air
purier (g. h).
Note
• Make sure the side with the two
clips is pointing towards you, and
that all hooks of the pre-lter are
properly attached to the air purier.
7 To reattach the front panel, press
the top part of the panel onto the
top of the air purier (1). Then, gently
push the panel against the body of
the air purier (2) (g. i).
8 Put the plug of the air purier in the
wall outlet.
9 Touch and hold the reset button
for 3 seconds to reset the pre-lter
cleaning time (g. {).
10 Wash your hands thoroughly after
installing lters.
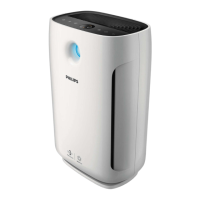
6 Replacing the
filters
Filter replacement
indicator
This air purier is equipped with a
lter replacement indicator to make
sure that the air purication lter is in
optimal condition when the air purier
is operating. When the lters need to be
replaced, the lter code displays on the
screen (see Filter alert chart).
If the lters are not replaced in time,
the air purier will stop operating and
automatically lock to protect the air
quality in the room. Replace the lters
as soon as possible according to the
lter code.
Replacing the lters
Note
• The air purication lters are not
washable nor vacuum cleanable.
• Always turn o the air purier and
unplug from the electrical outlet
before replacing the lters.
• Do not clean the lters with a
vacuum.
• If the pre-lter is damaged, worn or
broken, do not use. Visit
www.philips.com/support or contact
the Consumer Care Center in your
country.
 Loading...