8EN
3 Get started
Caution
•
Use of controls or adjustments or performance of
procedures other than herein may result in hazardous
radiation exposure or other unsafe operation.
Always follow the instructions in this chapter in
sequence.
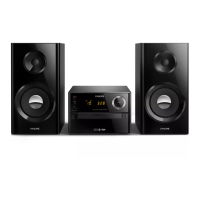
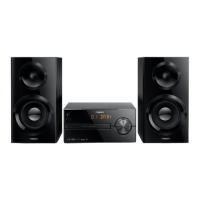
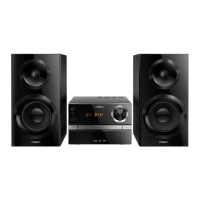
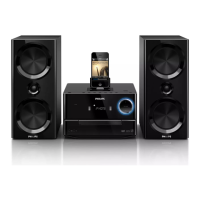
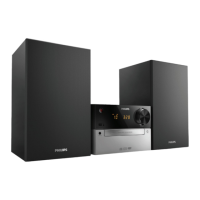
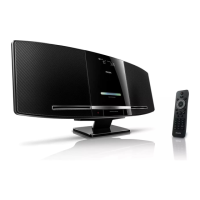
Placement
Youcanplacethesystemonaatsurfaceor
mount it on a wall.
Mount on a wall
See the wall mounting instructions included in
the package.
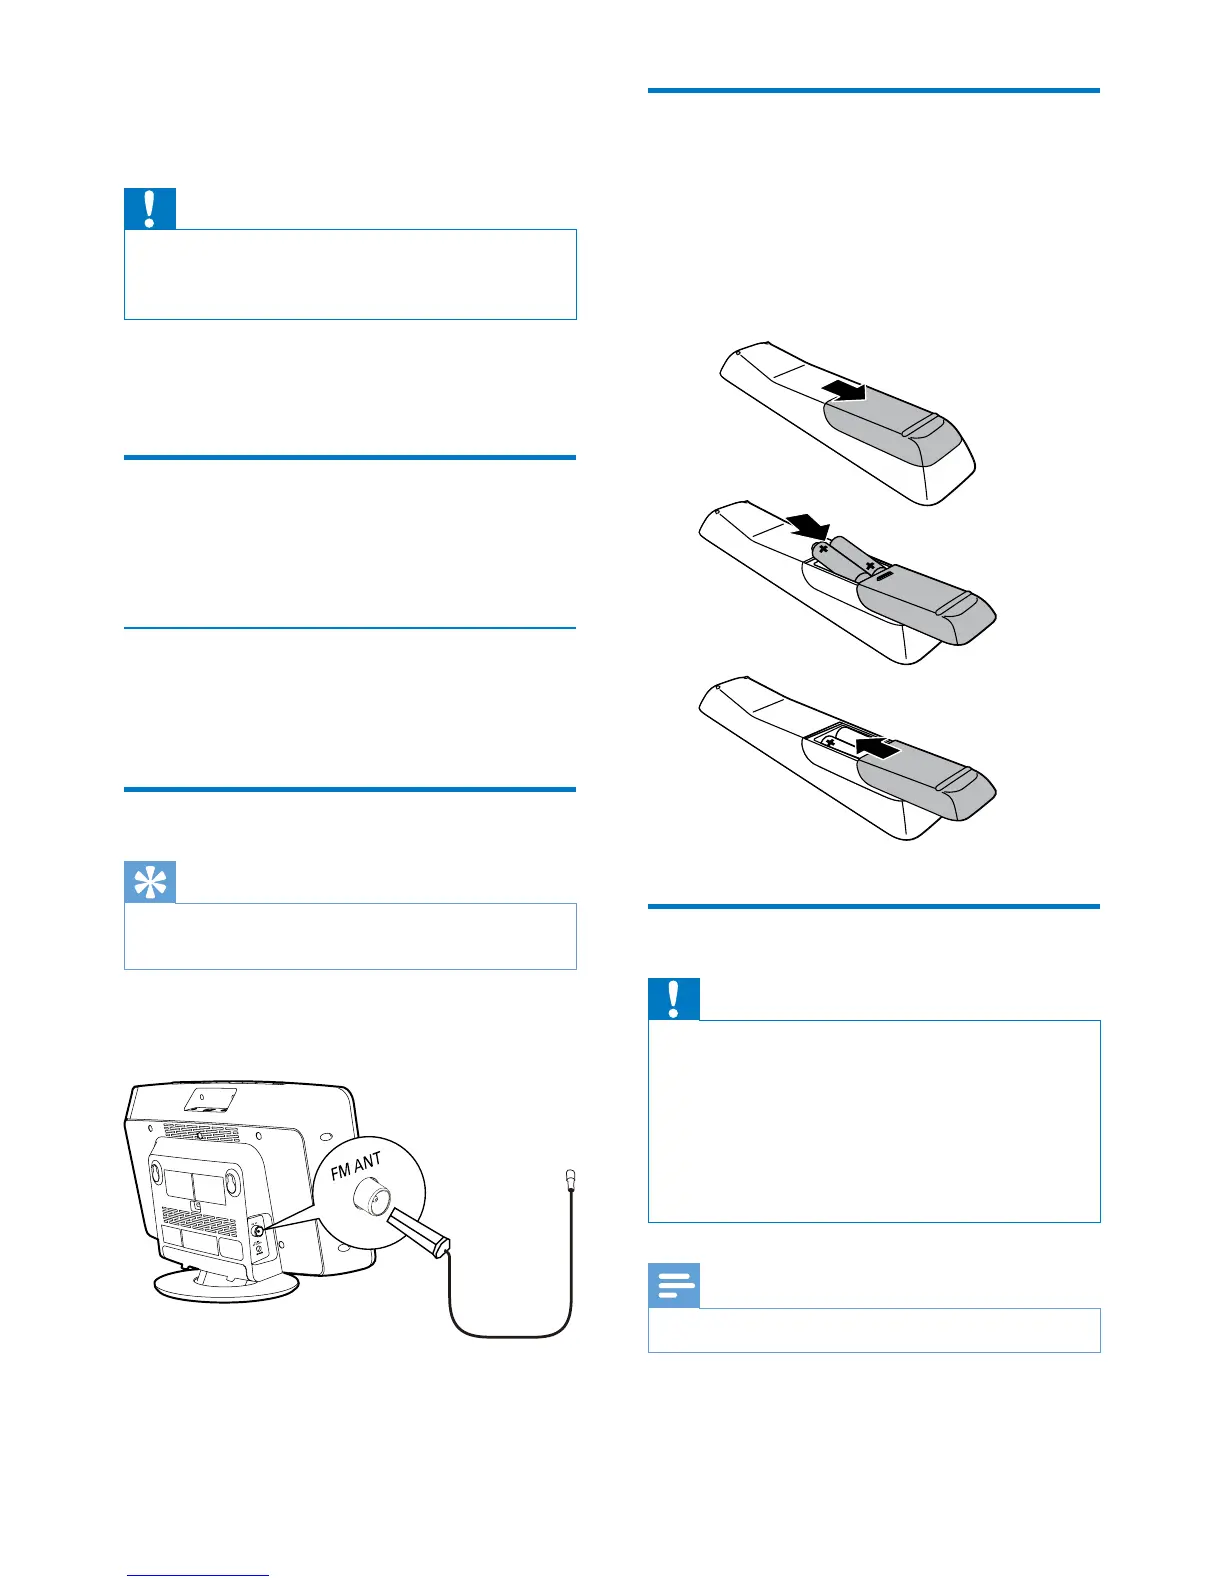
Prepare FM antenna
Tip
•
For optimal reception, fully extend and adjust the
position of the antenna.
Connect the supplied FM antenna to the FM
ANT socket on the main unit.
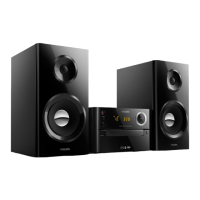
Prepare the remote control
1
Open the battery compartment.
2 Insert 2 AAA batteries with correct
polarity (+/-) as indicated.
3 Close the battery compartment.
Connect power
Caution
•
Risk of product damage! Make sure that the power
supply voltage corresponds to the voltage printed on
the back of the system.
• Risk of electric shock! When you unplug the AC power
adapter, always pull the plug from the socket. Never
pull the cord.
• Before connecting the AC adapter, make sure that you
have completed all other connections.
Note
•
The type plate is located on the back of the system.
Connect the power adapter to:
• the DC IN socket on the system.
• the wall power socket.
a
b
c