13
English
Other Functions
How to check, or delete a programmed
recording (TIMER)
1 Press VCR, then DISC/VCR MENU.
2 Press K/L to select “TIMER”, then
press B.
3 Press K/L to select “TIMER LIST”,
then press B.
4 Select timer block with B.
5 To cancel the recording, press CLEAR.
6 To end, press STATUS/EXIT.
7 Press TIMER SET.
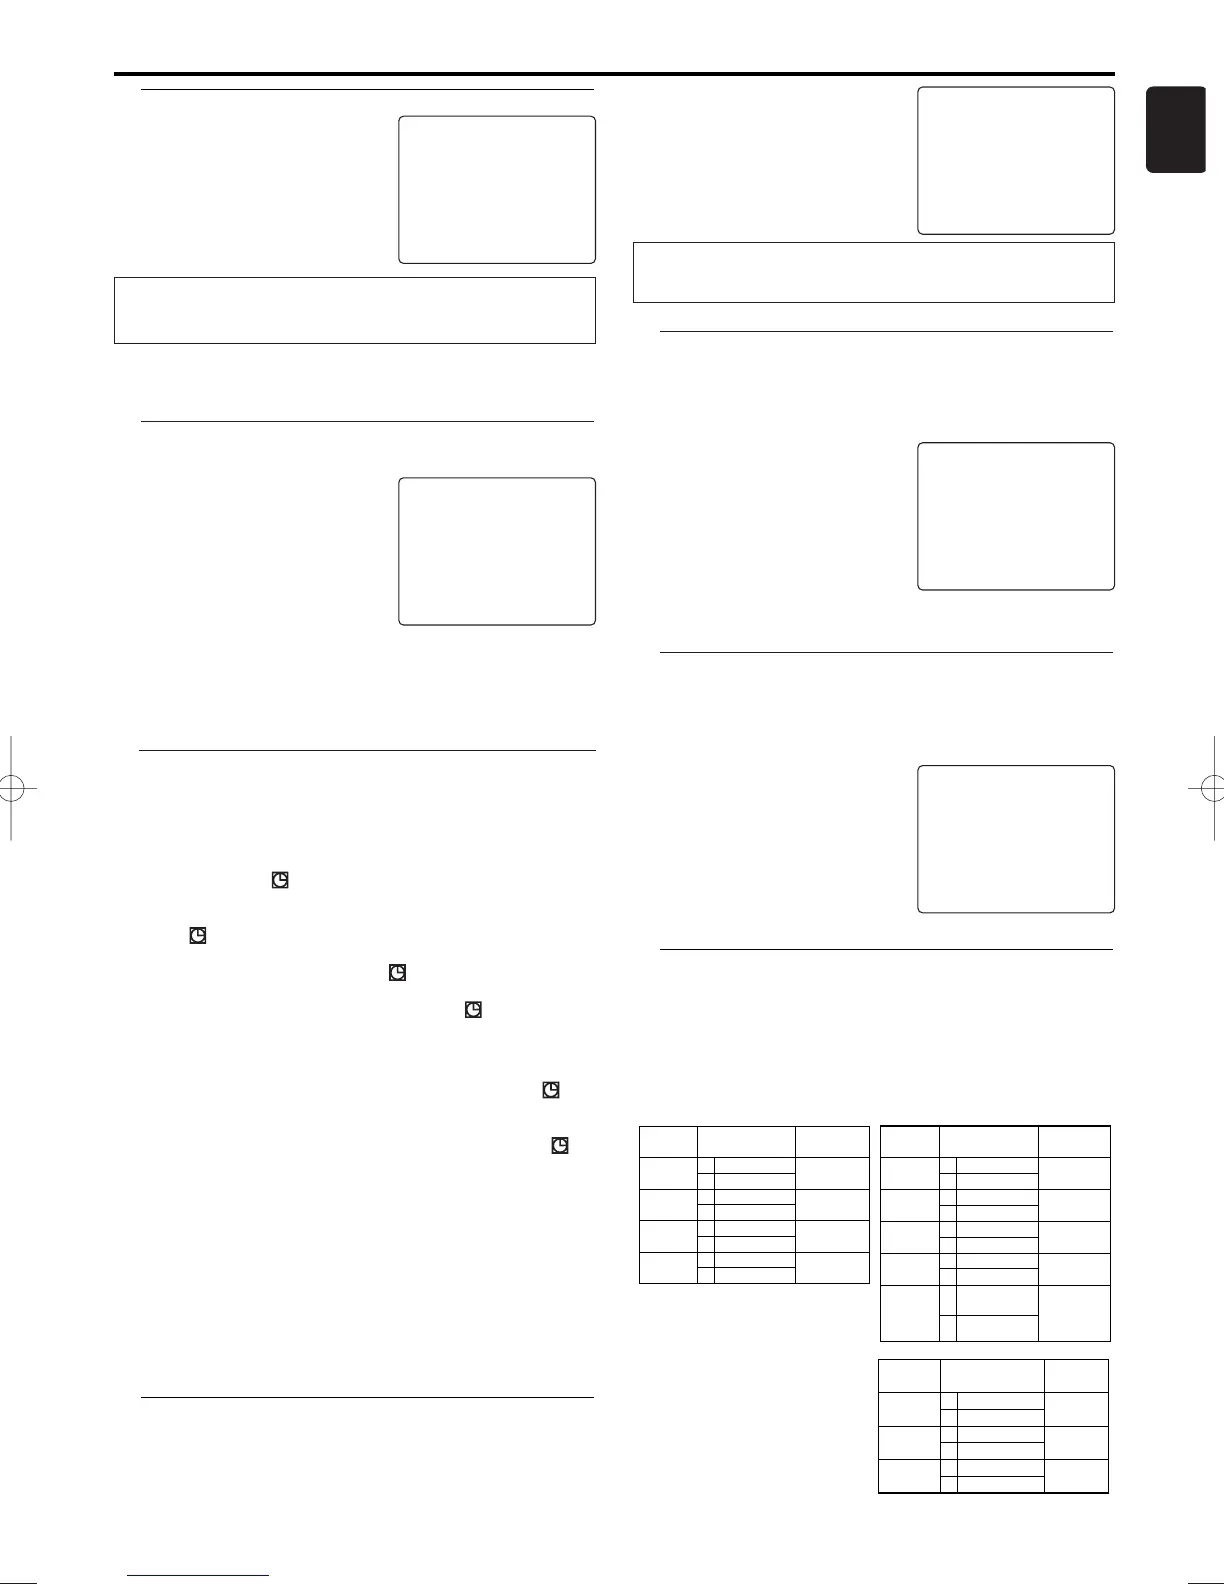
SELECT KL CHOOSE B
ONCE
DAILY
WEEKLY
→ TIMER LIST
END=EXIT
How to change a programmed recording
(TIMER)
1 Press VCR, then DISC/VCR MENU.
2 Press K/L to select “TIMER”, then
press B.
3 Press K/L to select “ONCE”,
“DAILY”, or “WEEKLY” recording
with K/L, then press B.
4 Select a TIMER block with
numerical key pads. (The flashing
number indicates an empty TIMER block.)
5 Press CLEAR to delete information and input correct
information with numerical key pads.
6 To end, press STATUS/EXIT.
7 Press TIMER SET.
ONCE
TIMER - 1 2 3 4 5 6 7 8 -
SELECT TIMER NUMBER
END=EXIT
Hint for Timer Recording
• If there is a power failure or the DVD/VCR is unplugged for
more than 1 minute, the clock setting and all timer settings
will be lost.
• If a tape ends during TIMER RECORDING, the DVD/VCR will
stop, eject the tape, and switch to the DVD mode
automatically as ‘ ’ blinks. (If the DVD power is off,
the DVD/VCR will become the STANDBY status).
• If a tape is not in the DVD/VCR or does not have a record
tab, ‘ ’ flashes and timer recording will not operate. Please
insert a recordable tape.
• When timer recordings are set, ‘ ’ will come on.To use the
DVD/VCR as usual until the time
for the recording, press TIMER SET so that ‘ ’ disappears.
Press VCR to choose VCR mode, then continue with the
other features as described in this manual.
Note:
- When all the programmed recording are finished, ‘’
will flash.
This is not a malfunction.
To use the DVD/VCR, press TIMER SET to turn off ‘’.
When the recording has been programmed in VCR mode,
“PRESS TIMER SET BUTTON FOR TIMER RECORDING”
appears on the screen.
* Press TIMER SET button to start the programming.
Error message:“FULL”
• If this error message appears after you select “ONCE”, “DAILY”,
or “WEEKLY” on TIMER menu and press B, then all TIMER
blocks are already programmed. No more recordings can be
programmed. If you want to clear or check a programmed
recording (TIMER block), select the programme number on
TIMER LIST menu and press CLEAR.
Switching the status display off or on
Along with the on screen menu, the status display also displays
information on the current operating status (counter, playback,
recording,TV channel, etc.) on the TV screen.You can switch
off the information about the operating status so that the
status display is not recorded when copying videocassettes.
Which settings can I choose?
“ON”: Shows the status display for a few seconds only.
“OFF”: Switches off the status display.
Blue Background on or off
If you want the TV screen to be solid blue when a weak signal is
received, set “BLUE BACKGROUND” to “ON”. The screen will
be blue and the sound will be muted. Or, if you want to receive
the weak signal, set “BLUE BACKGROUND” to “OFF”.
1 Press VCR, then DISC/VCR MENU.
2 Press K/L to select “VCR SET UP”,
then press B.
3 Press K/L to select “BLUE
BACKGROUND”, then press B.
4 Select “OFF” (no blue background)
or “ON” (blue background on)
with B.
5 To end, press STATUS/EXIT.
SELECT KL CHOOSE B
STATUS DISPLAY [ON]
→
BLUE BACKGROUND
[ON]
CLOCK DISPLAY [ON]
END=EXIT
Clock Display
This function allows you to switch the DVD/VCR display off.
It is useful in case you feel disturbed by the display-brightness
while watching TV in a dark room. It also reduces the power
consumption.
1 Press VCR, then DISC/VCR MENU.
2 Press K/L to select “VCR SET UP”,
then press B.
3 Press K/L to select “CLOCK
DISPLAY”, then press B.
4 Select “OFF” (no clock display) or
“ON” (clock display on) with B.
5 To end, press STATUS/EXIT.
SELECT KL CHOOSE B
STATUS DISPLAY [ON]
BLUE BACKGROUND
[ON]
→ CLOCK DISPLAY [ON]
END=EXIT