EasyManua.ls Logo

Philips FC8760/01 User Manual

Philips FC8760/01
10 pages
To Next Page IconTo Next Page
Page #1 background imageLoading...
Page #1 background image
Published by Philips Consumer Lifestyle Printed in the Netherlands © Copyright reserved Subject to modification
Service Manual
Philips Consumer Lifestyle
Vacuum cleaner
FC8760/01
12/09
PRODUCT INFORMATION
This product meets the requirements regarding
interference suppression on radio and TV.
After the product has been repaired, it should function
properly and has to meet the safety requirements as
officially laid down at this moment.
TECHNICAL INFORMATION
Colour : Bright Juicy red
• Power consumption : 2000 W
• Suction Power : 340 W
• Noise level : 82 dBA
Action radius : 11 mtr
Cord length : 8 m
• Filtration : Power cylone
Hepa 12 Super Clean Air
Dimensions appliance : 505 x 292 x 292 mm
Dimensions F-box : 650 x 330 x 310 mm
• Weight : 5.5 kg
ACCESSORIES
Nozzle : RD 264 Nozzle
Tubes : Metal lacquered 2 pcs. telesc. tube
Accessories : Crevice nozzle and Small nozzle
Accessory storage : Accessory clip on tube
• Coupling : Button coupling
REPAIR INSTRUCTION
No specific issues
OPTIONAL (accessories)
No specific issues
Question and Answer IconNeed help?

Do you have a question about the Philips FC8760/01 and is the answer not in the manual?
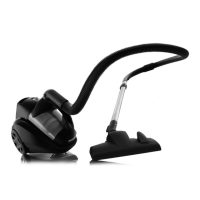
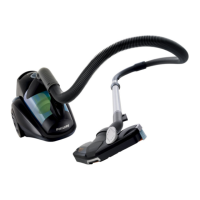
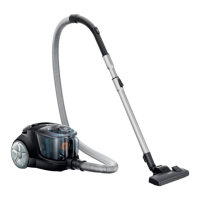
Philips FC8760/01 Specifications

General IconGeneral
Product typeVacuum cleaner
Dust Capacity2.5 L
Weight5.2 kg
Motor filterYes
Cord Length6 m
Sound power level79 dB
Noise level79 dB
ColorBlue
Hose length1.5 m
Included accessoriesCrevice tool

Summary

Disassembly and Re-assembly Procedures

Bucket Removal and Lid Handle

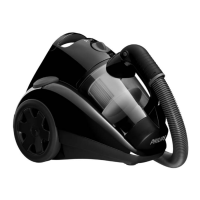
Instructions for removing the bucket by unlocking the top handle and its lid.

Lid Button Replacement

Procedure for replacing the lid button (3) using screw A and its spare part nature.

Inlet Filter Assembly Removal

Steps to remove the inlet filter assembly (4) from the bucket's front (motor side).

Inlet Filter Foam Cleaning

Guidance on cleaning the foam in the inlet filter assembly without touching dirt.

Bucket Bottom Removal

Method for removing the bucket bottom and the implications of not refitting it.

Upper Housing Removal for Repair

Steps to remove the upper housing (18) for internal repair access.

Button Removal and Re-assembly

Guidance on removing and re-assembling the product's buttons, noting snap locks.

Upper Housing Screw Removal

Details on removing screws (B, C) for upper housing detachment and ESD screw (D).

Hose Connection and Bucket Inlet Sealing Access

How to access hose connection (10) and bucket inlet sealing (13) after removing housing.

Potmeter Replacement

Procedure for replacing the potmeter (9) by removing the knob (7) and screws (E).

Cordwinder and Motor Housing Replacement

Steps for replacing cordwinder (24) or motor (31) by removing motor housing (28) screws (G).

PCB Replacement

Instructions for replacing the PCB (9) using two short screws (H).

Electrical Diagram

Parts List

Exploded View

Related product manuals