2
2-3
PHILIPS MEDICAL SYSTEMS
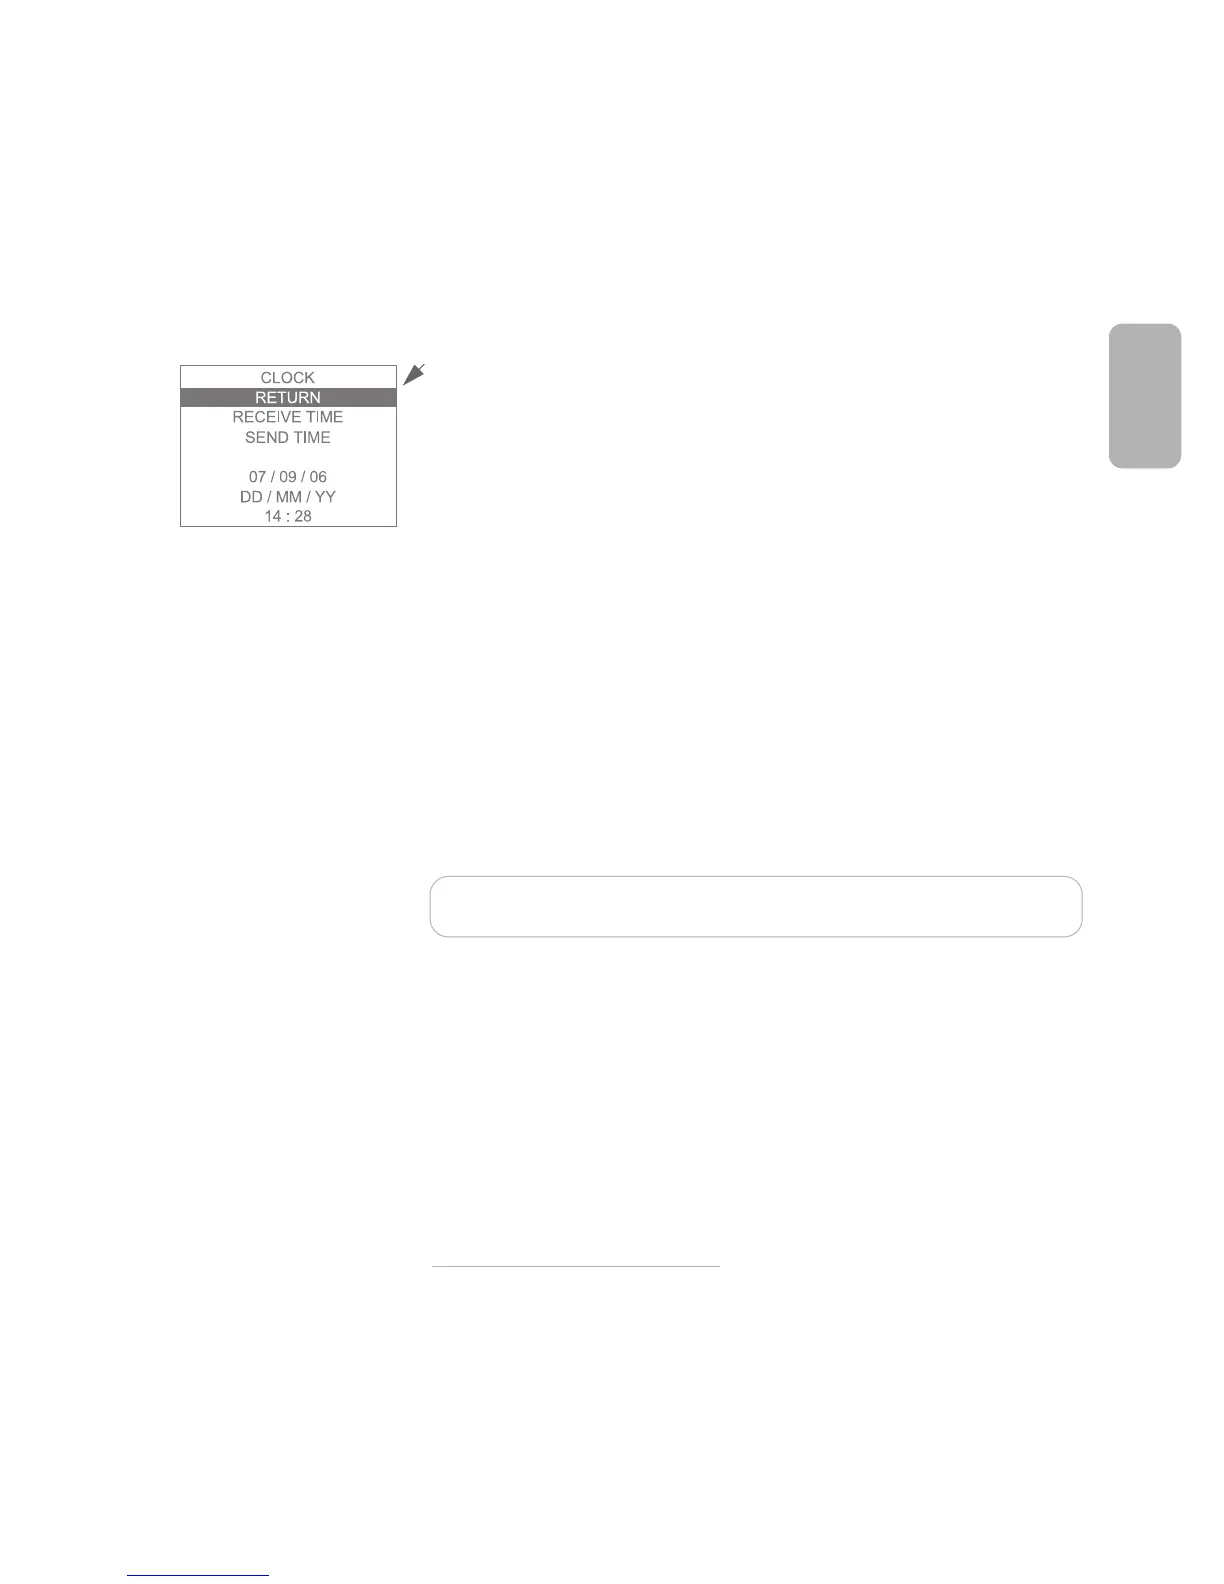
8. Use the lower Option button to move to any other date or time field to be
changed, and repeat step 6.
9. When all selections have been made, use the lower Option button to move
the highlight bar to
RETURN, then press the upper Option button to return
to the second menu.
10. After ten seconds, the HeartStart FR2+ automatically starts the battery
insertion selftest.
*
If you choose not to set the clock at this point, the HeartStart FR2+
automatically starts the battery insertion selftest within ten seconds of battery
insertion. You can remove and reinsert the battery at any time to review or
adjust the clock settings.
RUNNING THE BATTERY INSERTION TEST
The battery insertion selftest has two parts, an automatic part, during which the
screen displays a bar that fills in as the test continues, followed by an interactive
part. Follow the defibrillator’s prompts during the interactive part of the test.
When the FR2+ has passed the battery insertion selftest, it turns off and goes to
standby mode to be ready for use. Standby mode is indicated by the flashing
black hourglass status indicator.
NOTE:If the battery is removed from the FR2+ for more than two hours,
the clock settings will be lost and must be reset.
PLACING AND SECURING THE HEARTSTART FR2+
Place the HeartStart FR2+ Defibrillator in an accessible area with the Status
Indicator easily visible. The defibrillator can be secured in a carrying case
suitable for use with a wallmount bracket or defibrillator cabinet. Useful
accessories for storage with the HeartStart FR2+ include a spare battery, spare
pads, spare data card (if used), and a Fast Response Kit containing a pocket
mask, a disposable razor, 2 pairs of gloves, a pair of paramedics scissors, and an
absorbent wipe. See Appendix A for a list of accessories.
* See Chapter 4 for details about the battery insertion selftest.