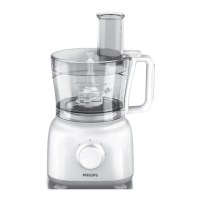
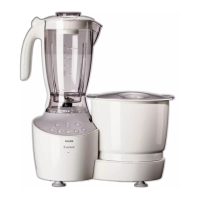
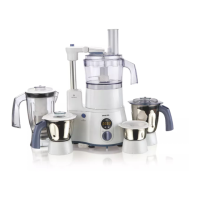
6.4 Food processor (HL 1659)
1. Connect the main plug to the wall socket
2. Switch on the main supply (Fig.39)
3. LED display will show
--
:
--
indicating the
power supply is on (Fig. 40)
4. Fix the gear box of the food processor
and then turn it clockwise until you hear a
click. The LED display will change to 00:
--
(Fig.41)
5. Put the bowl, followed by tool holder along
with the required food processor blade and
then place the lid on the bowl. Then fi t the
arm on the lid until you hear a click. The
LED display will change to 00:00 This is an
indication that the appliance is ready to use
(Fig.42)
6 Default mode of the operation is ‘Auto.’ To
go on to the Manual mode, press the mode
button. The LED display will now change
(Fig. 43)
7. Set the time using Up and Down arrows.
Maximum time that can be set is 30
minutes (Fig. 44)
Note: The appliance will auto shutoff after 5
minutes (Auto mode) and 3.5 minutes (Manual
mode) of continuous operations, to avoid any
unforeseen situation. In case, the appliance
doesn’t start within 5 minutes after setting the
time OR stops inbetween, and is not restarted
within 5 minutes, the display will reset to 00:00
8. Turn the speed selector knob to the
required position. Select speed for food
processing application (Fig. 45)
9. After operation, appliance will stop on its
own
10. Turn speed selector knob to ‘Off’ position
(Fig. 46)
11. Press the button above the arm, to pull it in
upward direction (Fig. 47)
12. To use the metal blade, remove the
protective covering from the blade (Fig. 48)
Note: The cutting edges of the blade are very
sharp. Avoid touching them.
13. Use the feed tube to add liquid and/or solid
ingredients. Pre-cut large pieces of food
into pieces of approximately 3x3x3 cms.
(Fig. 49)
14. Use the pusher to push solid ingredients
through the feed tube. Fill the feed tube
evenly for best results (Fig. 50)
15. You can also use the pusher to close the
feed tube in order to prevent ingredients
from escaping through the feed tube (Fig.51)
16. Never process hard ingredients like ice
cubes with the inserts
17. To use the grating insert, put the selected
insert in the insert holder before you
place it onto the tool holder. Put the insert
holder onto the tool holder that stands in
the bowl (Fig. 52)
 Loading...