9
Disassembling and cleaning before rstuse
1 Remove the mixing chamber lid. (Fig.3)
2 Loosen the front panel control knobs. (Fig.4)
Note: The front panel is heavy. Take extra caution when removing it.
3 Disassemble the front panel, the shaping disc, the shaping disc holder, the mixing paddle,
and the mixing chamber in order. (Fig.5)
4 Clean all detachable parts, and wipe them dry. (Fig.6)
Assembling
1 Push the mixing chamber into the appliance. (Fig.7)
2 Point the mixing paddle to the hole in the main unit. Insert the mixing paddle all the way
into the main unit. (Fig.8)
3 Attach the disc holder onto the appliance. (Fig.9)
4 Put the shaping disc onto the disc holder , and make sure it is rmly xed on the disc
holder. (Fig.10)
Note: Make sure the inner cavity of the shaping disc and disc holder is properly tted.
(Fig.11)
5 Attach the front panel to the main unit. (Fig.12)
Note:
y Make sure the front panel is completely fastened before using the appliance.
y The front panel is heavy. Take extra caution when assembling it.
6 Fasten the front panel control knobs. (Fig.13)
Note: If the front panel or the shaping disc is not properly assembled, a safety switch will
prevent the appliance from working.
7 Close the mixing chamber lid. (Fig.14)
Note: If the mixing chamber lid is not properly installed, the safety switch will prevent the
appliance from working.
Using the Pasta maker
Preparing the ingredients
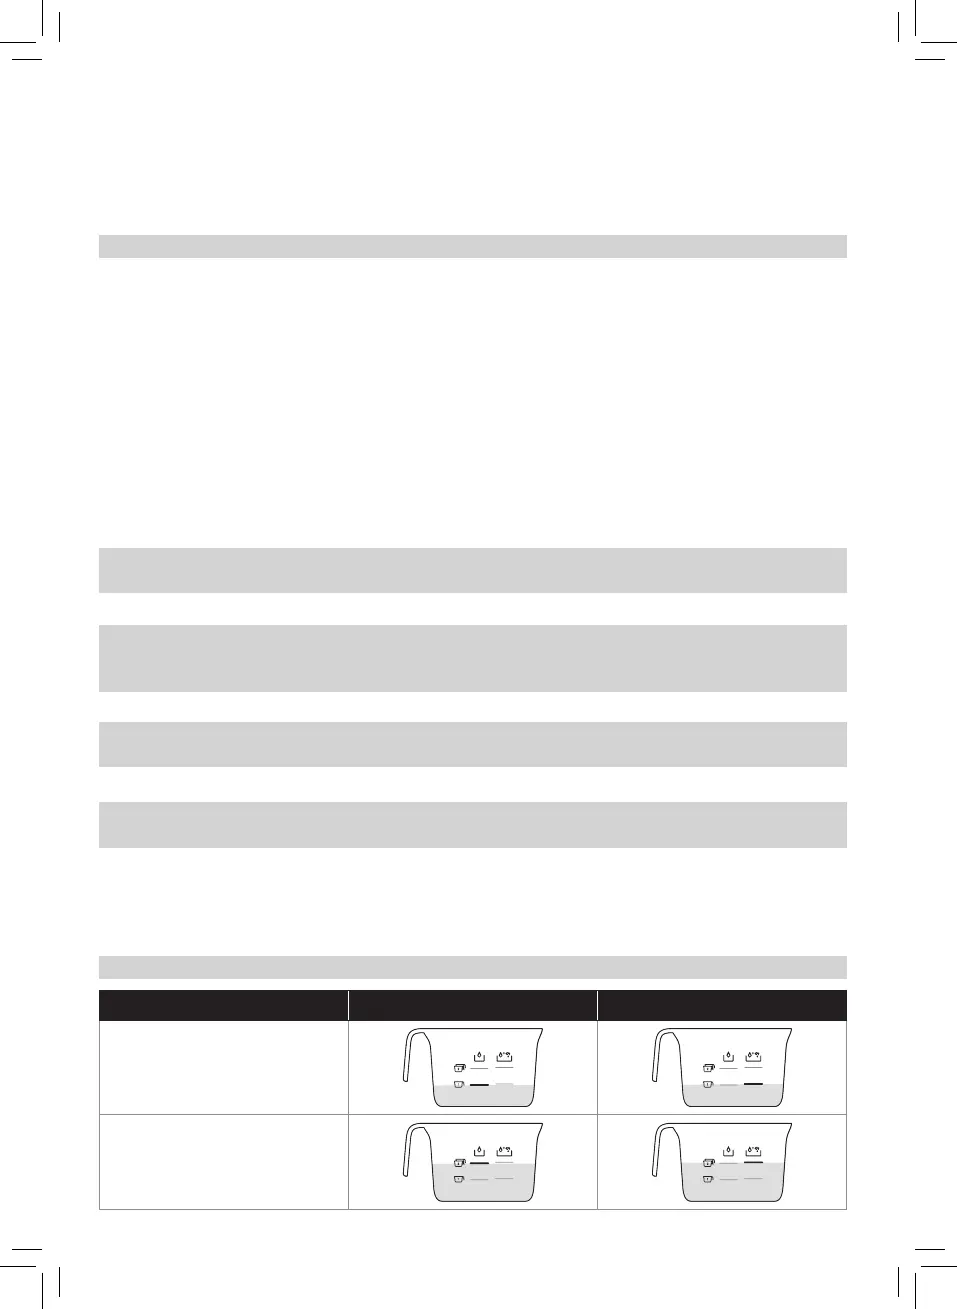
Note: Use the supplied our/water cup to measure our and liquid.
Flour Water Water + Egg
1 cup of our
(~250 g/8.8 oz)
2 cups of our
(~500 g/17.6 oz)