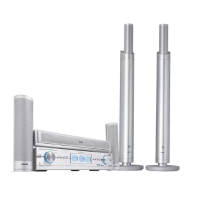
Quick use guide LX9000R
3
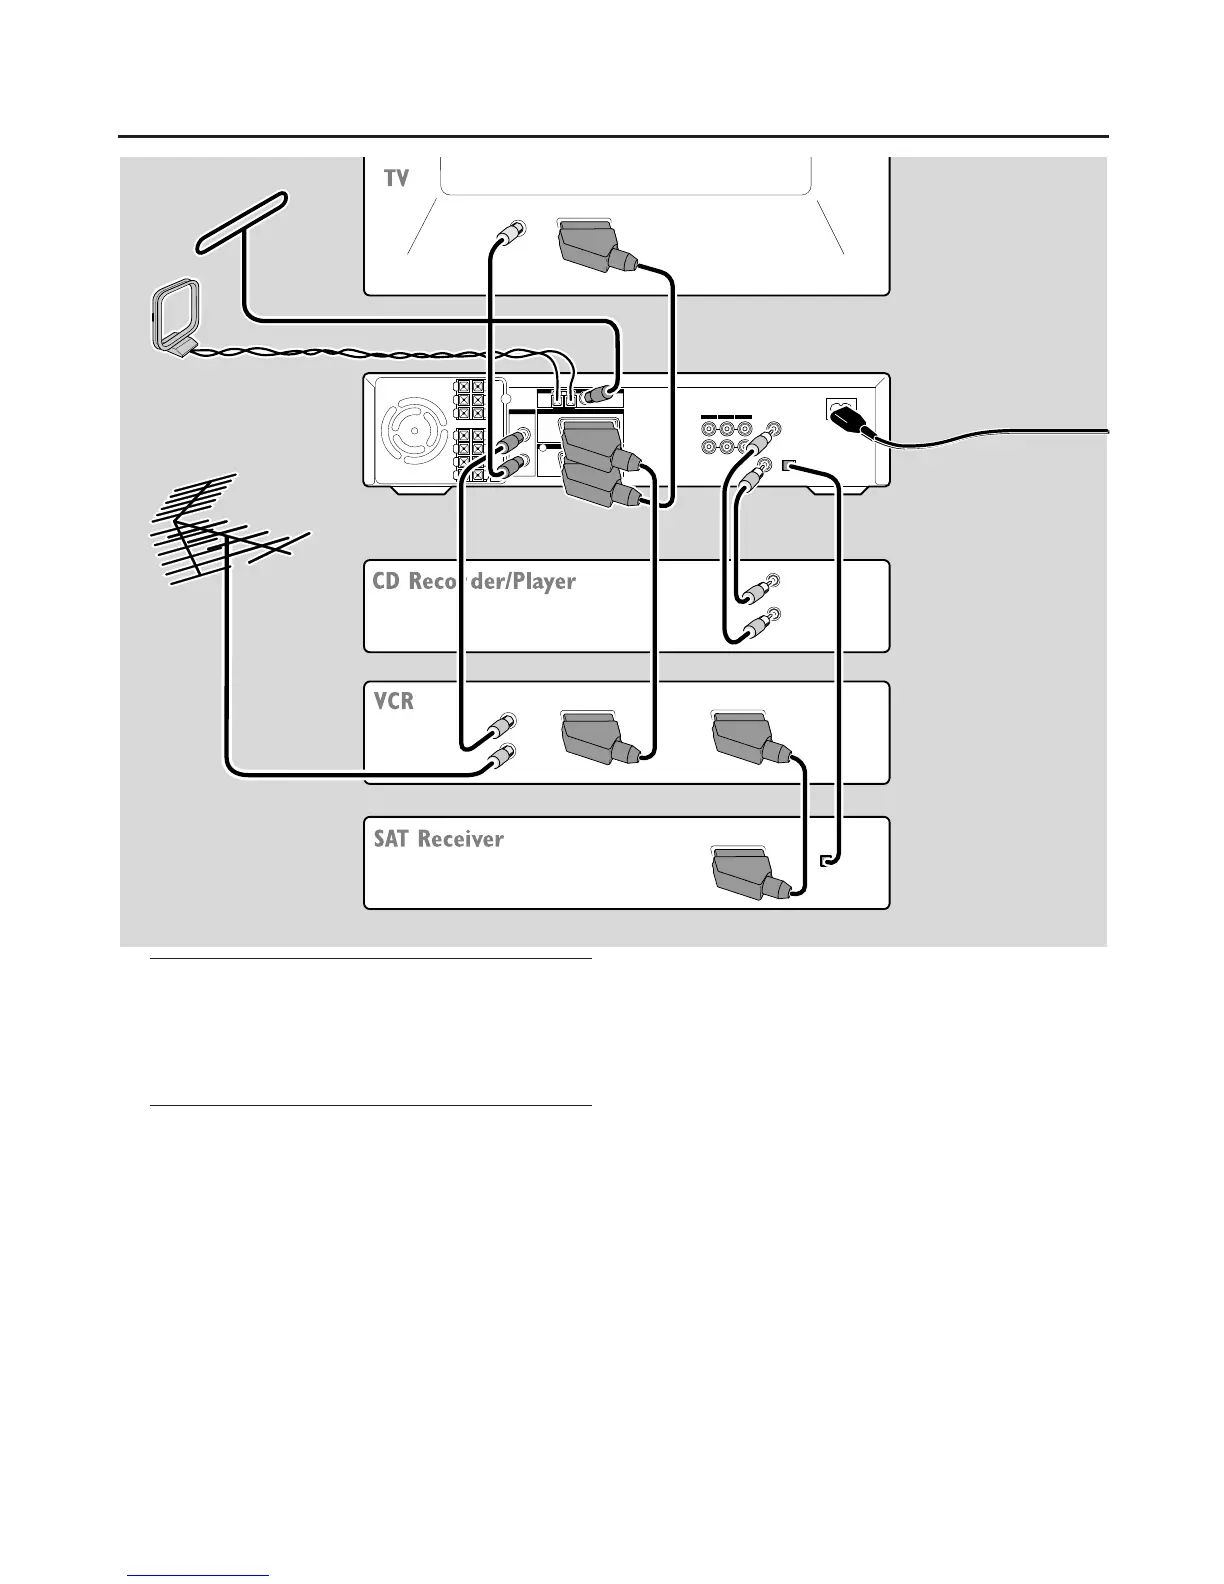
Connections
Scart inputs/outputs of your other appliances can be
named:
– TO TV/MONITOR, EURO-AV OUT,…
– AUX, EXT, I/0, EURO-AV IN,…
Initial installation
When you connect the DVD recorder system to the mains
supply for the first time, you need to perform some basic
settings. Please observe the TV screen and the display of
the DVD recorder system.
1 Switch on your TV.
2 Connect the supplied mains cable to AC MAINS ~ and to
the wall socket. If the DVD recorder system is in demo
mode, press 2 to cancel the demo mode.
➜ IS TV ON? is displayed on the DVD recorder system.
3 If necessary set the TV to the correct audio/video channel
for the DVD recorder system. Such channels may be called
AUX or AUXILIARY IN, AUDIO/VIDEO or A/V IN, EXT1,
EXT2 or EXTERNAL IN, etc.These channels are often near
channel 00.
Note: If your TV supports EasyLink, the TV and the DVD
recorder system exchange information via the SCART cable.
In this case, EasyLink loading data from TV, please
wait will appear on the TV. Some of the following settings will
be done automatically then.
4 ➜ The menu Menu Language appears on the TV screen.
Press 3 or 4 to select the language in which the display
messages should appear on the TV screen.Then press OK.
5 ➜ The menu Audio language appears.
Press 3 or 4 to select the language in which DVDs should
preferably be played, if the language is available on the disc.
Then press OK.
 Loading...