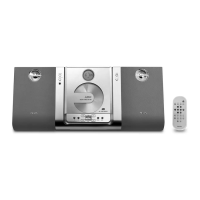
DISMANTLING INSTRUCTIONS
Dismantling of the Rear Portion
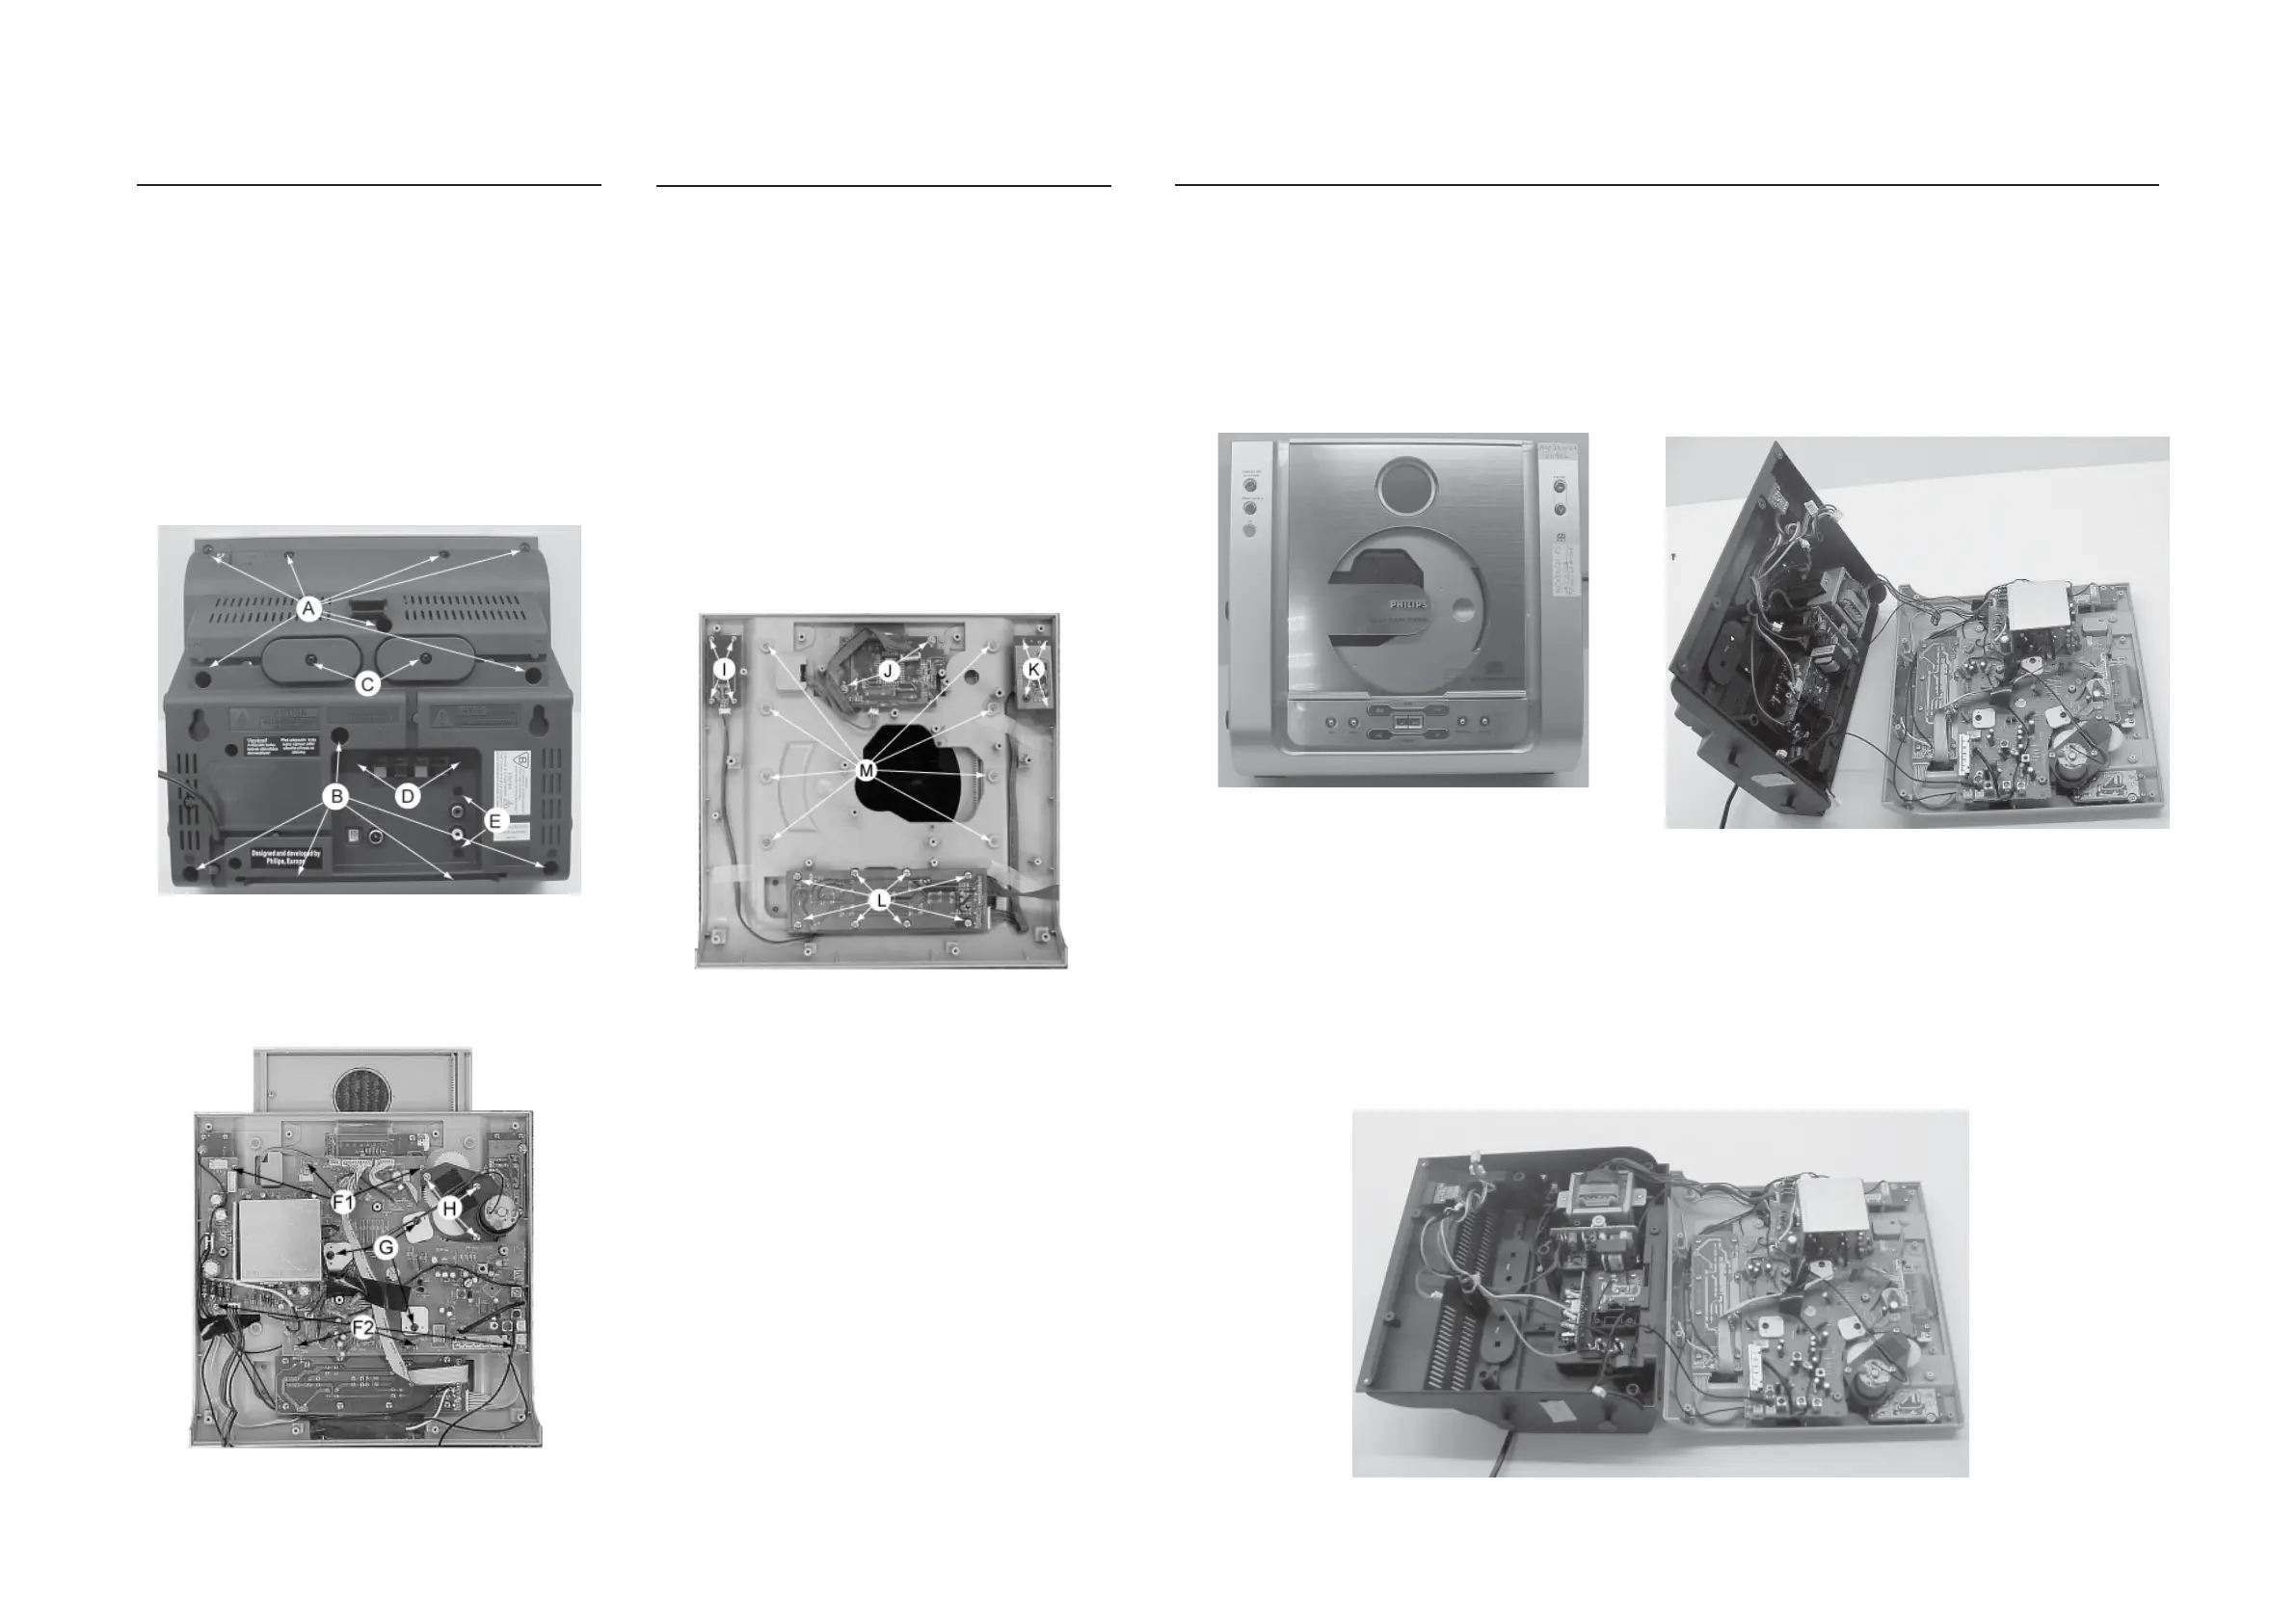
1) Remove 11 screws A and B as indicated to remove the
Rear Cabinet.
2) Remove 2 screws C as indicated to loosen the Speaker
Wire Holder.
3) Remove 2 screws D as indicated to loosen the Speaker
Board .
4) Remove 2 screws E as indicated to loosen the AUX IN
jack.
DISMANTLING INSTRUCTIONS
2-1
2-1
Figure 1
Figure 2
1) Loosen 3 screws G each to remove the CD Mechanism
Holder Bracket.
2) Loosen 7 screws F1 and F2 as indicated to remove the
Main Board.
3) Remove 3 screws H as indicated to loosen the Gear Motor
Module.
4) Loosen 4 screws I (see Figure 3) to remove the Key_C
Board.
5) Loosen 2 screws J (see Figure 3) to remove the Display
Board.
Figure 6
Figure 4
Figure 3
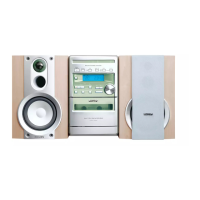
Dismantling of the Front Boards and CD Door
6) Loosen 4 screws K (see Figure 3) to remove the Key_B
Board.
7) Loosen 8 screws L (see Figure 3) to remove the Key_A
Board.
8) Loosen 8 screws M (see Figure 3) to remove the Door Eject
Lever Bracket Right/Left, then remove CD door.
Repair Hints & Service Positions
Note: The flex cables are very fragile, care should be taken
not to damage them during repair. After repair, be
very sure that the flex cables are inserted properly
into the flex sockets before encasing, otherwise faults
may occurs.
Service position A
Service position C
Service position B
Figure 5