4-1
4-1
DISMANTLING INSTRUCTIONS
1) Loosen 4 screws A to remove the Front Panel Ass’y by sliding it
out towards the underside before lifting up as shown in Figure 1.
2) Loosen 7 screws B and 4 screws C to remove the Rear Panel
Ass’y .
- 7 screws on the rear
- 2 screws each on the upside & downside
as shown in Figure 2.
3) Loosen 10 screws D (see Figure 3) to remove the CD Door
Track, then remove Left and Right CD Door.
- 5 screws each on the upper & under side.
Detaching the Control Panel Ass’
y from the Front Panel Ass’y
Figure 1
Figure 3
Figure 4
1) Loosen 11 screws E (see Figure 4) to remove the Control
Panel Ass’y .
Figure 2
Dismantling of the Front and Rear Panel assembly
B
B
A
C
D
E
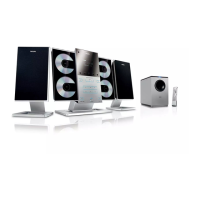
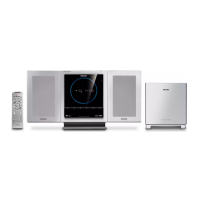
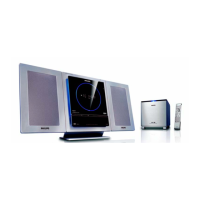
Detach the speaker stands in the same way as
you do the main unit stand#
To
detach the stand from the main unit,
a. As shown, hold down
PRESS
4
b.
Move out the stand to detach.
1
Detaching the Stands from the Speakers and Main Sets
1
2