2-1 2-1
DISMANTLING INSTRUCTIONS
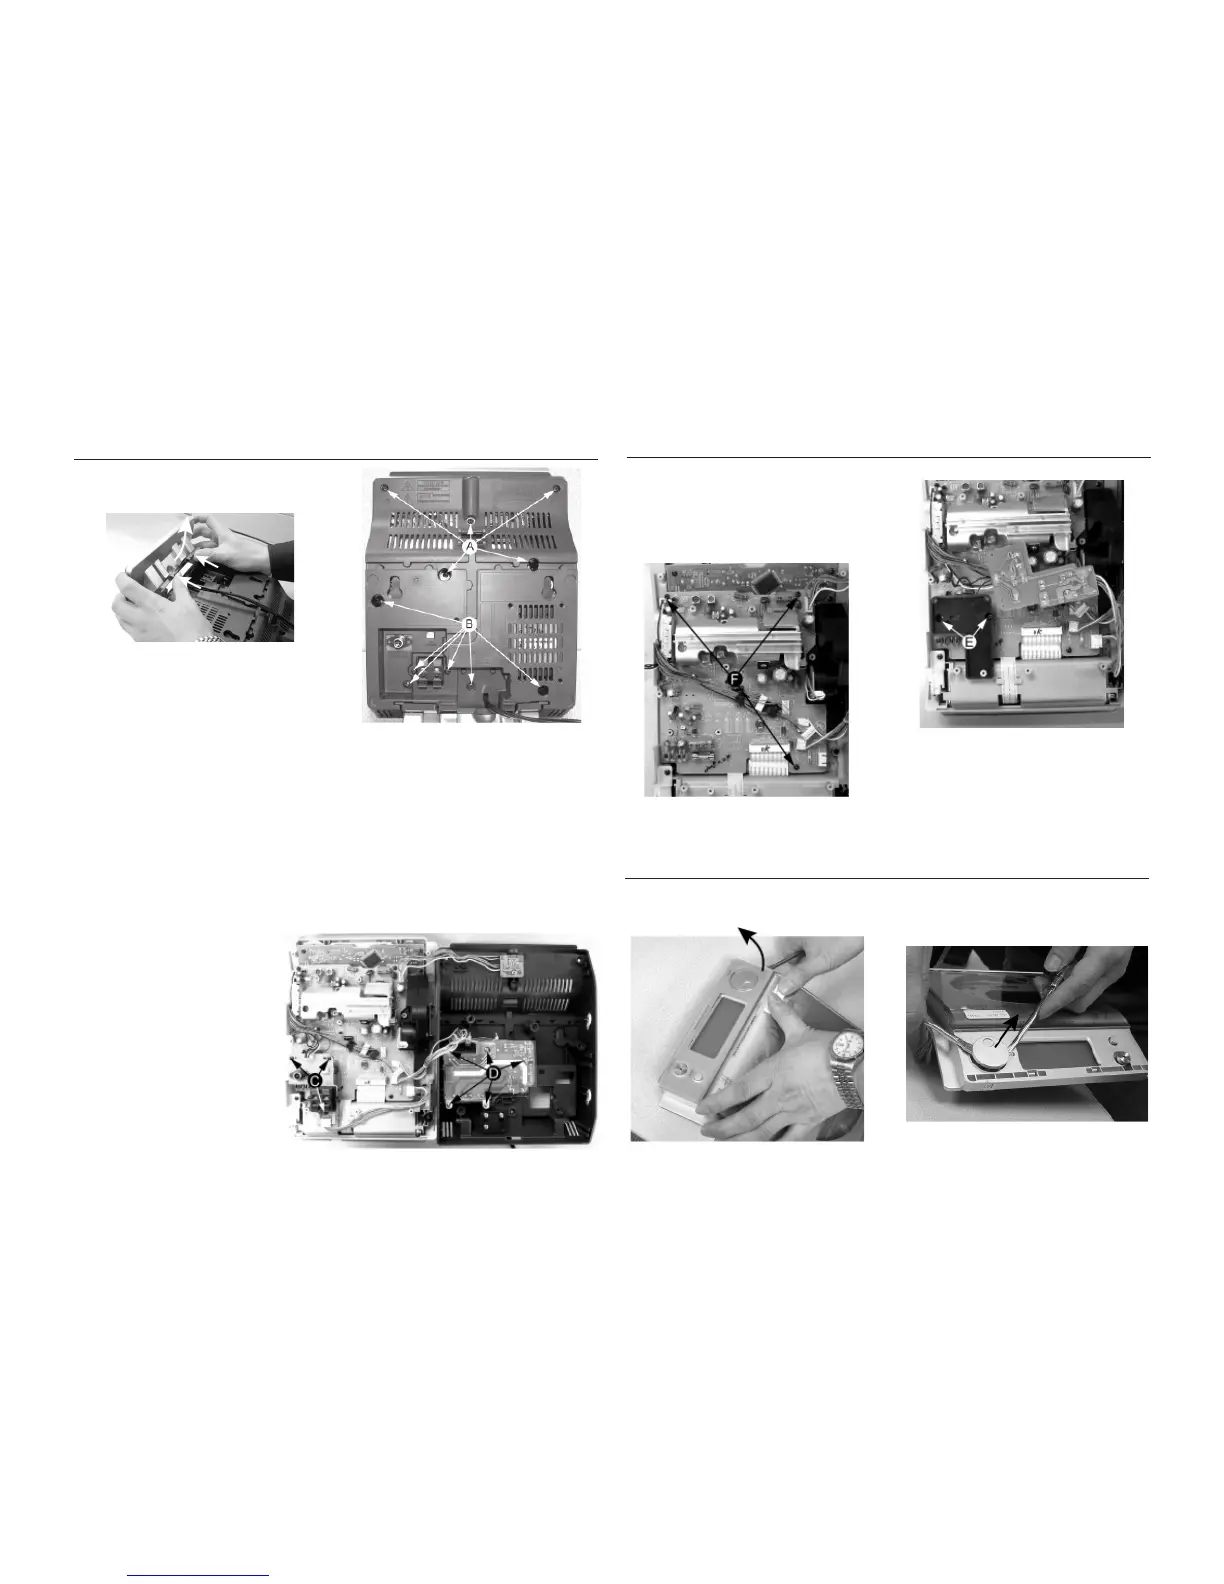
1) Press the 2 juts and pull out the Stand as shown in figure
1.
2) Loosen 5 screws A and 6 screws B to remove the Rear
Cabinet as shown in figure 2.
3) Loosen 3 screws C to remove the SP & ANT Jack Board
as shown in figure 3.
4) Loosen 5 screws D to remove the Power Module as
shown in figure 3.
Dismantling the Rear Portion and PCBs
Figure 3
Figure 2
Dismantling the Rear Portion and PCBs
5) Loosen 2 screws E to remove the Bracket Jack Board as
shown in Figure 4.
6) Loosen 3 screws F to remove the Main Board as shown
in figure 5.
Figure 4
Figure 5
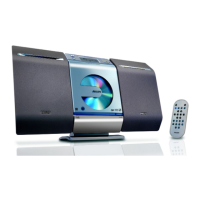
Figure 1
Dismantling of the Display Lens & the Volume knob
1) Use a flat head screw driver to give a push in the direction
as shown in figure 6.
Figure 6
2) Place two small screw drivers in between the front cabinet
& knob to give more leverage in pulling out the Volume
Knob as shown in figure 7.
Figure 7