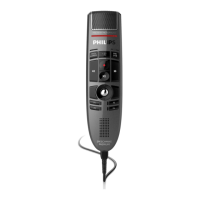
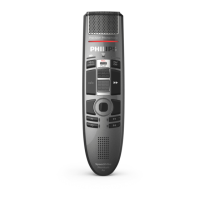
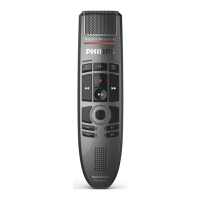
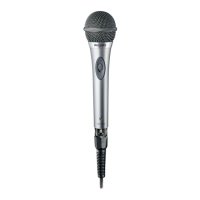
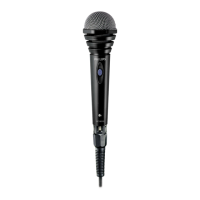
4. Use your SpeechMike
This chapter describes how to use the SpeechMike with
Philips SpeechExec dictation software. If the SpeechMike is
used with thirdparty software other than Philips SpeechEx-
ec, some features may not be present or function dierent-
ly. For detailed information, refer to the documentation de-
livered with the software.
Create a recording
1. The dictation microphone must be connected to the
computer with the USB cable.
2. Start SpeechExec dictation software.
3. Move the slide switch to the REC position to create a
new recording and start speaking.
• The recorder window is displayed.
• The record indicator light glows in red (in overwrite
mode) or green (in insert mode) while recording.
4. To stop recording, move the slide switch to the STOP
position.
5. Press the • EOL/• • PRIO key to mark the recording as
nished.
• The dictation le is moved to the Finished dictations
folder.
• The recorder window closes and the work list window
is displayed.
6. To assign priority status to the recording, press the •
EOL/• • PRIO key again within half a second.
NOTE
For best results, speak clearly and keep the mi-
crophone about 10 to 15 centimeters (4 to 6 in-
ches) away from your mouth.
Use the bar-code scanner
(LFH3600/3610)
• Press the scan button and scan the barcode. When a
barcode is recognized, the SpeechMike will beep and
the barcode information is inserted into the currently
active application as if the barcode number is typed in
digit by digit.
NOTE
The barcode scanner allows barcode scanning
from a distance of up to 60 cm / 23 inches.
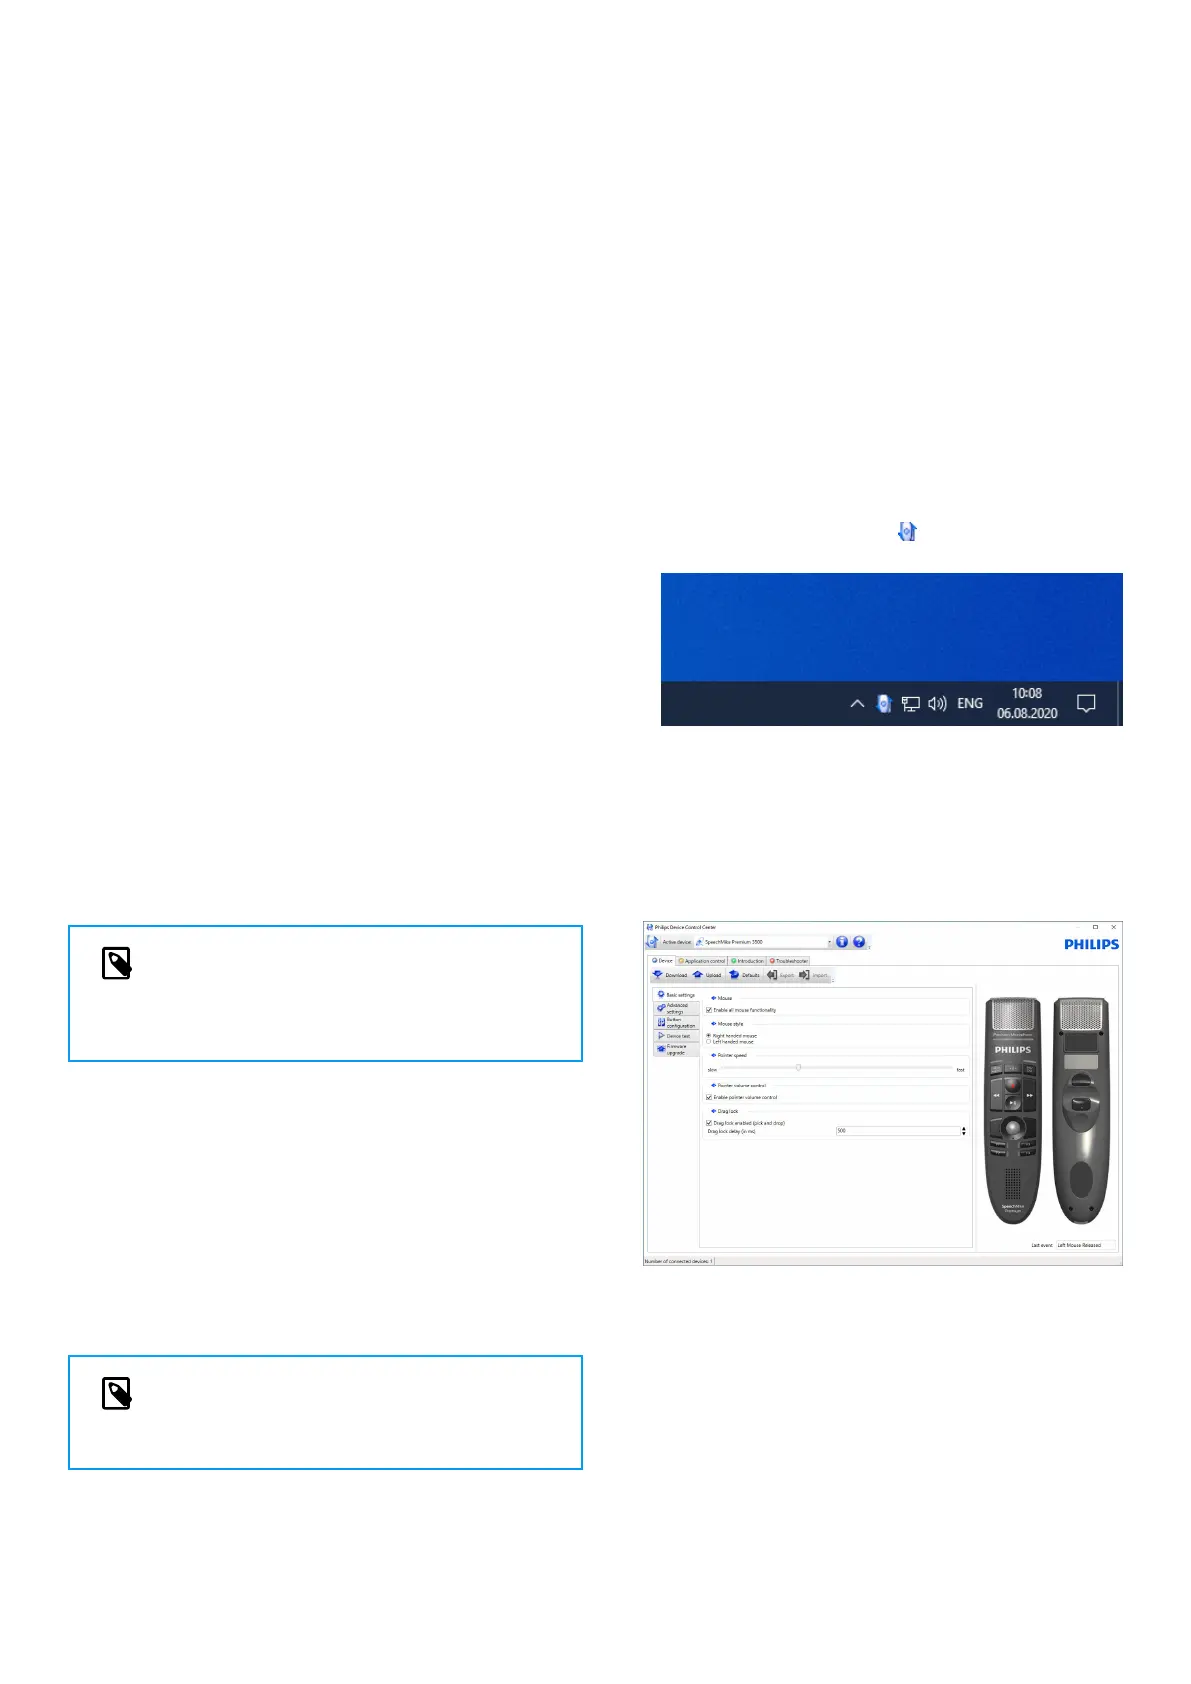
Customize the SpeechMike
Use the Device Control Center software to customize the
SpeechMike to suit individual user needs.
The software allows to assign dierent functions to each
key, enable or disable certain features and also to start and
control applications with the SpeechMike.
Customize SpeechMike keys and settings
1. The dictation microphone must be connected to the
computer with the USB cable.
2. Download and install the latest version of SpeechCon-
trol (Philips Device Control Center) from https://
www.dictation.philips.com/speechcontrol.
3. Start Philips Device Control Center:
• If the option to start the Philips Device Control Center
automatically was selected during installation, open
the program by clicking the icon in the notication
area of the Windows task bar.
• To manually start the program, open the Windows
start menu in Windows and select Philips Speech
Control > Philips Device Control Center.
The current settings are automatically downloaded
from the connected SpeechMike.
4. On the Device tab, congure device settings and select
the function to be assigned to each key.
5. Click the Upload button to save the new settings.
8