GB5
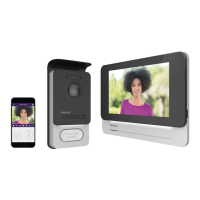
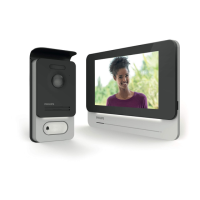
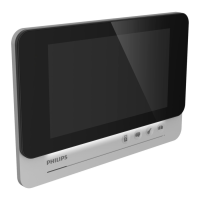
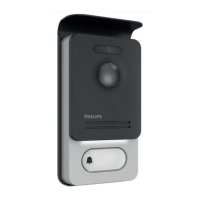
WelcomeEye Connect 2 / Touch / V4
- Ensure that the wires are properly connected, following one of the wiring diagrams
depending on the desired conguration.
- Be sure to refer to the labelling on the back of the monitor and the back of the intercom
panel.
- Congure the switches on the back of the intercom panel as well as the monitor interface
according to the chosen conguration (see section 2 intercom conguration).
b. Connecting a gate motor
- The intercom provides a dry contact (without power) to be connected to the push button
control of the automatic opener.
- Connect it directly to terminals 5 and 6 at the back of the intercom panel (no need to
observe polarity).
- The opening function is only possible if the video of the respective intercom panel is
displayed.
c. Connecting a strike plate or electric lock
Important: The electric strike plate or lock that you install must be equipped with a
mechanical memory. The strike plate current cannot exceed 1.1A.
- Connect it directly to terminals 7 and 8 at the back of the intercom panel (no need to
observe polarity).
- The opening function is only possible if the video of the respective intercom panel is
displayed.
2. Conguring the intercom
a. Conguring the intercom number:
Place switch 2 on the left on intercom no. 1 and on the right on intercom no. 2.
b. Conguring the number of families:
Place switch 1 on the left for single family mode and on the right for two family mode.
Important: The switch positions must be changed before powering the intercom.
c. Intercom volume settings:
Turn the volume control with a Phillips head screwdriver to adjust the intercom volume.
Turn clockwise to increase the volume and anti-clockwise to decrease the volume.
d. Conguration of the RFID function:
The RFID function enables openings to be managed using badges.
1) Programming (or resetting) the administrator badges:
When switching on the device for the rst time, the badges must be congured in the following
order:
1. Press the reset button at the back of the intercom panel for ve seconds, the intercom
panel will emit six short beeps.
Important: The monitor must not be in communication with the intercom panel when
conguring badges.
Important: Be sure to programme the badges one by one. To prevent any problems, do
not hold all the badges in your hand.
2. Swipe the yellow administrator badge, one short beep conrms the programming.
3. Swipe the blue badge, one short beep conrms the programming.
 Loading...