EN7
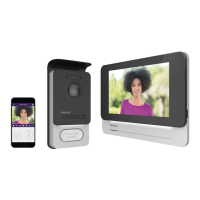
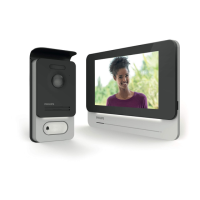
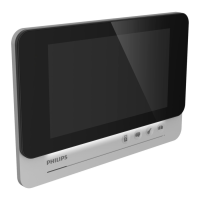
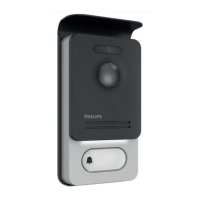
WelcomeEye Connect 2 / Touch / V1
badge’s function. Badge colours simply enable users to recognize their functions. If a badge
is lost, it can be replaced by any other badge by repeating the programming step.
3. Installing the main or additional monitor
1m60
DES 9900 VDP
5 8 1 0 2 3
24V 550mA
+
-
1/3
2/4
WiĮ 2.4GHz
DES 9901 VDP
5 8 1 0 2 3
Made in P.R.C
Avidsen
19 avenue Marcel Dassault
37200 TOURS
FRANCE
1 2
4
7
5 6
3
1 - Position the wall bracket so that the screen of the monitor is approximately 1.60m above
the ground.
2 – Mark the location of the holes using the U bolt.
3 – Drill.
4 – Use pegs adapted to the bracket (those supplied are suitable for solid walls).
5 - Attach the wall bracket.
6 – Connect the two intercom panel wires and the two power supply wires following the
wiring diagram.
7 - Position the monitor on the wall bracket.
8 - Depending on the conguration selected, and when wiring is completed, the interface
may have to be congured.
Note: during this step, do not connect the power supply to the 230V AC.
 Loading...