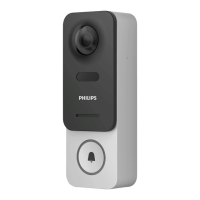
WelcomeEye / Link / V1
F12
Note: If applicable, don’t forget to connect the motorised control (dry contact on the back)
before xing the intercom panel.
Use the 2 screws provided for this purpose.
Important: The control is a dry contact. You can connect it directly to the control for your
motorised gate.
In the case of an electric latch or lock, you should use a wired auxiliary power supply to
operate the control.
Note that in this case you will need an electric lock or latch with a memory. Operation lasts
for less than one second.
Step 2. : Insert the battery (making sure you insert it the right way up, with the micro USB
plug side rst) until the support lug clicks.
Step 3. : Check that the micro SD card is there, if you did not do so while carrying out tests
on a table.
32 Gb

 Loading...