Unifarm Machinery Corporation
PO Box 38, Wilson, NC, U.S.A.
page 12
SET UP
ATTACHMENT TO THE TRACTOR
Carefully read this instruction manual and the manuals of the tractor and PTO shaft manufacturer.
All Phoenix tillers are built to be attached to any tractor equipped with a three point lift of the
correct category and with suitable ball ends.
Before attaching the equipment to the tractor, make sure that the ground is smooth and flat and
that nobody is standing between the tractor and the tiller; slowly move the tractor towards the tiller
by aligning the tractor lifter arms with the two tiller coupling side pins; turn the engine off and pull
the brake.
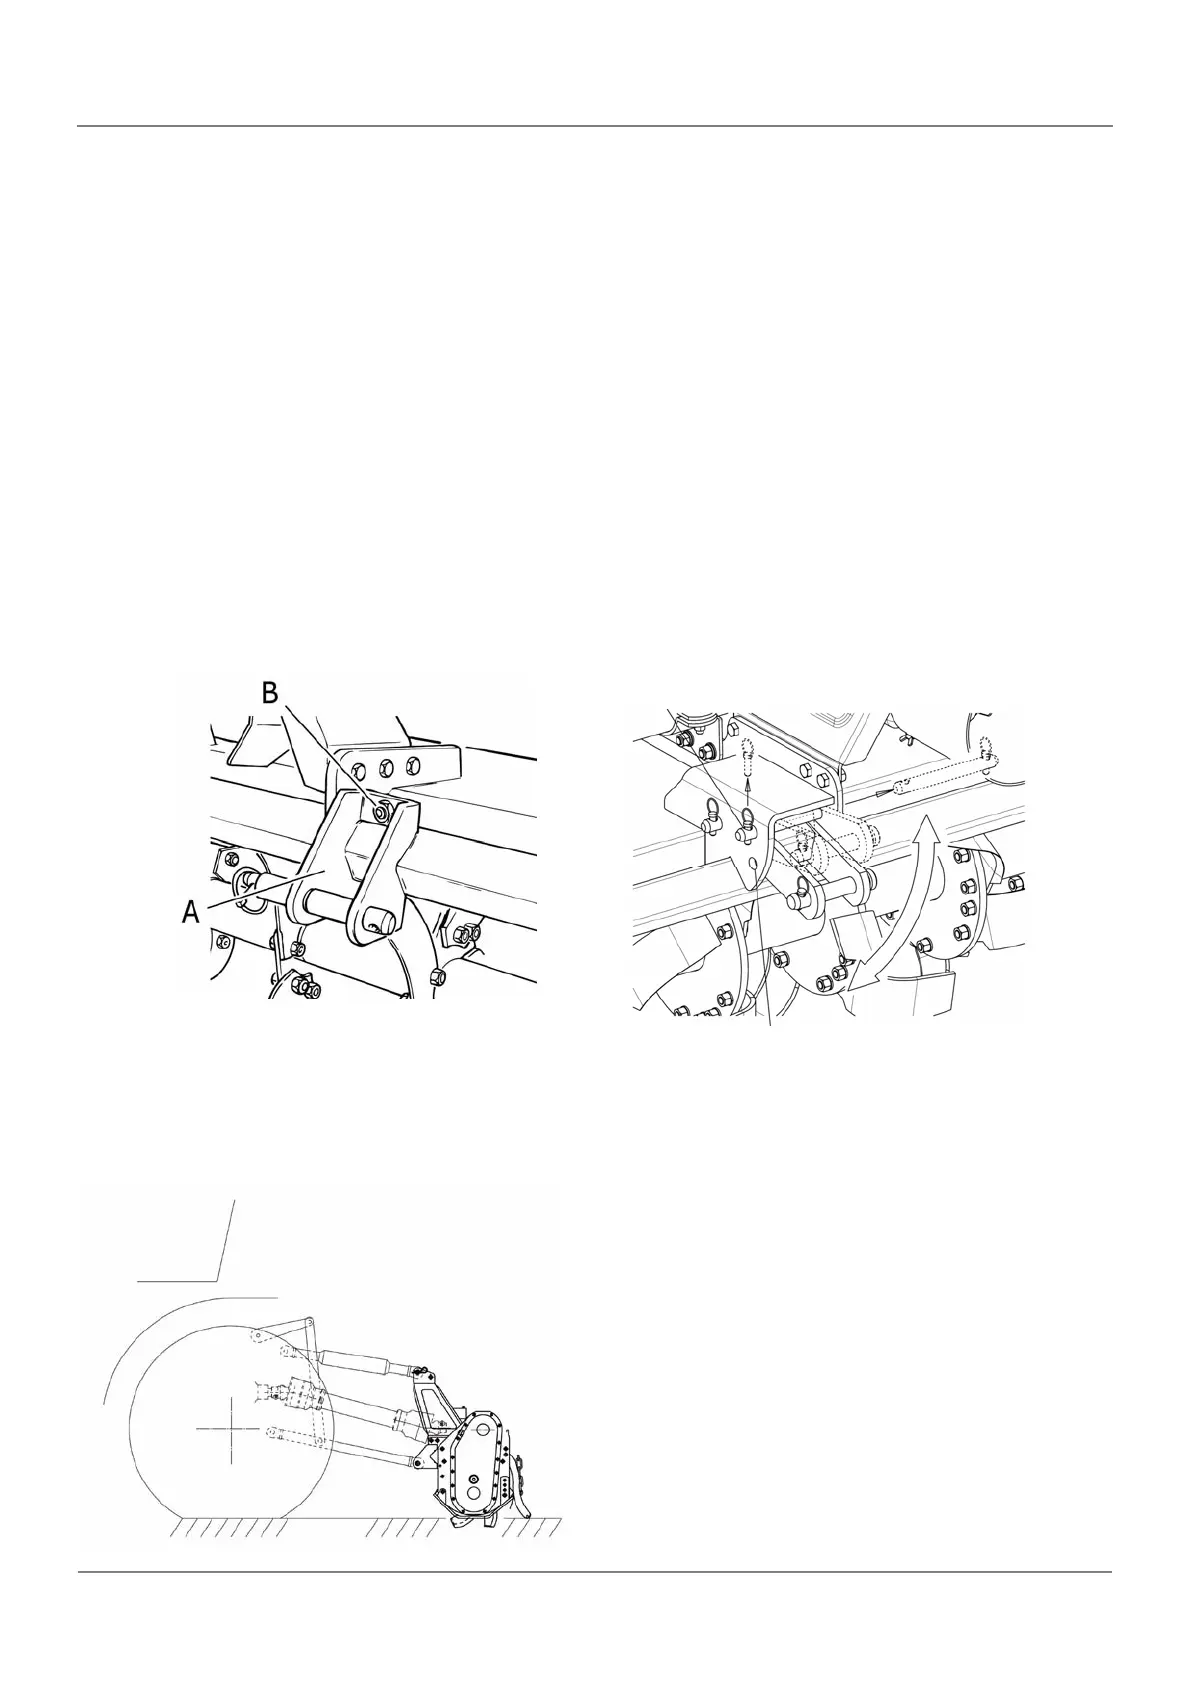
It is possible to adjust the attachment position releasing the bolts B (picture 3) and modifying the
position of the plates A (on the tillers T5, T10, T15, T20). Tighten the bolts after making any
adjustment.
On the tillers T25, T30 it is possible to change the lower position of the floating brackets by
inserting the pin A in the lower hole B, as shown in picture 4, or do the opposite.
picture 3 picture 4
A
B
After adjusting the couplers, connect the lower arms by removing the catch pins from the pins
located on the hitch blocks, inserting the lift arm pins through the hitch block and ball ends and
secure them by means of the pins which were previously removed.
Connect the tractor top link to the third upper
point by removing the pin located between the
two plates, inserting the top link and securing it
by means of the pin.
Adjust the top link so that the upper part of th
frame is parallel to the ground.
Block all the linking parts by means of the swa
chains or arms.
Make sure that the central unit axis (case/bevel
gear pair) is parallel to the ground, thus
minimising the stresses on the power take off and
increasing the working life of the equipment.