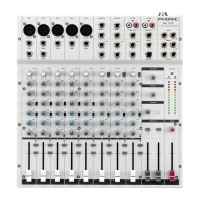
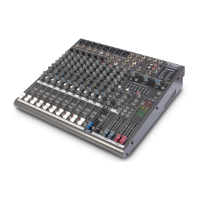
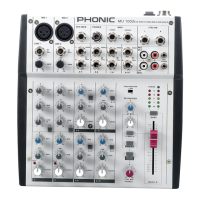
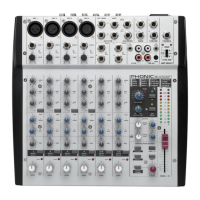
INTRODUCTION
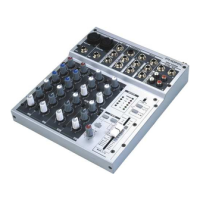
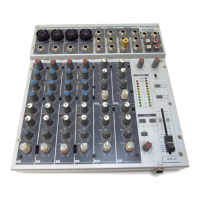
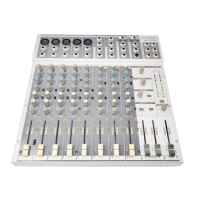
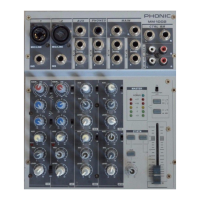
Thank you for choosing one of Phonic’s many quality
compact mixers. The MU series of Mixers – designed
by the ingenious engineers that have created a variety
of mixers fantastic in style and performance in the past –
displays similar prociency that previous Phonic products
have shown; with more than a few renements, of course.
The MU series features full gain ranges, amazingly low
distortion levels, and incredibly wide dynamic ranges,
just showing the dominance these small machines will
have in the mixing World.
We know how eager you are to get started – wanting
to get the mixer out and hook it all up is probably your
number one priority right now – but before you do, we
strongly urge you to take a look through this manual.
Inside, you will nd important facts and gures on the
set up, use and applications of your brand new mixer. If
you do happen to be one of the many people who atly
refuse to read user manuals, then we just urge you to at
least glance at the Instant Setup section. After glancing
at or reading through the manual (we applaud you if you
do read the entire manual), please store it in a place
that is easy for you to nd, because chances are there’s
something you missed the rst time around.
GETTING STARTED
1. Ensure all power is turned off on your mixer.
To totally ensure this, the AC cable should not be
connected to the unit.
2. All faders and level controls should be set at the
lowest level and all channels switched off to
ensure no sound is inadvertently sent through the
outputs when the device is switched on. All levels
can be altered to acceptable degrees after the
device is turned on using the channel setup
instructions.
3. Plug any necessary equipment into the device’s
various outputs. This could include ampliers and
speakers, monitors, signal processors, and/or
recording devices.
4. Plug the supplied AC cable into the AC inlet on the
back of the device and then into a power outlet of a
suitable voltage.
5. Turn the power switch on and follow the channel setup
instructions to get the most out of your equipment.