8
Initial Setup
Before you start
1
Put the batteries in the remote control.
The batteries included with the unit are to check initial
operations; they may not last over a long period. We
recommend using alkaline batteries that have a longer life.
2
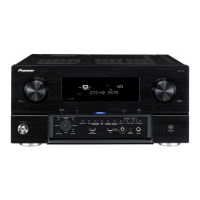
Switch on the receiver and your TV.
ALL ZONE STBY
SOURCE
STANDBY/ON
MAIN
SUB ZONE CONTROL
Z2 Z3 HDZ
RECEIVER
3
Switch the TV input so that it connects to the
receiver.
4
Turn the subwoofer on and turn up the volume.
WARNING
• Do not use or store batteries in direct sunlight or other
excessively hot place, such as inside a car or near a heater.
This can cause batteries to leak, overheat, explode or catch
fire. It can also reduce the life or performance of batteries.
CAUTION
• When inserting the batteries, make sure not to damage
the springs on the battery’s (–) terminals. This can cause
batteries to leak or overheat.
• When disposing of used batteries, please comply with
governmental regulations or environmental public
institution’s rules that apply in your country/area.
Automatically setting up for
surround sound (MCACC)
The Auto Multi-Channel ACoustic Calibration (MCACC) setup
uses the supplied setup microphone to measure and analyze
the test tone that is outputted by the speakers. This setup
enables automatic high precision measuring and settings;
utilizing it will create an optimum user listening environment.
Important
• Measure in a quiet environment.
• If you have a tripod, use it to place the microphone so that it’s
about ear level at your normal listening position. Otherwise,
place the microphone at ear level using a table or a chair.
• Accurate measurements may not be possible if there are
obstacles between the speakers and the listening position
(microphone).
• When measuring, step away from the listening position,
and operate using the remote control from the external
side of all the speakers.
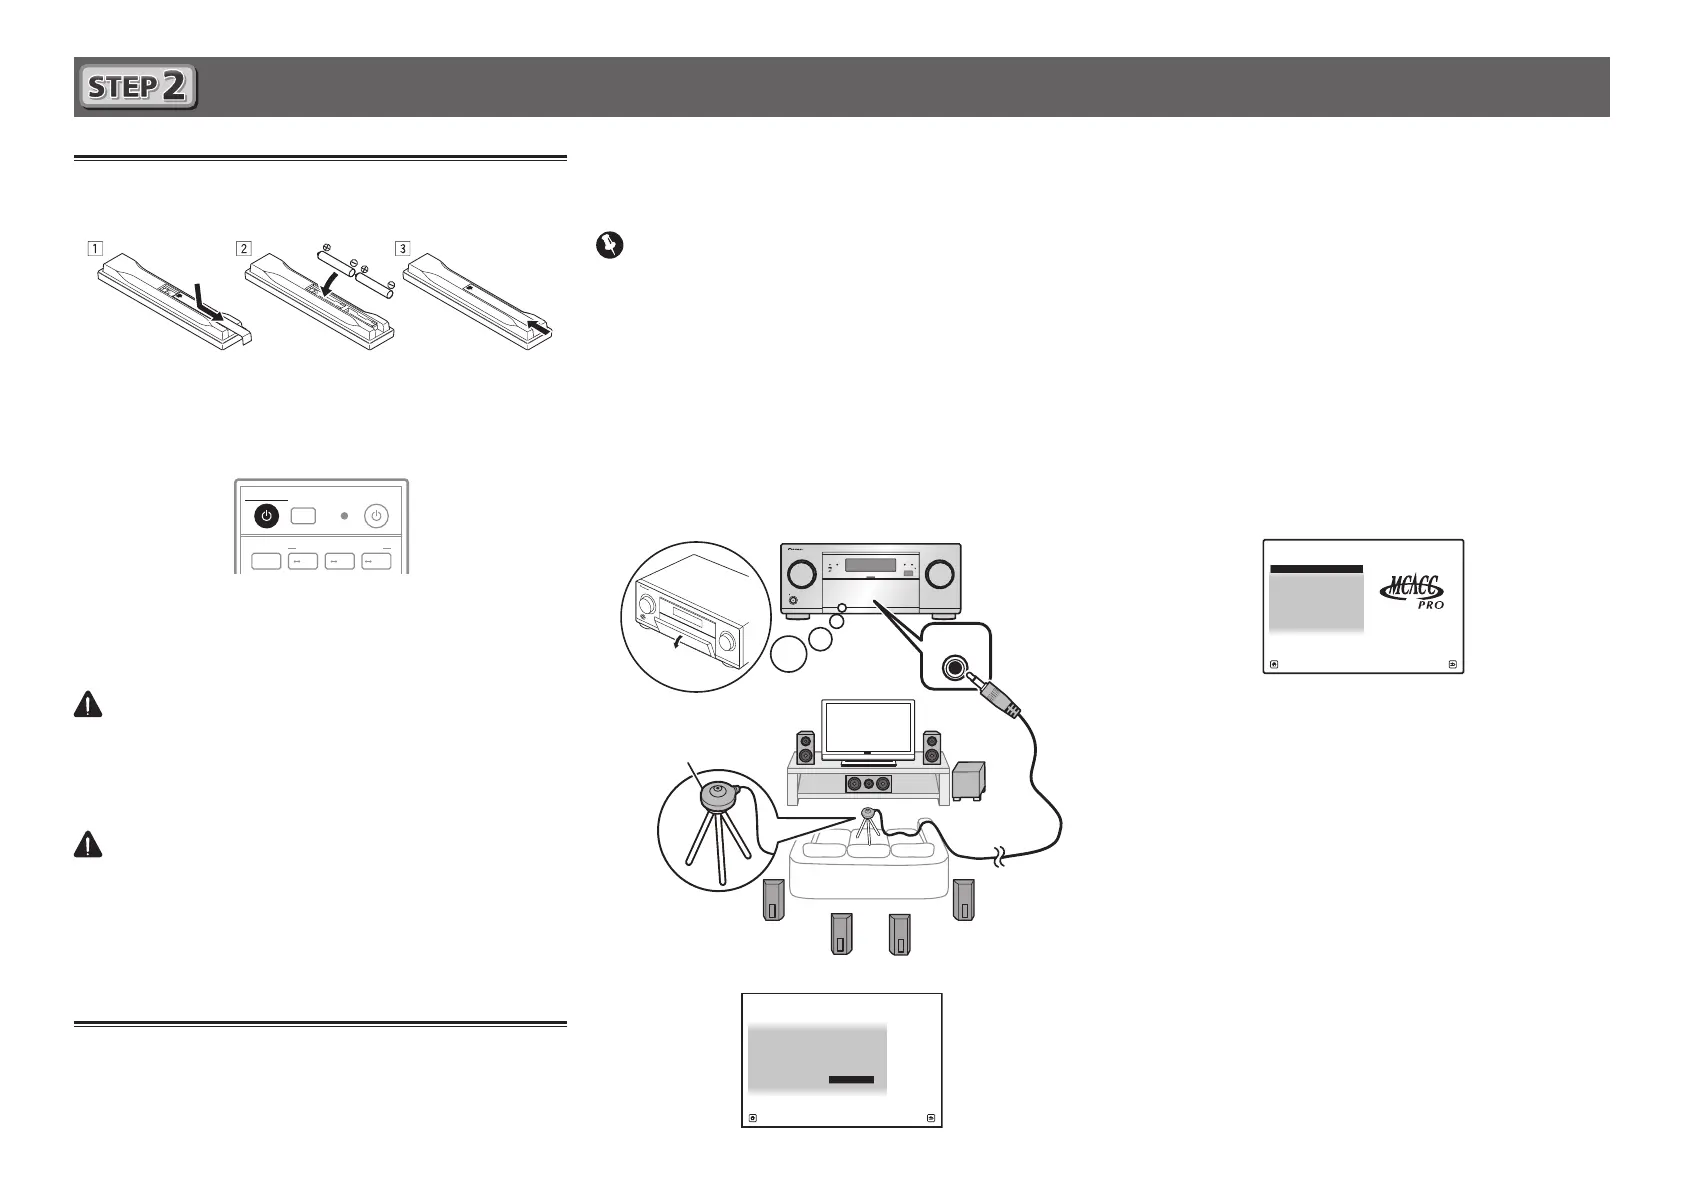
1
Connect the supplied setup microphone.
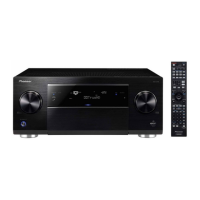
MASTER
VOLUME
STANDBY/ON
INPUT
SELECTOR
iPod iPhoneHDMI
MCACC PRO
FL OFF
MCACC
SETUP
MIC
Tripod
Microphone
The
Full Auto MCACC
screen appears on your TV.
Speaker System : 7.2.2ch TMd/FW
1a.Full Auto MCACC
A/V RECEIVER
Exit Return
START
EQ Type : – – –
MCACC : M1.MEMORY 1
Measurement Type : Basic
2
Press MAIN RECEIVER on the remote control
and operate.
• When the cursor is brought to
Measurement Type
and
Basic
is selected, the
Speaker Setting
/
Channel Level
/
Speaker Distance
is adjusted automatically. Selecting
Expert
allows you to automatically adjust
Standing
Wave
/
Acoustic Cal EQ
(frequency characteristics)/
Full
Band Phase Control
as well.
3
Bring the cursor to START and press the ENTER
button.
• Automatic measuring will start.
• Measuring will take about 3 to 12 minutes.
4
Follow the instructions on-screen.
• Automatic setting is complete when the Home Menu
screen appears.
1. MCACC PRO
2. MCACC Data Check
3. Data Management
4. System Setup
5. Network Information
6. Operation Mode Setup
Exit Return
HOME MENU
A/V RECEIVER
• If
Reverse Phase
is displayed, the speaker’s wiring (+ and –)
may be inverted. Check the speaker connections.
Even if the connections are correct,
Reverse Phase
may be
displayed, depending on the speakers and the surrounding
environment. This does not affect measurements, however,
so select
Go Next
.
• If the power cuts out, the core of the speaker cable may be
in contact with the rear panel, or the (+) and (–) cores may
be touching, causing the protection circuits to activate.
Re-twist the core of the speaker cable, and connect it so
that it does not protrude from the speaker terminal.
5
Make sure the setup microphone is
disconnected.
 Loading...