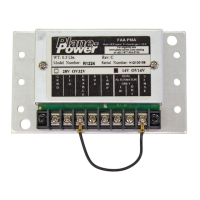
R1224 Regulator
Installation Instruction
12-1001 24-30-01
Rev. M: 01 Dec. 2021 Page: 6-13
© 2021 - Hartzell Engine Technologies - All rights reserved
(4) Choose one R1224B as “MASTER” and connect the PAR wire that was removed from one LAMAR
regulator to the OUT terminal.
(5) Connect the other PAR terminal to IN on the remaining R1224B regulator.
The installation is complete after testing.
6.15 Regulator Installation Guide-L
A. Prepare the replacement regulator
(1) Use the R1224 regulators. Ensure regulator jumpers are set to match aircraft battery voltage (12V or
24V).
(2) Remove the factory jumper between SENSE and ENABLE.
(3) Remove the old regulators. If the aircraft as equipped with Lamar Over voltage Relays you can remove
them if you desire. (The R1224B has internal over voltage control so the Lamar units are not needed).
(4) Add a jumper between ENABLE and AUX.
B. Prepare the installation:
(1) Cut the terminals off the end of these wires and install new ring lugs provided with the R1224 regulator.
C. Replace the regulator
(1) Remove the FORD-type regulator from the aircraft.
(2) Install the R1224 regulators in the same location using existing hardware.
(3) Connect the wires removed from the FORD type regulator to the corresponding replacement R1224:
- A to SENSE
- S to ENABLE
- F to FLD
The installation is complete after testing.
 Loading...