Chapter 2 Hardware Installation
Before you proceed with the installation, it is necessary that you have enough information about the
WAP-6100.
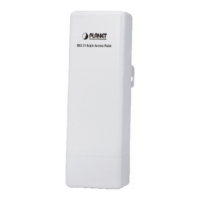
1. Locate an optimum location and use the provided metal ring to secure WAP-6100 to a mast.
2. Using provided CAT5 waterproof cable; connect the waterproof connector port of the WAP-6100
to the “P+DATA OUT” port of PoE Injector.
3. Using Category 3 or higher UTP or STP cable, connect the “DATA IN” port of PoE Injector to a
10Mbps or 10/100Mbps Ethernet hub or switch, and connect the management station to a hub or
switch on the same LAN.
4. Connect the power cord to the PoE Injector, and plug it into an AC outlet to power up the
WAP-6100.
Note: ONLY use the power adapter supplied with the WAP-6100. Otherwise, the product may be
damaged.
 Loading...