2
1
CS50 WIRELESS OFFICE HEADSET SYSTEM
3
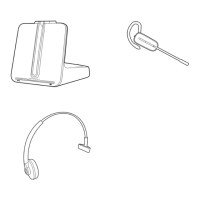
EXAMINE THE COMPONENTS OF THE CS50 SYSTEM
BASE & CHARGING UNIT
Front View
Outside View
Inside View
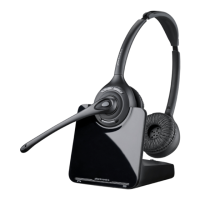
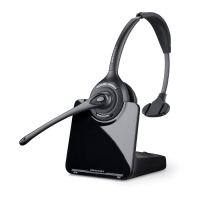
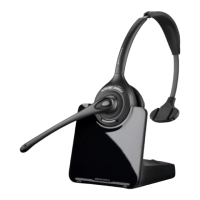
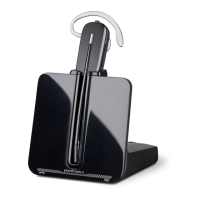
CORDLESS HEADSET
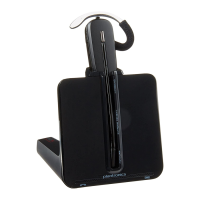
WEARING OPTIONS
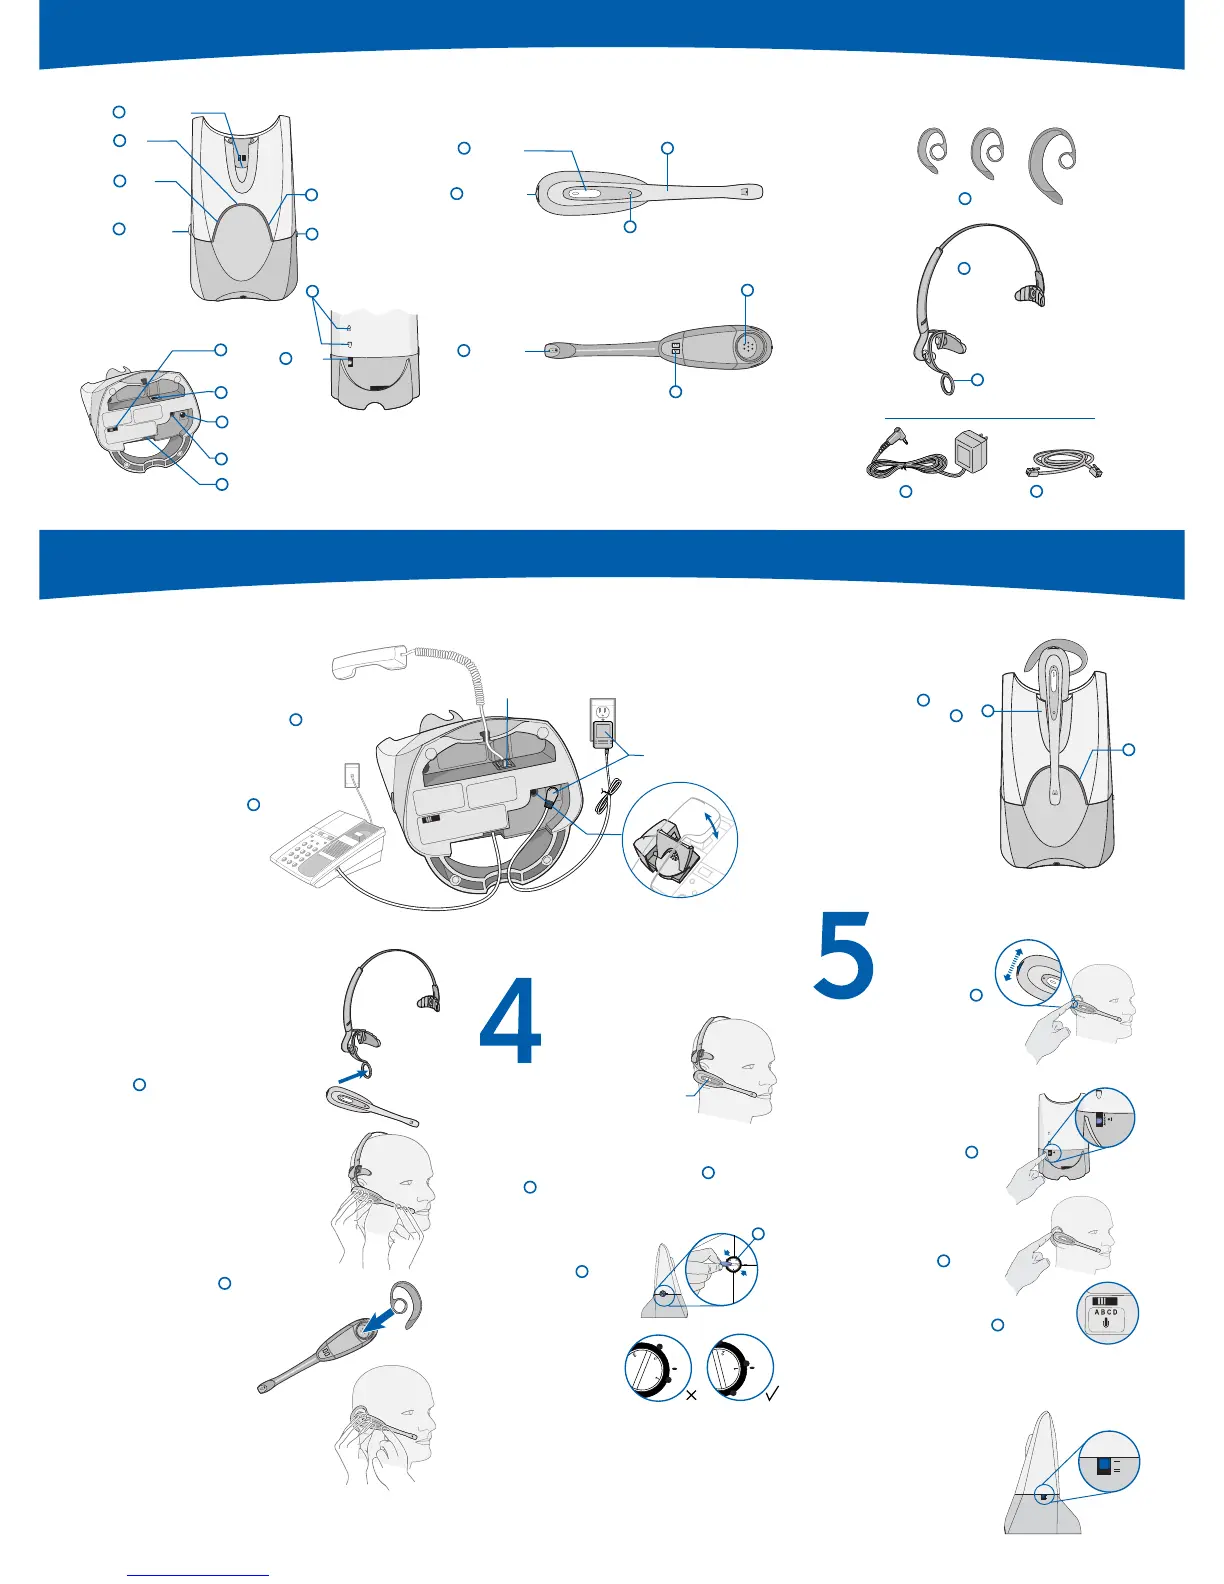
Set Up the Base
1.1 Connect your telephone’s
handset cord to the handset
jack
.
1.2 Connect your telephone
with the supplied short cord
to the telephone base jack
.
1.3 Connect the supplied AC power
adapter to the AC power adapter jack
and the plug into your power source.
The red power indicator light
should go on.
1.4 *Optional: Install the
optional handset lifter after
you have completed Step 5.
Use the handset lifter instructions
to install it. More information on
using the handset lifter with your CS50
system is located in the online Product
Information Booklet.
Charge the Headset
2.1 Dock the headset into
the charge cradle . The
amber charge indicator
will flash during charge.
If charge indicator does not
go on, reposition headset
in the cradle.
2.2 The charge indicator
will go steady after headset
is fully charged and ready for
use (approximately 3 hours).
Make Volume and Final
Adjustments
5.1
Adjust your
listening volume
with the listen
volume control
dial located towards
the back of the headset capsule.
Rock the dial up or down for
volume changes.
5.2
For “larger step” adjustments
to your listening volume, change
the position setting on the listen
volume master switch located on
the back of the base.
5.3
Push in the mute control
to activate mute, push in again to
de-activate mute. (You will hear a
slight beep in the speaker when
mute is activated.)
5.4
Adjust your speak volume
(how others hear you) with the
speak volume fine tune buttons
on the back side of the base.
5.5
For “larger step” adjustments
to your speak volume, change the position
setting on the talk volume master switch
located on the bottom of the base.
5.6
You can now activate your IntelliStand feature if you
have installed the optional handset lifter. When enabled,
this feature provides automatic Lifter activation by simply
removing and replacing your headset
in the base unit (no need to press
the talk button on the headset).
To enable, slide the IntelliStand
switch located on the side
of the base to the on position
(down) or disable by sliding
to the off position (up).
Set Up the Headset
For over-the-head use
3.1 Determine right or left
ear wearing position and
snap the headset speaker
capsule
into the t-pad headset
retainer ring.
3.2 While wearing the headset, adjust
the microphone
tip toward the corner
of your mouth by rotating the speaker
capsule within the t-pad retainer ring.
You may need to support the headband
in position while doing this, or just take
off headset and adjust, as the fit is snug.
OR
For over-the-ear use
3.3 Choose the earloop
size (small,
medium, or large) that should best fit
your ear. (You may need to experiment
to find the best comfort).
3.4 Determine right or left ear wearing
position and snap the headset
speaker capsule
into the
earloop
ring accordingly.
3.5 While wearing the headset, adjust
the microphone
tip toward the corner of
your mouth by rotating the speaker
capsule within the earloop retainer ring.
You may need to support the earloop in
position while doing this, or just take off
headset and adjust, as the fit is snug.
Setup and Test
Your System
4.1
Begin with your
“charged” headset
mounted in the
configuration of your choice.
4.2
Remove the telephone
handset from its base, taking it
“off-hook”.
4.3
Press the talk button on the headset.
The talk indicator lights on both the base and
headset should go on, indicating a successful link.
You should now be able to hear a dial tone through
the headset.
4.4
If not, you need to
adjust your telephone
configuration dial on
the base to another one
of its 4 positions until you
hear the tone.
4.5
Continue
configuration setup by
making a test call to a
friend or associate using
the key pad on your
telephone.
4.6
If they cannot hear you at all try changing
your telephone configuration dial on the base to
another one of its 4 positions until you hear them
and they hear you. Volume adjustments can be
made separately as described in the next step.
Listen Volume/
Mute Control
Microphone
Talk Indicator Light
Microphone Boom
Talk Button
Small Medium Large
This Quick Start Guide and the Product Information Booklet are located on our website at
www.plantronics.com/documentation/. Choose your language preference and Plantronics model number
Maintenance and Troubleshooting sections are in the Product Information Booklet at www.plantronics.com/documentation/
3.2
2.1
4.1
5.1
5.3
4.3
3.1
3.3
3.4
3.5
4.4
1.1
1.2
1.3
1.4

 Loading...