8
a. Insert the Setup/Application CD-ROM, included with your scanner, into your
CD-ROM drive. Click on the pop-up notification, then click Run install.exe in
the pop-up window. If you miss the pop-up notification, please eject and re-
insert the Setup/Application CD-ROM.
b. Click on the Yes button if the User Account Control dialog pops up.
Afterwards, please skip to procedure 5.
5. Follow the on-screen instructions to install all software that your new USB scanner
requires. If the pop-up wizard window appears click Next, and click Install this
driver software anyway in the Windows Security window then click Finish in the
wizard window.
6. After the software is installed, you will be prompted to perform the scanner
calibration.
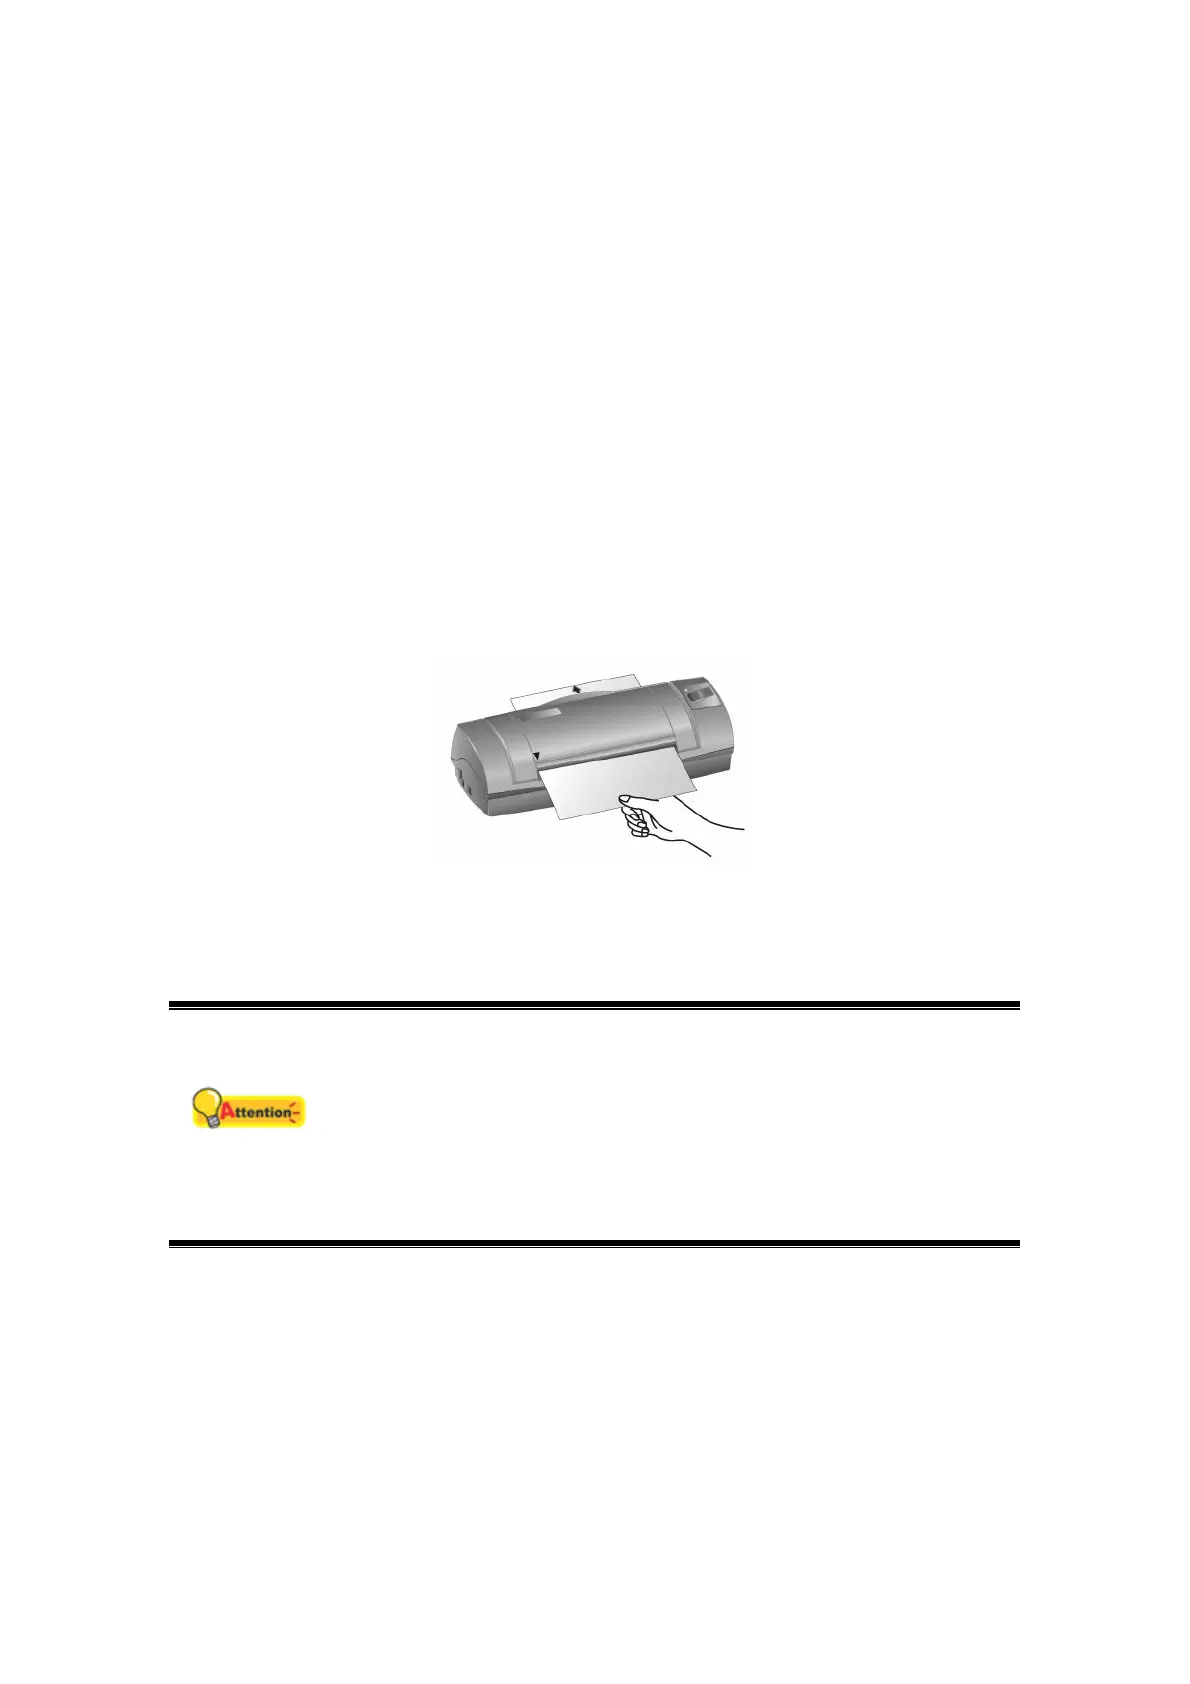
7. Insert the special calibration sheet, included with the scanner, face up into the page
feed slot of the scanner.
8. Follow the on-screen instructions to complete the scanner calibration.
9. After the installation is complete, close all open applications and click on the Finish
button to restart your computer.
Attention
Alternatively you may also use any plain white sheet of paper
sized in A6 (105 x 148 mm) instead; however, the calibration
effect may be less good than the special calibration sheet.
Save the Setup/Application CD in case you need to reinstall the
driver and software in the future.
Save the Calibration Sheet in case you need to calibrate the
scanner in the future.
Step 3. Testing the Scanner
The following test procedure checks to see if the scanner is properly functioning
with your computer and the scanning software. Before testing your scanner, double
check to make sure that all connections are securely fastened.
To properly test your scanner, please perform the following steps:
1. Do one of the following to open the Button Configuration window: