90
MAINTENANCE AND LUBRICATION
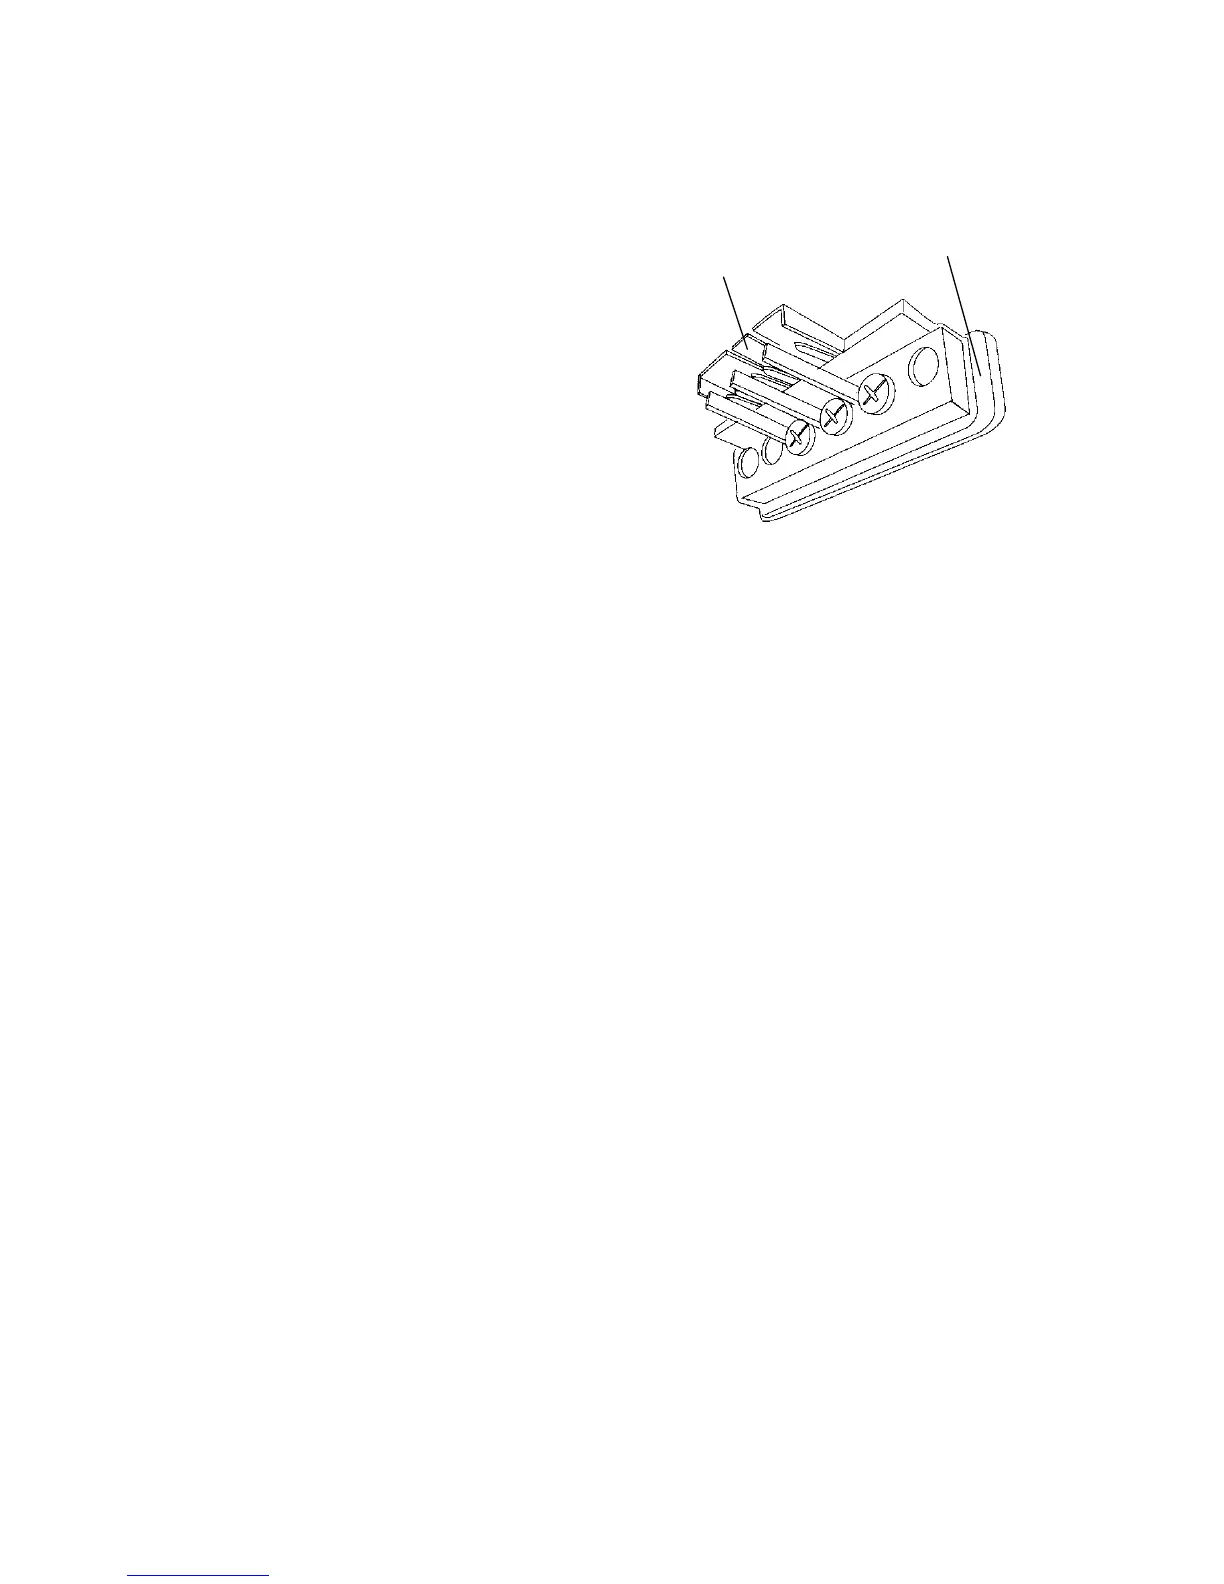
Lights
Indicator L amp Replacement
1. Lift the hood.
2. Reach in behind the console
panel and lift the release (1) to
unplug the light from the
harness.
3. Using a flathead screwdriver,
press on the tab (2) on the top
of the light to remove the
indicat or light assembly from
the console panel.
4. Using a screwdriver, turn the
light that needs to be replaced
1/4 turn counterclockwise.
5. Grip the light with a needle nose plier and remove the light from
the assembly.
6. Install the new light and use a small flat head screwdri ver to seat it
into place, 1/4 turn clockwise.
7. Snap the assembly back into the console panel and reconnect the
harness.
8. Close the hood.
Tool Kit
To help you perform routine m aintenance, a tool kit is provided with
your vehicle. Items included in the kit are:
S A screwdriver
S An open-end wrench (8-10 mm)
S An open-end wrench (12-14 mm)
S A tire pressure gauge
S A spark plug wrench and handle
NOTE: Additional t ools will be necessary to perform routine
maintenance.
1
2
 Loading...