17 | EN
Date and Time
Tap to enter the date and time setting controls. Press the arrows up and down to set the date.
You can also change the time here by selecting “TIME” in the top right corner. If the 24- hour toggle is turned on, there
will be no AM/PM option.
About
Here you’ll be able to check the version of your firmware. (See Section 14) Your camera’s model and serial numbers are
also listed here.
Legal
Legal information.
11-2
Additional Capture Mode Settings
From the general settings screen, tap the capture mode icon .
White Balance
Here you can adjust how the camera will adapt the capture of your photo to the lighting of the environment you are in.
Your options are: AWB (Auto White Balance) – which will automatically adjust according to what the camera perceives is
needed, incandescent, fluorescent, sunny, cloudy, and shade. AWB is the default setting on the camera.
Time Stamp
You can choose to place a “stamp” with the camera’s set date and time on your photos or videos. Note: If this feature is
selected, the time stamp will print on all your photos, including those printed via the app.
Light frequency (video only)
You can change the light frequency in which the camera will capture video. Your options are 50 or 60Hz. This will usually
be pre-set according to the country you’re in. For example, in the USA, Canada, and Japan it’s usually 60Hz, and in most
other countries it’s usually 50Hz.
11-3
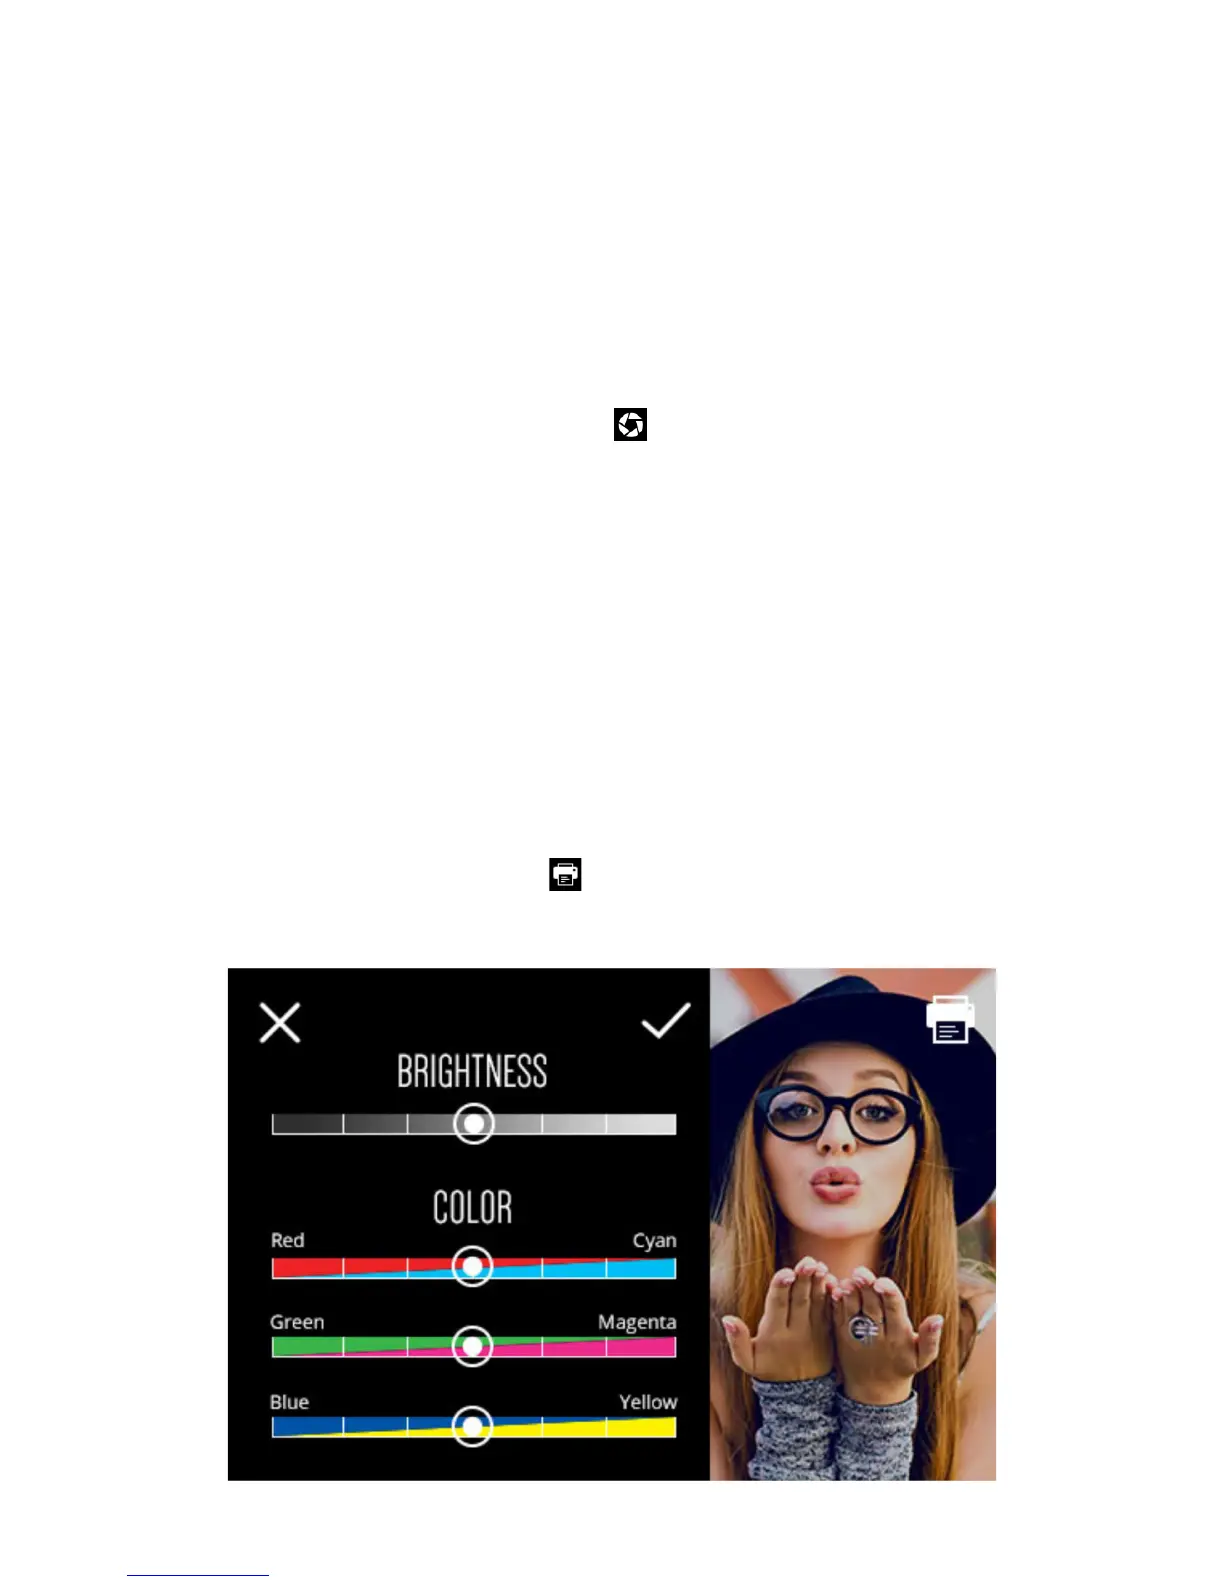
Print Settings
From the general settings screen, tap the printer icon .
Color correction
 Loading...