16
ENGLISH
09
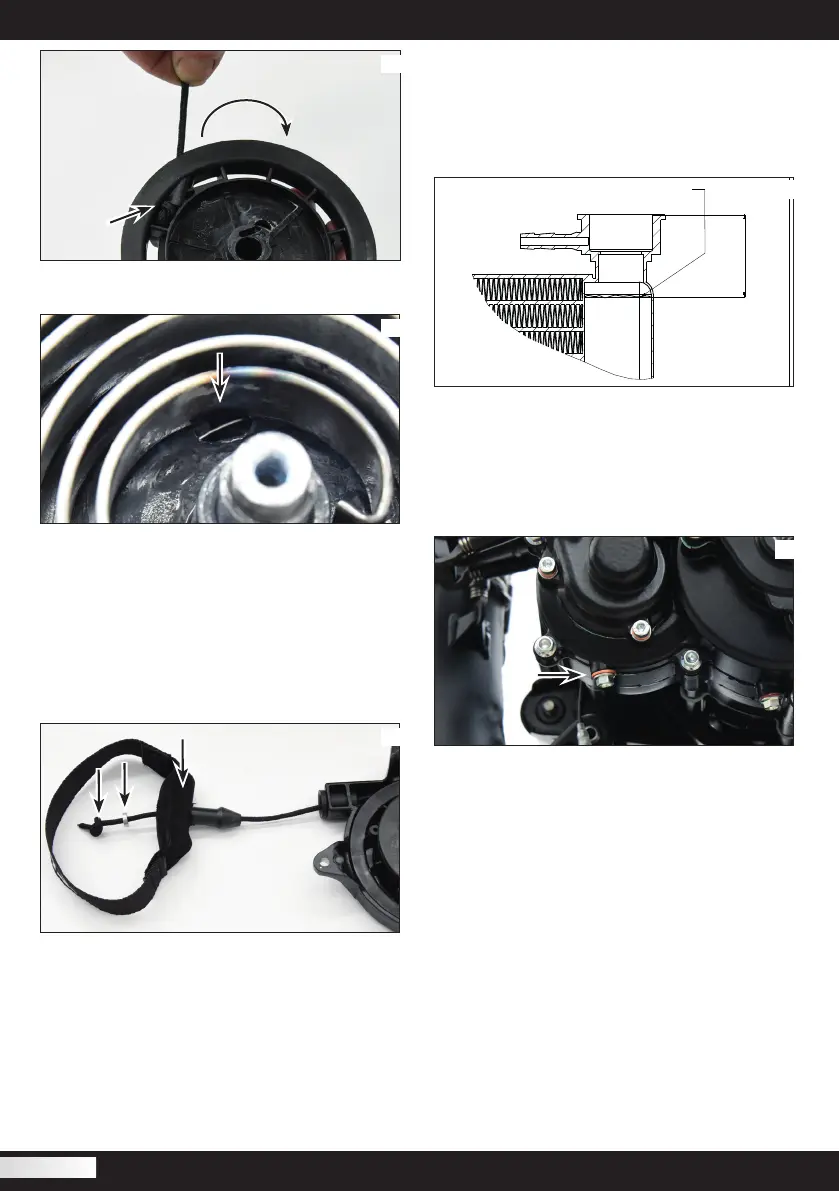
Now insert the plastic wheel in its housing again, and check through
the hole that the internal spring hook is perfectly coupled (Photo 10),
10
place the springs, the teeth for the starter jaw and screw the cover again
using medium thread-locker.
All the parts in movement, including the springs, must be well lubricated.
Now go on by charging the return spring: take the head of the rope
leaving 10-20 cm coming out the hole with “u” shape on the wheel
side. Turn the wheel 6,5 times in counter clock-wise sense till it stops in
front of the exit hole on the aluminium case. Keeping the plastic wheel
stopped, pass the rope through the case hole. Insert the handle and the
washer and tie a single knot as shown in (photo 11).
11
! ATTENTION! verify that the return spring does not reach the end
of the stroke. Extract the rope completely and turn the wheel again to
check that it can make at least one turn before stopping.
This test is very important because the spring hasn’t been studied to
reach the end of the stroke and, if it happens, the spring will break.
Reassemble the starter in the engine and tight the 4 screws (M5) with
strength (see the tightening torque values table).
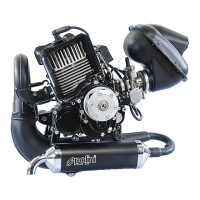
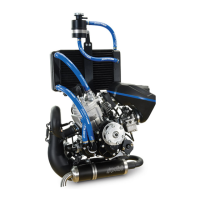
9.5- COOLANT SYSTEM CHECK
Periodically check the cooling system: when the engine is cold, the coo-
lant must cover the last element of the radiator. (Photo 12) If necessary
add some liquid, using the one specific for aluminium radiator.
! ATTENTION: never open the cap when the engine is hot, you
could burn
Materiale
HRC
UNI Stato
STATO DELLE SUPERFICI
HB Disegno N
Codice
Disegnato
TOLLERANZE GENERALI
Denominazione
Stato Avanzamento
Dimens. da:
Toller.
a: 6
0
0.1
OLTRE
30
0.2
6 30
120
0.3
360
30'
120
0.5
0
Data
Scala
Peso [grammi]
3032,95
28/04/18 1,000
PELLICIOLI
RADIATORE THOR 202
alluminio
SCK-0601
011.3787
exp
C
Trattamento
VERNICIATO NERO
In fase di elaborazione
NON VALIDO PER PRODUZIONE
A termini di legge ci riserviamo la proprieta'di questo disegno
con divieto di riprodurlo o di renderlo comunque noto a terzi
COOLING LIQUID LEVEL
35-40
12
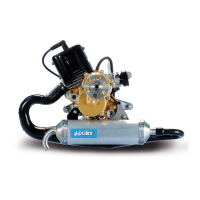
9.6- COOLING LEVEL EMPTYING
If necessary, empty the cooling system by unscrewing the proper screw
(see photo 13) and collect the leaking liquid. Remove the cap to make
this operation easier.
! ATTENTION: Do not empty it when the engine is hot, you could
burn.
13
9.7- COOLING SYSTEM FILLING
Fill in the cooling system using coolant specific for aluminium radiator
till covering the last element of the radiator. (photo 12). To make the
filling easier and to eliminate possible air bubbles, press repeatedly the
pipe at the base of the radiator to check the proper level of the liquid.
It is recommended running the engine for some seconds and check the
level again.
! CAUTION! Check the coolant before each using.
10- BEHAVIOUR IN FLIGHT
Maximum acceleration is recommended only to take off (full power) or
when really necessary!
In order to avoid a poor mixture from acceleration/ascent to level flight
conditions, loosen the engine till a descending phase and then gradually
accelerate again till achieving a level flight or a glide angle or a rise
angle wished. In this way you will be sure to maintain firm and effi-
cient the carburation, avoiding being over rpm with a minimum valve/
throttle opening.
We remind you that two stroke engines do not stand constant range for