Go to TLSPlatform Profile 1 section.
■
Clear the CACertList default check box and select Platform 1.
■
Click Submit button.
■
Click Reboot button.
■
You will have to wait some time for the device to reboot. If everything is done as described
above, you should have successfully installed certificate to your device.
Configure BLF
Extension Settings
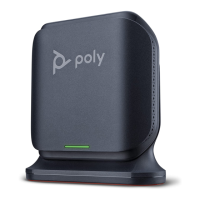
This section describes how to configure BLF (Busy Lamp Field) for Poly Rove B2.
Log in to the PBXware's web administration interface.
Open a new browser window and enter the IP address in order to access the PBXware's web
■
administration login page. Example: http://192.168.1.10.
Log in to PBXware with the e-mail address and password.
■
Edit an Extension
On the Extensions page, click the Edit icon corresponding to the Extension.
■
Click Advanced Options.
■
Navigate down to the Auto Provisioning and Presence group of settings.
■
Make sure Auto Provisioning is set to Yes.
■
Make sure Presence is set to "Yes".
■
Click Save.
■
Click Enhanced Services.
■
Click the Directory / BLF List check box and click the Save button in order to enable this
■
feature.
Click Directory / BLF List Edit.
■
Enter the user's Extension number and click the BLF check box.
■
Click Save.
■
Additional Configuration Template
If you want to include some additional UAD configuration for Poly Rove B2, just add fields to
User Agent General Auto Provisioning Template in Settings -> UAD -> Poly Rove B2
menu, or add them directly to the Extension in UAD Auto Provisioning Template section.
Retrieved from "http://wiki.bicomsystems.com/Poly_Rove_B2"

 Loading...