9
ASSEMBLY
1. Locate and identify all parts.
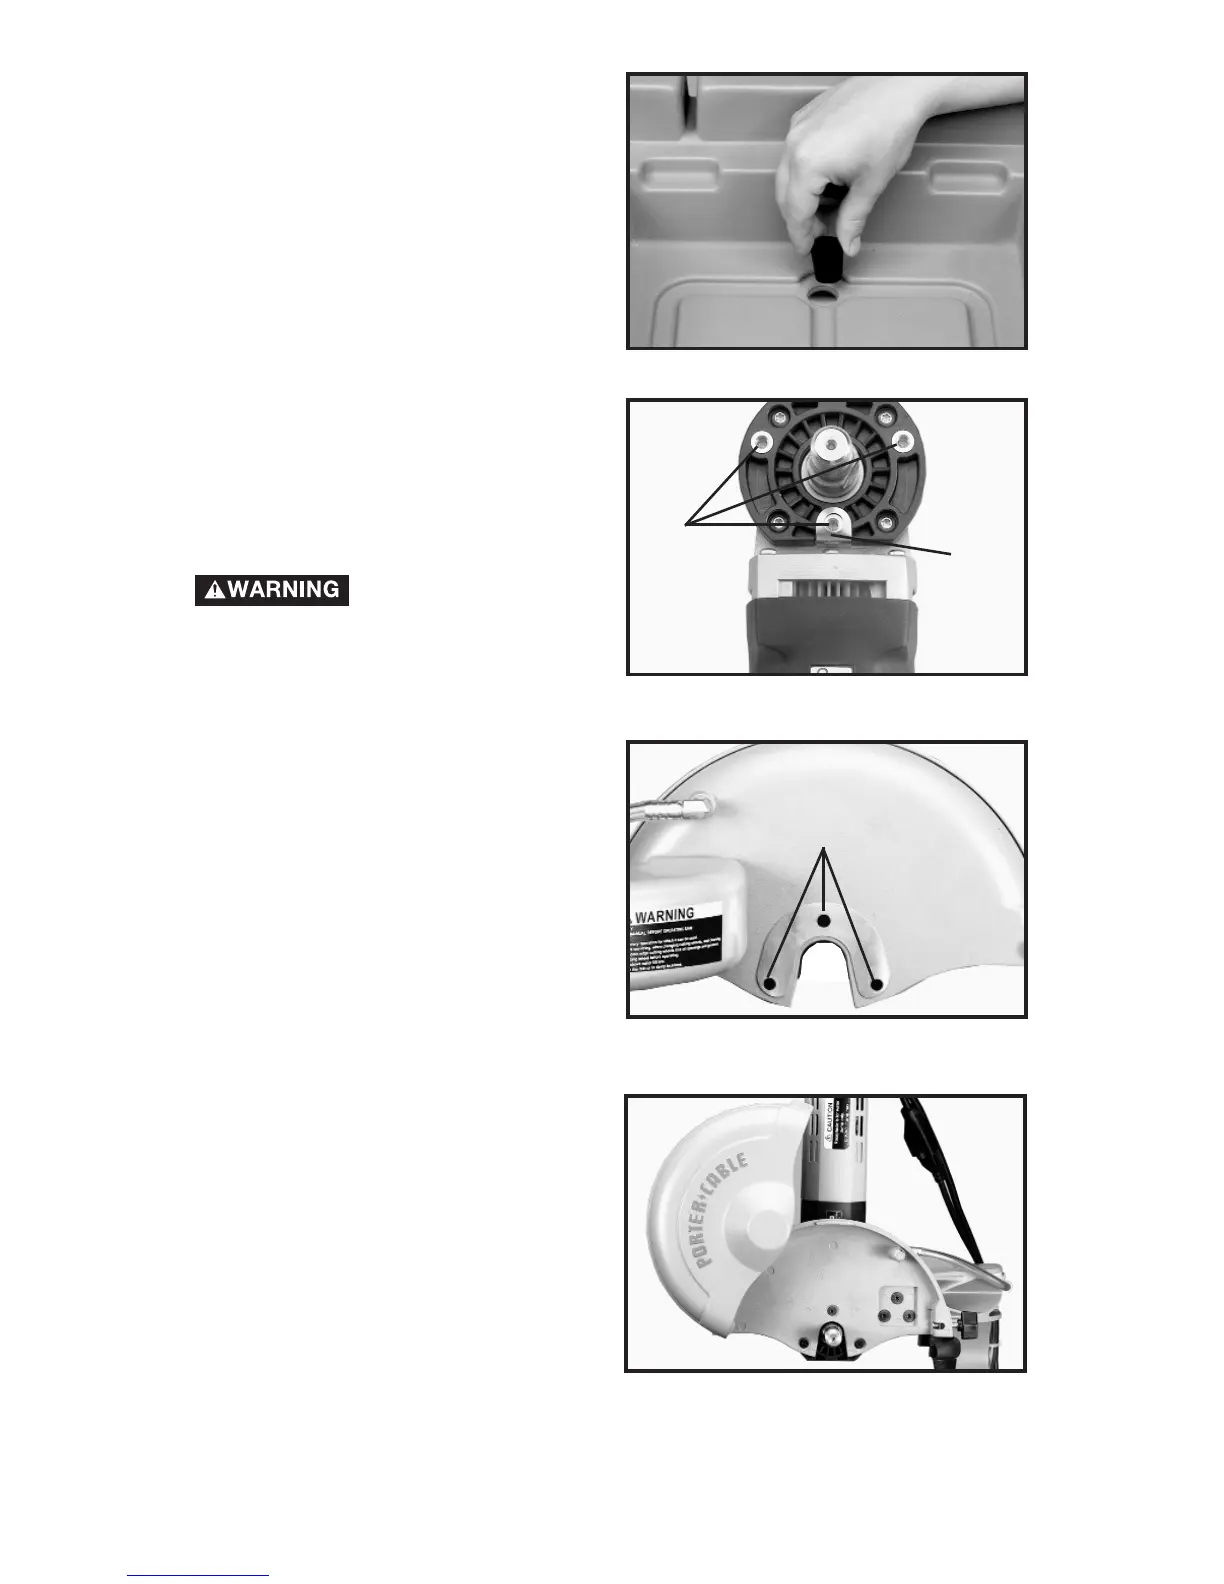
2. Insert the plug (F) Fig. 1, into the
water tray (A) Fig. 1. The plug
should be inserted into the top of
the water tray as shown in Fig. 2.
ATTACHING THE MOTOR
TO THE SAW ARM
1. Place the motor on a flat surface.
2. Line up the 3 holes (A) Fig. 3, in
the motor, with the 3 holes (A)
Fig. 4 in the saw arm.
3. Thread each screw (G) Fig. 1,
through the holes in the saw arm
to the holes in the motor.
Make sure that the
motor grounding tab (B) Fig. 3, stays
in place when attaching the motor to
the saw arm, for this provides a
means of grounding the motor.
4. Once the screws are threaded
into the saw arm and motor, Fig.
5, tighten securely.
Fig. 2
Fig. 3
A
B
Fig. 4
A
Fig. 5