14
ASSEMBLY/ADJUSTMENT SET-UP
TO REDUCE THE RISK OF INJURY, ALWAYS REMOVE BATTERY
FROM SAW BEFORE ANY OF THE FOLLOWING ADJUSTMENT OPERATIONS.
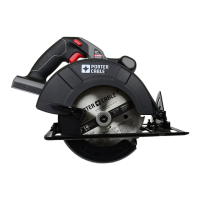
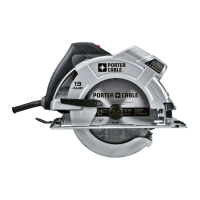
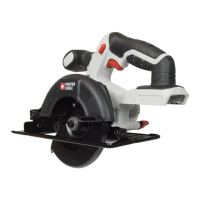
CUTTING DEPTH ADJUSTMENT - FIGURES I & J
The depth of cut should be set according to the thickness of the workpiece.
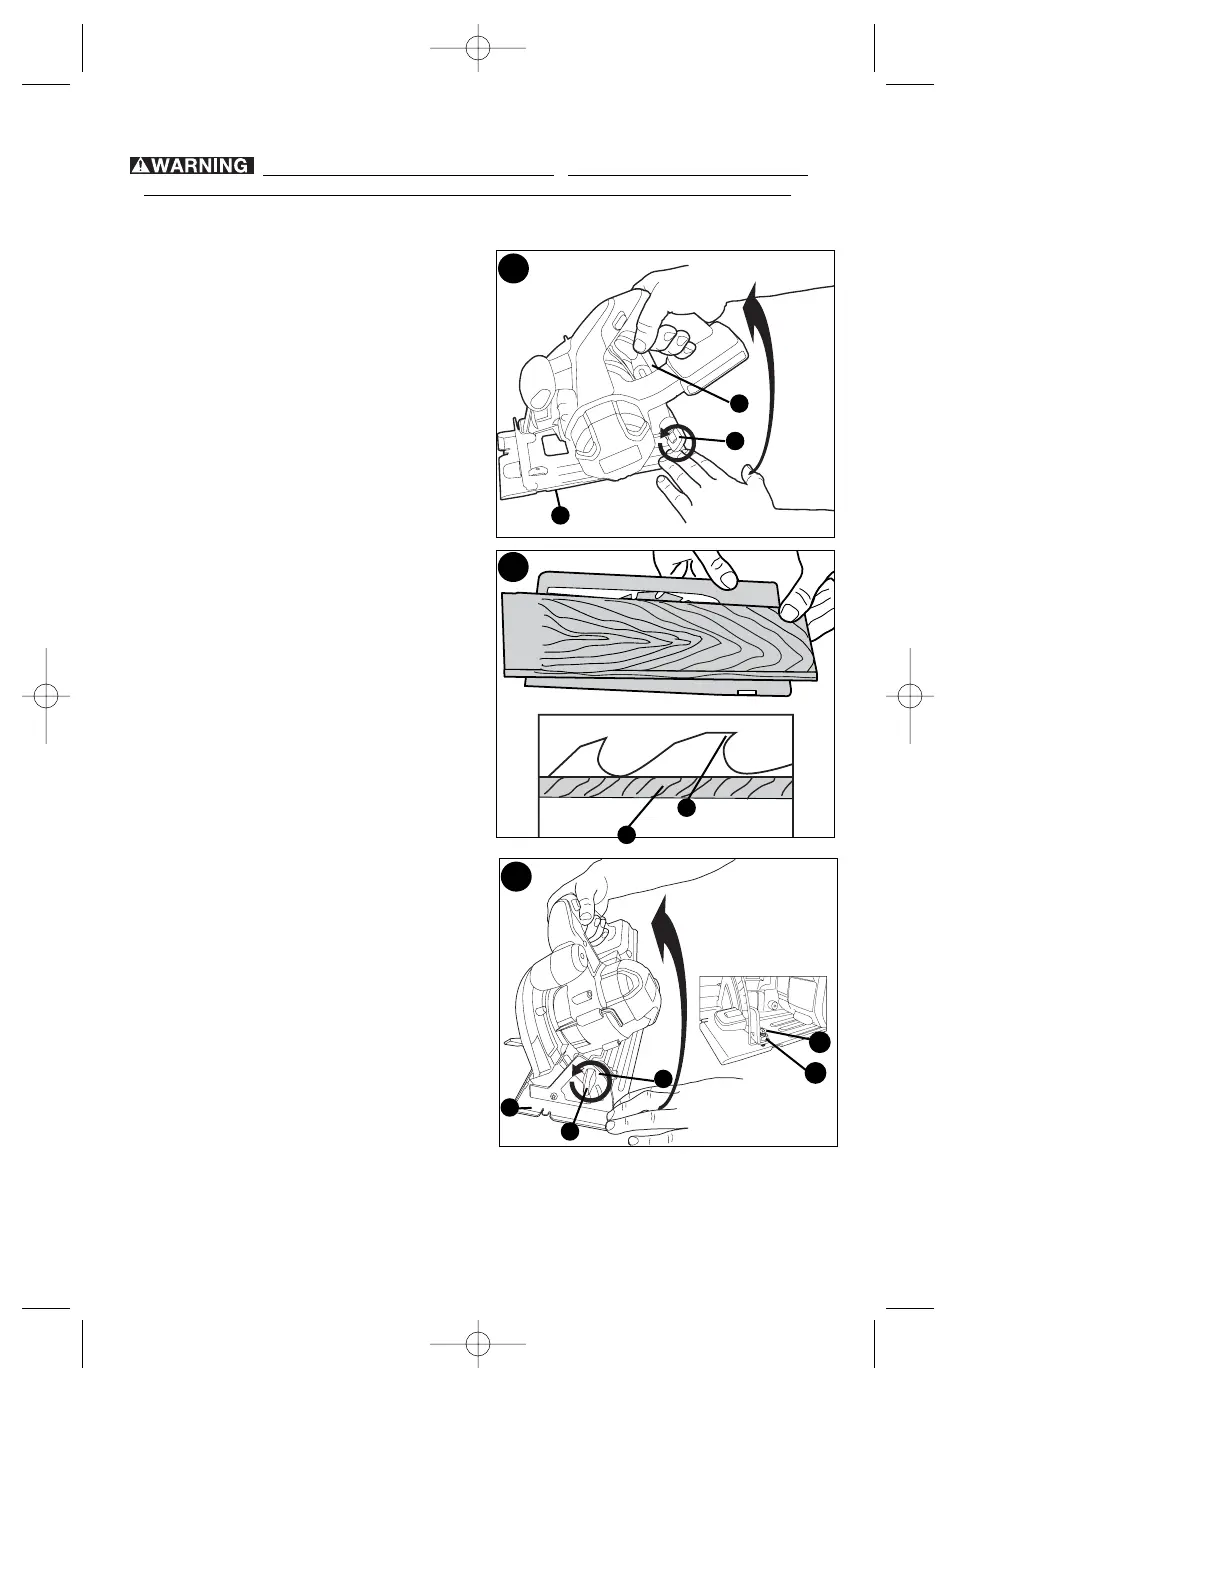
• Loosen the depth adjustment knob (14) to
unlock the saw shoe (8) as shown in figure I.
• Move the saw shoe into the desired
position. The corresponding depth of cut
can be read from the scale (17).
• Tighten the knob or lever to lock the saw
shoe in place.
• Set depth adjustment of saw such that one
tooth (18) of the blade projects below the
workpiece (19) as shown in figure J.
BEVEL ANGLE ADJUSTMENT - FIGURE K
This tool can be set to bevel angles between
0° and 50°.
• Loosen the bevel adjustment knob (13) to
unlock the saw shoe.
• Move the saw shoe (8) into the desired
position. The corresponding bevel angle can
be read from the scale (20).
• Tighten the bevel adjustment knob (13) to
lock the saw shoe in place.
SHOE ADJUSTMENT FOR 90° CUTS
IF ADDITIONAL ADJUSTMENT IS NEEDED:
• Adjust the saw to 0° bevel.
• Retract blade guard (11).
• Loosen bevel adjustment knob (13). Place a
square against the blade (10) and shoe (8) to adjust the 90° setting.
• Loosen jam nut (13b) and move the adjustment screw (13a) (inset figure K) so that the
shoe will stop at the proper angle. Retighten jam nut.
• Confirm the accuracy of the setting by checking the squareness of an actual cut on a
scrap piece of material.