ENGLISH
8
Fig. C
7
16
17
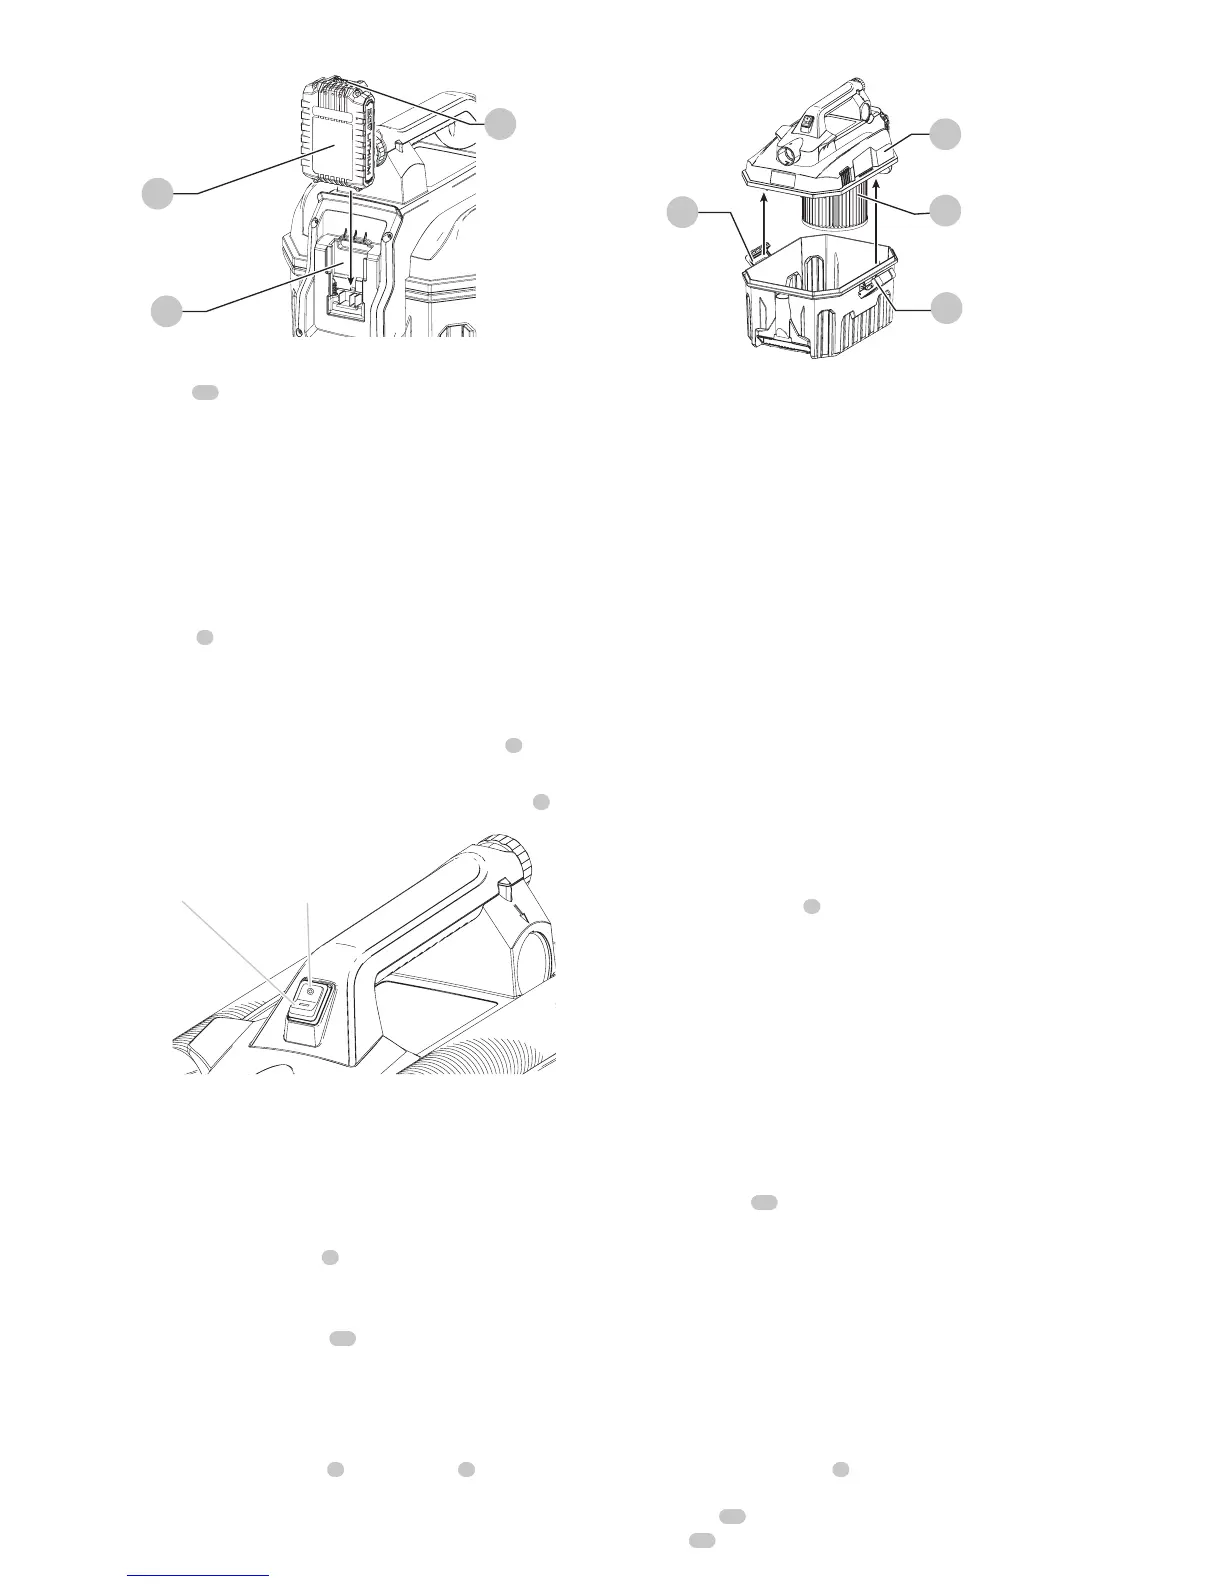
To remove the battery pack from the tool, press the release
button
17
and firmly pull the battery pack out of the tool
handle. Insert it into the charger as described in the charger
section of thismanual.
Proper Hand Position
WARNING: To reduce the risk of serious
personal injury, ALWAYS hold securely in anticipation of
a sudden reaction.
Proper hand position requires one hand on the main
handle
2
.
Using the Vacuum
On / Off Switch (Fig. D)
1. Attach the appropriate accessory to the hose
8
.
2. Insert battery pack.
3. To turn vacuum on, press the I/O (on/off) button
1
.
Fig. D
ON position OFF position
Dry Vacuum Cleaning
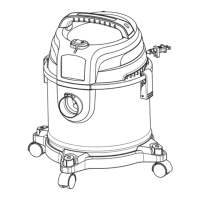
To empty tank (FIG. E)
The sound of the motor changes and suction is reduced
when the tank is full.
1. Turn vacuum off. Remove the battery pack.
2. Unlatch tank latches
5
and remove power head from
the tank.
3. Empty contents of tank into suitable container.
4. Clean or change filter
18
. See Filter section of this
manual.
5. Inspect vacuum for damage by foreign objects. Contact
the nearest PORTER-CABLE authorized service center for
replacement of damaged or missing parts.
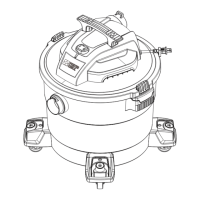
6. Replace power head
3
onto the tank
5
and latch
securely.
Fig. E
5
5
18
3
Wet Vacuum Cleaning
WARNING: To reduce the risk of electric
shock. Do not expose to rain. Store indoors.
CAUTION:
Do not tilt vacuum when in use.
If vacuum has liquid in the tank it may spill out from the
exhaust port.
CAUTION: Ensure battery port and
terminals are dry and clean before installing battery
pack.
The filter must be removed before using the vacuum to
clean liquids. See Filter section of this manual.
To empty tank
The sound of the motor changes and suction is reduced
when the tank is full.
1. Turn vacuum off. Remove the battery pack.
2. Unlatch tank latches
5
and remove power head from
the tank.
3. Empty contents of tank.
4. Inspect vacuum for damage by foreign objects. Contact
the nearest PORTER-CABLE authorized service center for
replacement of damaged or missing parts.
5. Dry inside of power head and tank with a clean cloth.
6. R
eplace power head
3
onto the tank
5
and latch securely.
Filter
Filter care
The wet/dry filter
18
included with this vacuum is a long
life filter. To be effective in minimizing dust recirculation the
filters MUST be installed correctly and in good condition.
NOTE: A clean filter is the most important factor in the
operation and efficiency of any vacuum. If the filter becomes
clogged beyond cleaning, damaged, or fails to operate
properly, replace only with a reccommended replacement
filter.
TO CLEAN OR CHANGE THE FILTER (Fig. F)
1. Turn vacuum off. Remove the battery pack.
2. Unlatch the tank latches
5
and remove the power
head from the tank as shown in figure E. Unlock the
filter lock
19
by twisting it counter clockwise. Pull the
filter
18
out to remove it from the power head.