Please take a moment to register your new products
to receive the *Extended Warranties.
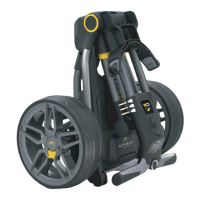
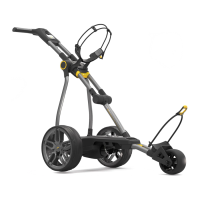
You will be required to enter the serial numbers for the
Trolley, Battery, and Charger. These are located on the
individual items. The serial number on the trolley is
located in the rear joint, See image.
Product Warranty
2
Scan to open the registration page
or visit: powakaddy.com/my-powakaddy
Don’t miss out!
Register now!
GETTING STARTED
3
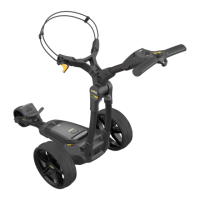
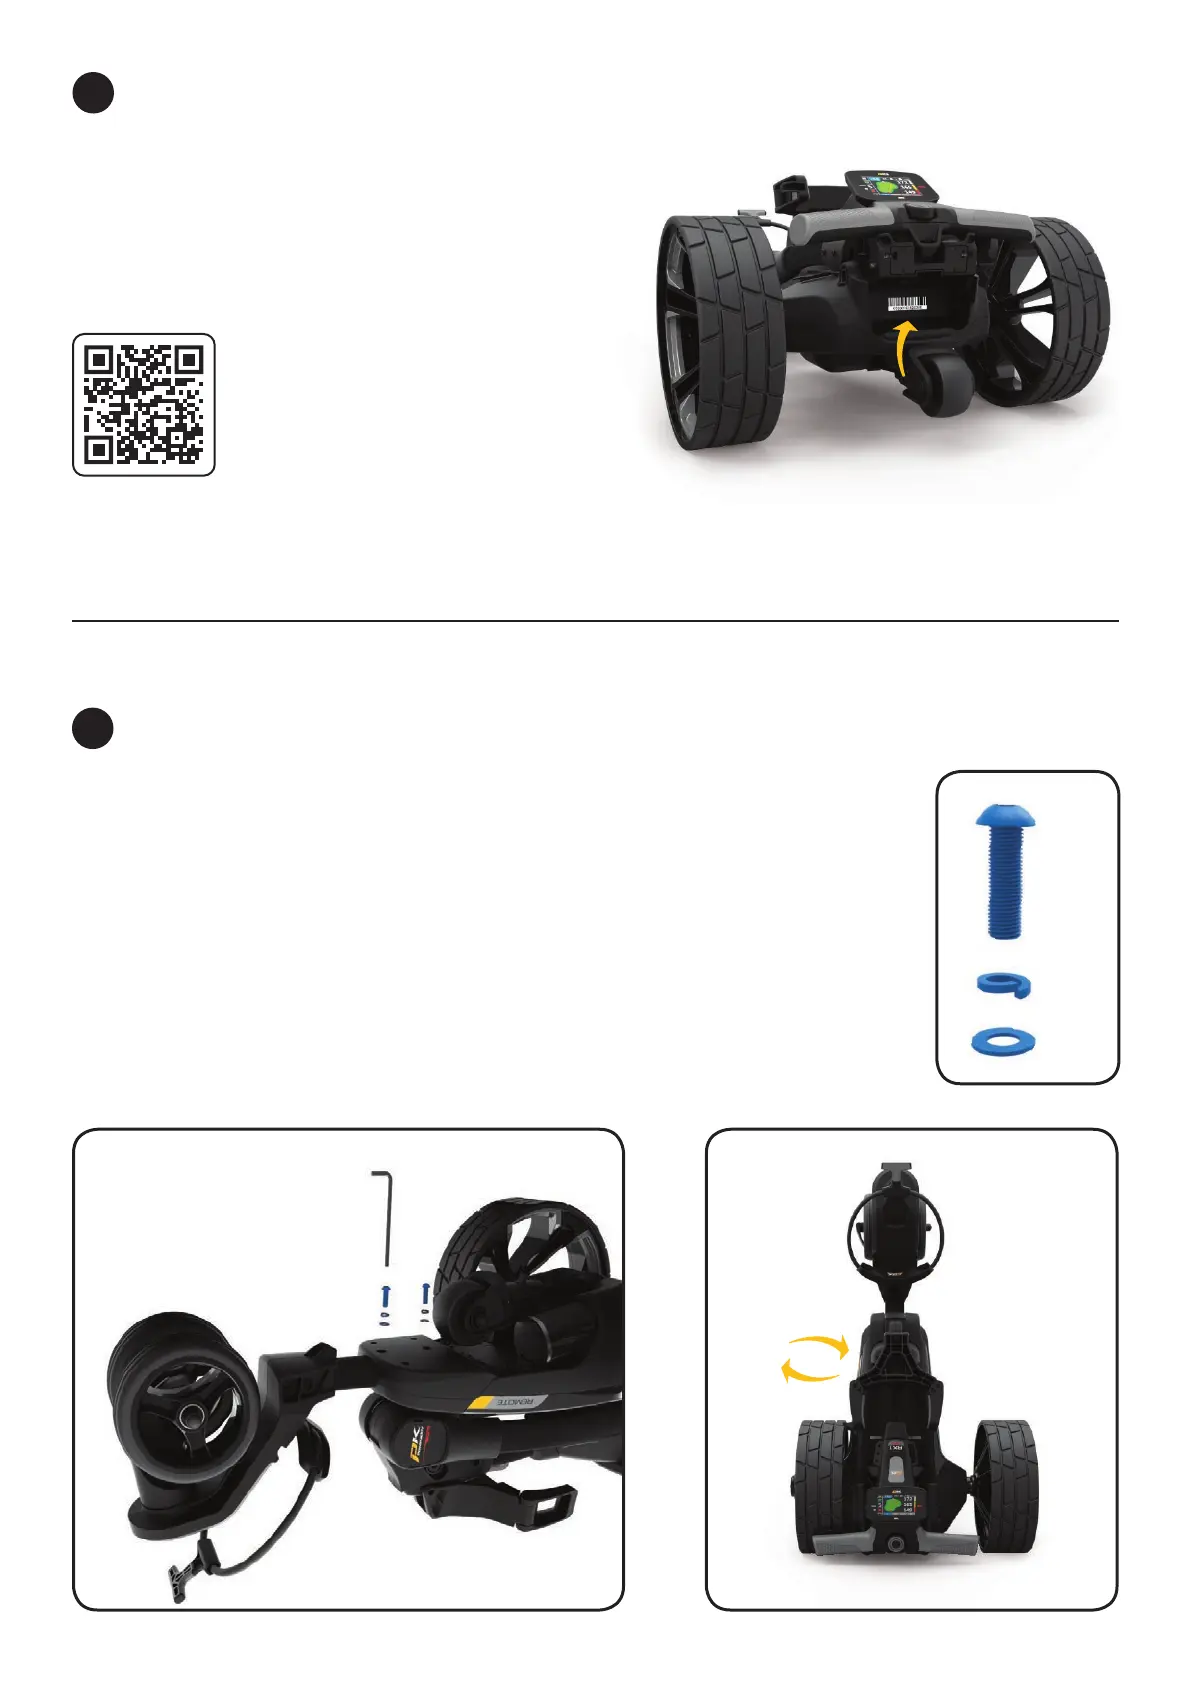
Remove the front wheel assembly, wheels, and frame from the box.
Slide the front wheel assembly into the frame and secure using the two hex screws and
washers provided in the pack. Tighten using the hex key supplied. Note: please save the hex
key for adjusting the handle height and attaching the accessory station bolt (supplied in the
manual pack).
Remove the axle caps and t the wheels by pressing the release button located on the hub
and slide onto the axle until the the wheel is touching the black clutch. For ease during
transport and storage purposes, the wheels can be inverted.
Note: The wheels can be locked into two positions on the axle; push onto the inner groove to
engage the clutches. The outer groove can be used when drive is not required.
*Terms and conditions apply. See powakaddy.com for details.
2
1
3
Storage Normal Use
 Loading...