8
secure with locknuts. Do not over-tighten the
screws.
NOTICE: Make sure all fasteners are tightened
before starting the machine.
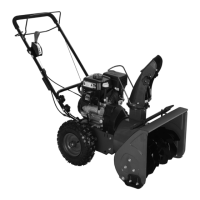
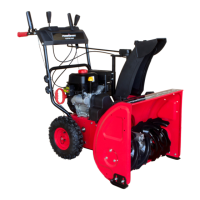
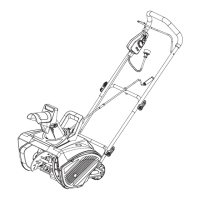
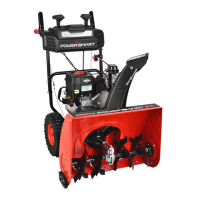
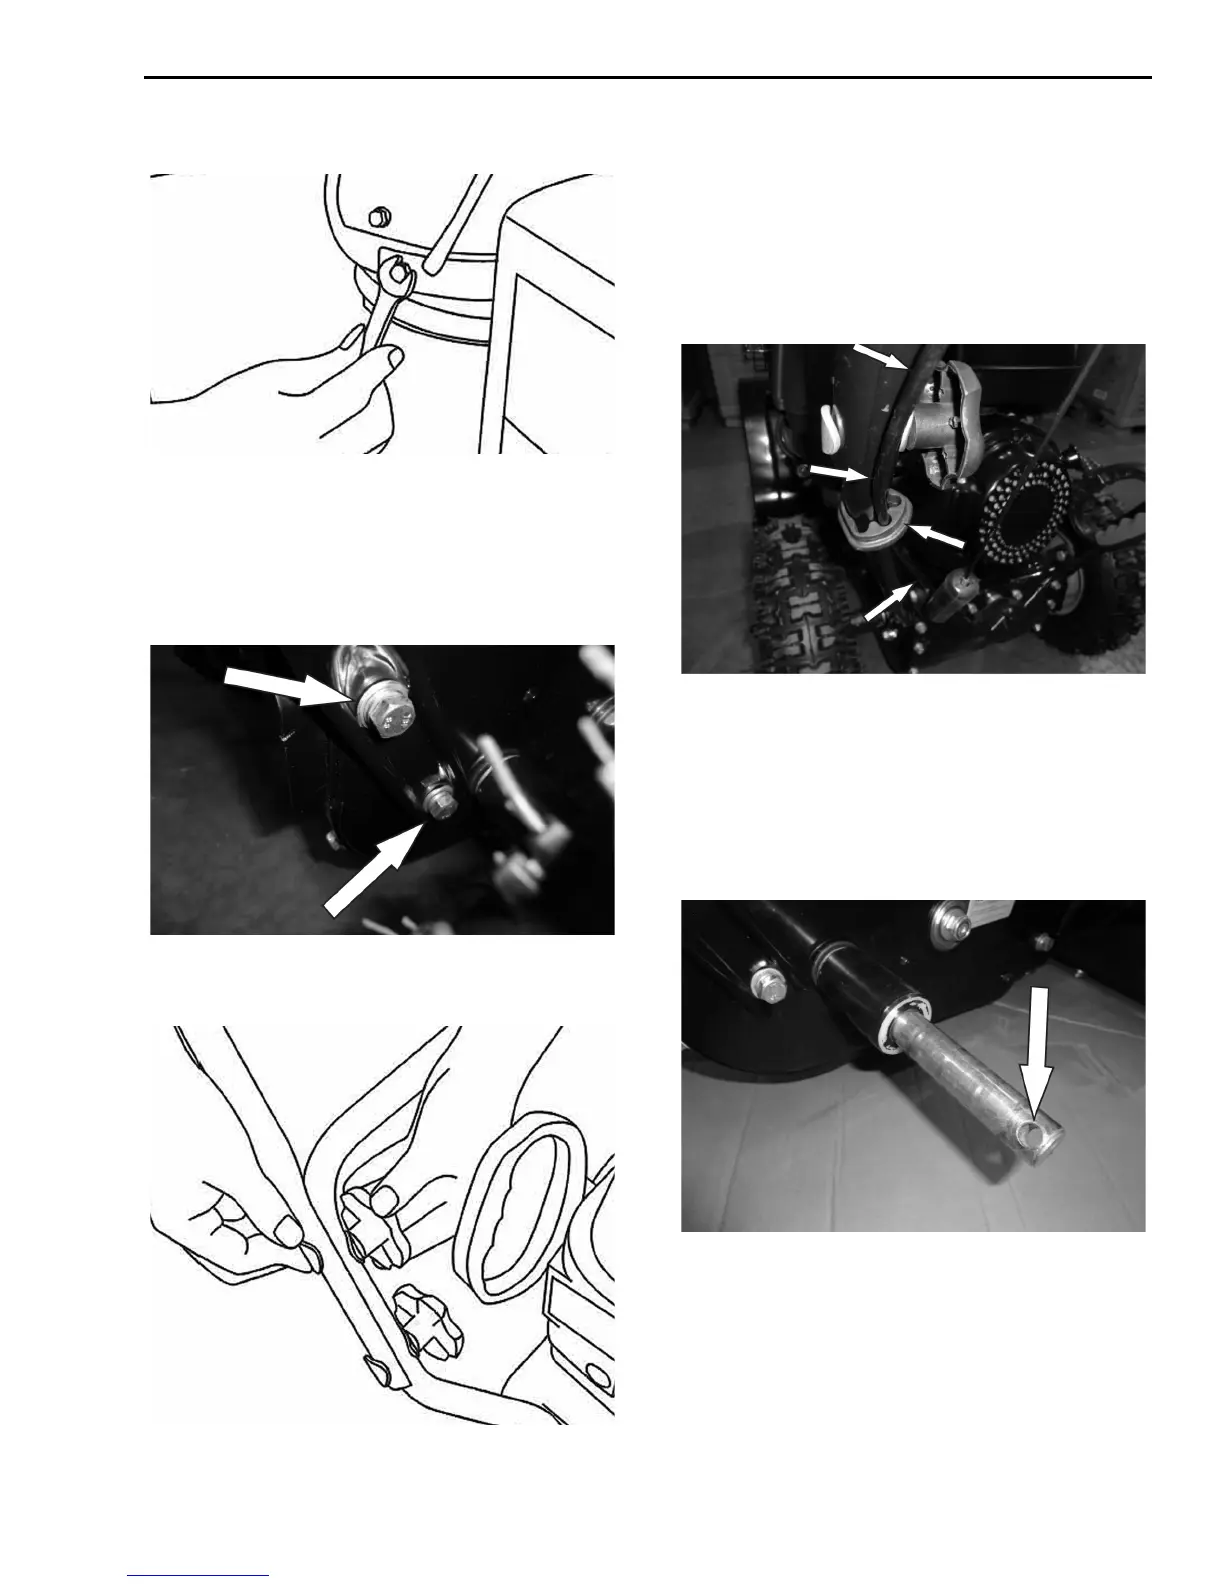
Handle Assembly
1. Attach the lower handles using four (4) bolts.
Each side will require two (2) bolts.
2. Attached the upper handle to the lower handle
using four (4) knobs, washers and bolts.
NOTICE: Do not bend or kink the control cables.
The cables should be routed under the handle
assembly and not wrapped around the handle or
knobs. The cables must move freely and not bind.
3. Secure the speed control cables to the handle
with provided clips.
Note: Do not secure the auger or drive control
cables with the clips.
Wheel Installation
1. Raise and support the rear of the snow
thrower to allow the installation of the wheels.
2. Slide the wheels onto the axle (one on each
side) and align the hole on the wheel hub with
the hole in the axle.
3. Install a retaining pin through each wheel to
secure. Insert the pin then pivot the ring over
the axel hub.
 Loading...