Do you have a question about the Powerline BSGLPX and is the answer not in the manual?
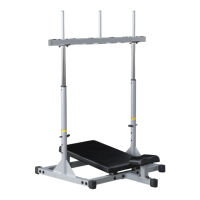
Slide Main Lower Bracket (A) over the BSG10 Foot Plate Bracket (M) and ensure internal catch (L) engages.
Align bracket holes (Y) and (X), install bolt (2), washers (4), and nylon lock nut (5).
Attach rubber stopper (7) and nut (11) to bracket (A), and install plastic endcap (8).
Attach Cable Connecting Bracket (C) to the Leg Extension Frame and secure with bolt (3), washers (4), and nylon nut (5).
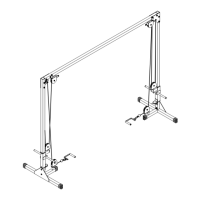
Slide Main Lower Bracket (A) over the BSG10 Foot Plate Bracket (M) and ensure internal catch (L) engages.
Align bracket holes (Z) and install bolt (2), washers (4), and nylon lock nut (5).
Attach rubber stopper (7) and nut (11) to bracket (A), and install plastic endcap (8).
Attach Cable Connecting Bracket (C) to the Leg Extension Frame and secure with bolt (3), washers (4), and nylon nut (5).
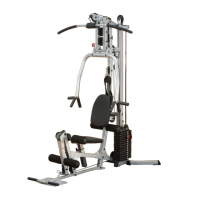
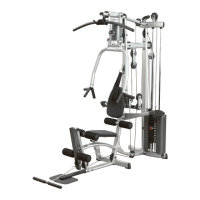
Install plastic endcaps (15, 16) and then install Leg Press Assembly (B) into Main Lower Bracket, securing with Safety Pin (12).
Install tension cable (65mm) with nylon pulley (3) into the bracket using bolt (1), washers (4), and nylon nut (5).
Attach snap links (6) to cable ends (10, 14) and secure top snap link (13) to the Leg Extension Bracket.
| Brand | Powerline |
|---|---|
| Model | BSGLPX |
| Category | Fitness Equipment |
| Language | English |