switch panel). When you are ready to cut paper, press the CLAMP/BLADE switch and the BLADE switch.
7. After the cutting cycle is complete, the Blade and Clamp automatically return to the up position. You may reposition
the back gauge (step 6) and make the next cut (step 4).
6.3 Automated Mode Setup
NOTE: The controls were previously discussed in Section 3.0 of this manu-
al. Please refer to Section 3.0 if you have any questions concerning the
function of a particular control or key.
When the electric cutter is activated, the LCD will briefly show the Martin Yale logo and
software revision:
1. False Clamp - This section controls the minimum cutting distance (1.37" without the
false clamp, 2.37" with the false clamp). If you do not install the false clamp, press 1.
2. Back Gauge Free to Move? (With valid back gauge position.) or
Warning! Unknown Back Gauge Position. Back Gauge Free to Move? (When back gauge position is not valid.)
Press the ENTER key to move the back gauge toward the Home position at the appropriate speed.
3. Position: xx.xxx Speed: Fast
4. Press the MODE key.
5. Press 1 for Automatic Mode or 2 to Retrieve a Stored Set. Pressing 1 will select the
last pre-defined program. The back gauge moves to the first cutting position. When
the back gauge stops moving, you can review the program by pressing ENTER.
Press 2 to initiate the prompt, “Set Number? 0 to 9.” When you select a program, the
values of that program are displayed. To select a different program, simply enter a new set number.
NOTE: Your PowerLine
TM
Cutter has been factory programmed for test purposes. You may reprogram
the settings by following instructions in Sec. 6.4.
When the required setup is indicated, press the ENTER key. The display will show:
The Auto Advance feature will automatically move the back gauge to the next pro-
grammed position. To select Auto Advance, press the SPEED key.
NOTE: The front safety cover must be in the lowered position before the clamp
or blade will operate.
The back gauge moves to the first cutting position. To verify the setup, move the back
gauge through the pre-defined program positions by pressing the Next or Last keys.
6. Position the paper stack against the back gauge and either the left or right guides. Press
the Reset switch (1). Lower the front safety cover. If all safety conditions are met, the
amber colored Ready Light illuminates indicating the machine is ready for the cutting
cycle.
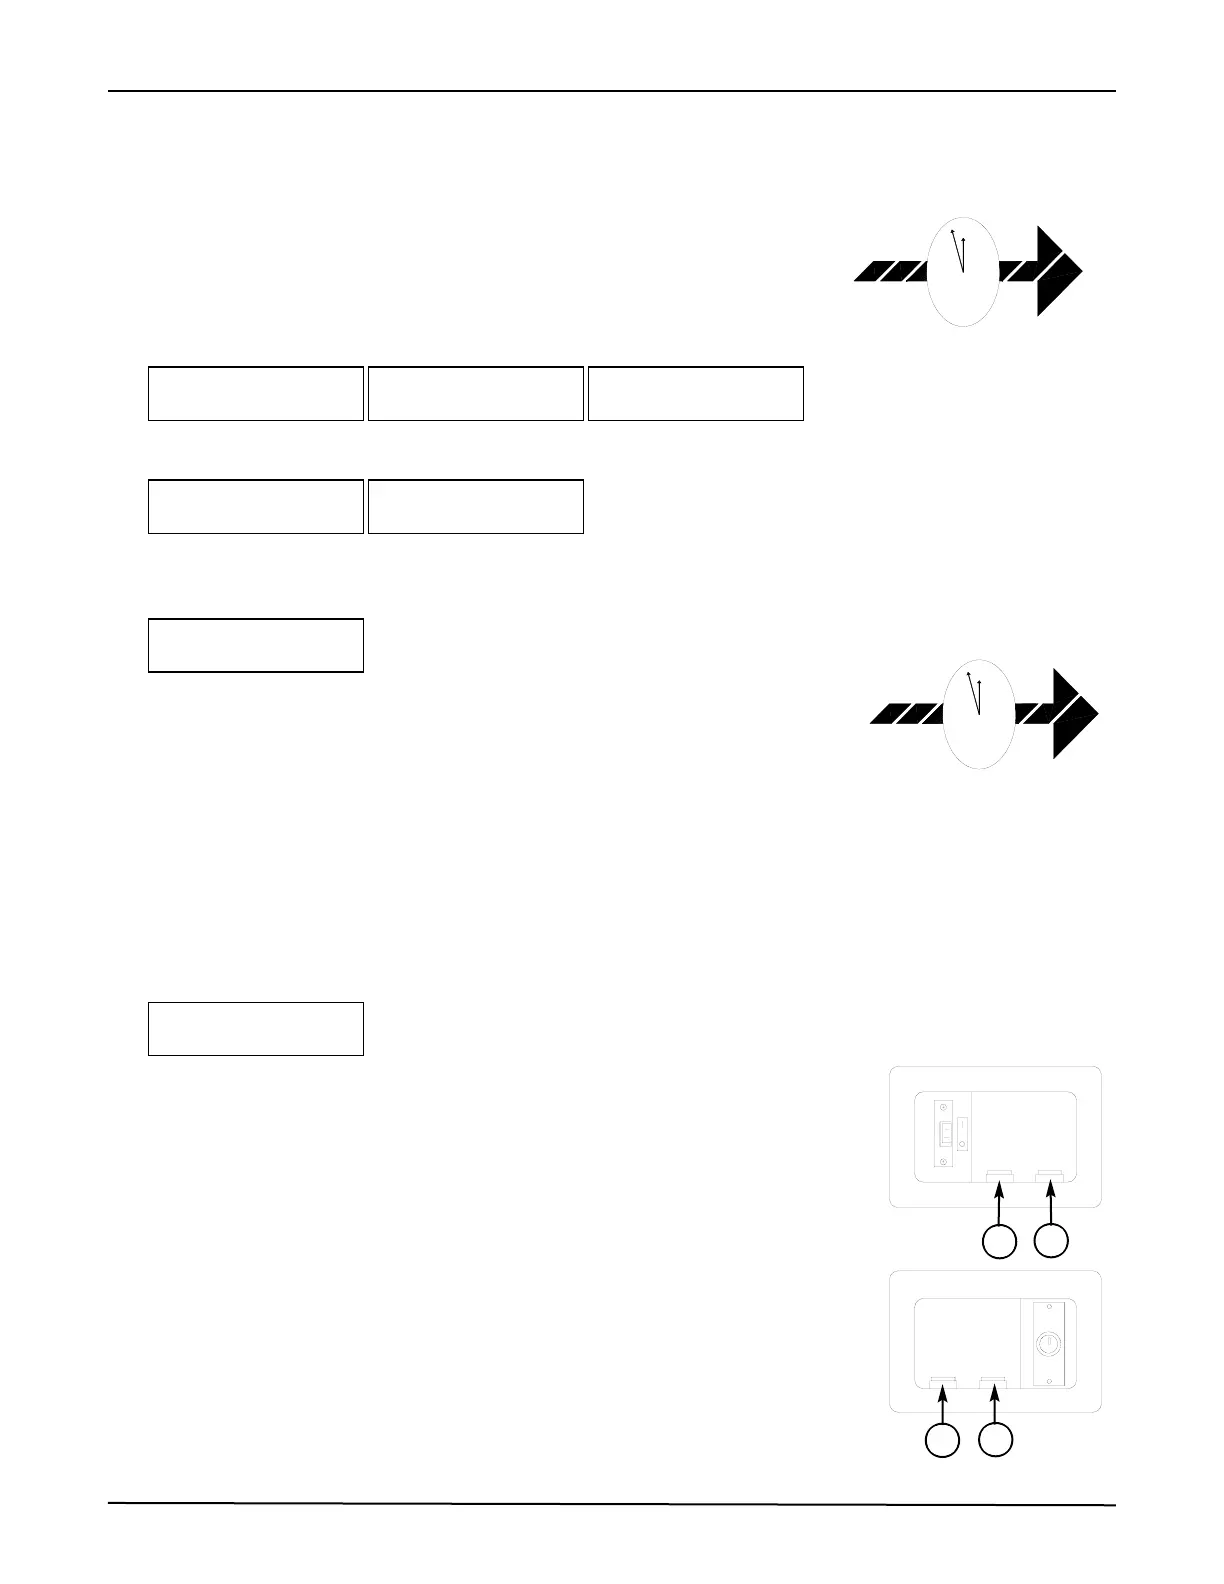
The clamp and blade can be operated simultaneously or independently. To operate simul-
taneously, press and hold the CLAMP/BLADE switch (2) and the Blade switch (3). To
operate the clamp independently, press and hold the CLAMP/BLADE switch (2) and the
Clamp switch (4). When you are ready to cut paper, press and hold the CLAMP/BLADE
switch and the Blade switch.
Position: xx.xxx
Auto Advance OFF
Position xx.xxx
Speed: Fast
Warning! Unknown Back Gauge
Position
Back Gauge Free To Move?
Back Gauge Free To Move?
Hit Enter Key
False Clamp
1 = No or 2 = Yes
Smart Back Gauge
Rev. xx.xx
(Logo)
Martin Yale
PowerLine
TM
Operating Instructions
8
 Loading...