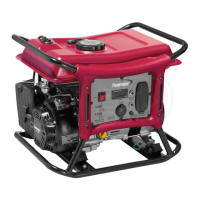
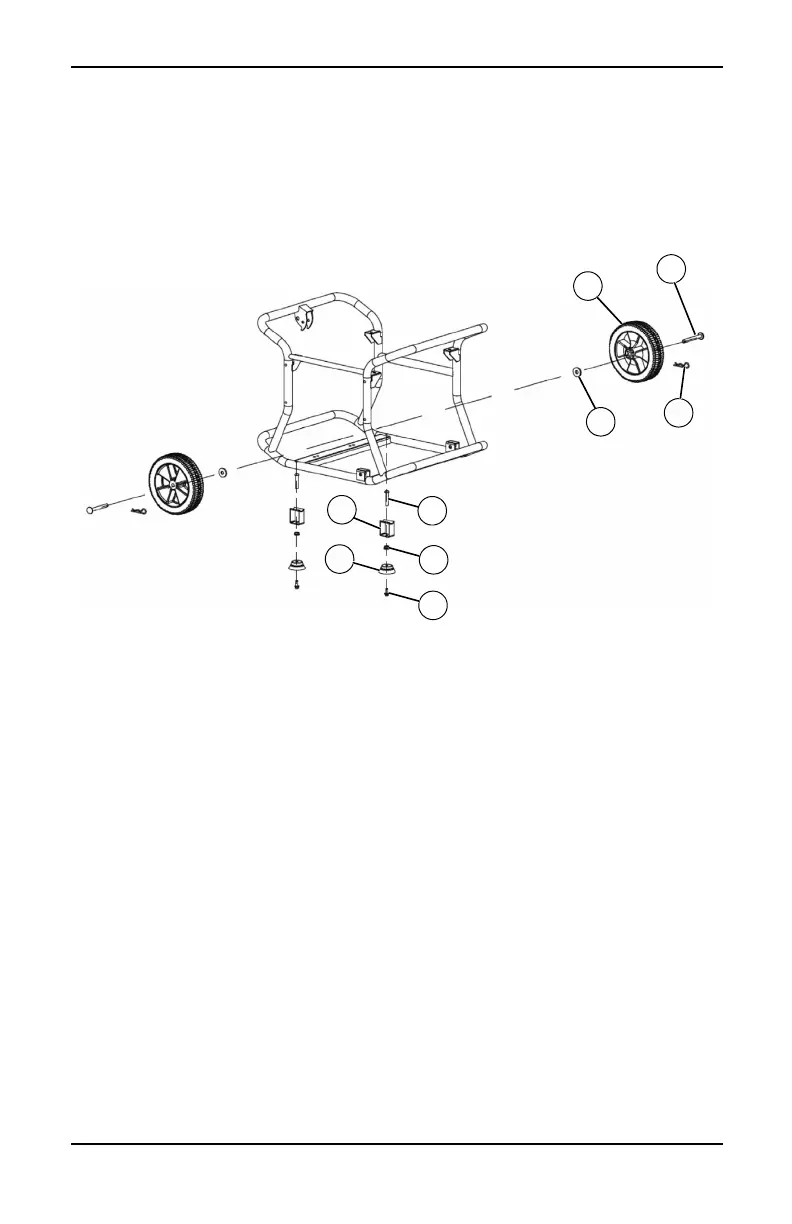
8 Owner’s Manual for Portable Generator
CX3500
See Figure 2-11.
Install wheels as follows:
1. Slide axle pin (2) through wheel (1), M10 x
4mm flat washer (6), and frame.
2. Insert cotter pin (3) through axle (2). Bend
tabs (of cotter pins) outward to lock into
place.
Install frame foot assembly as follows:
1. Slide rubber foot (5), M6 nyloc nut (9), and
foot spacer (4) onto M6 x 25 bolt (7).
2. Align through holes in frame rail and
secure with M8 x 65 bolt (8).
.
Figure 2-10. Wheel and Foot Assembly (CX3500)
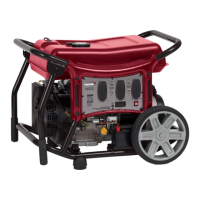
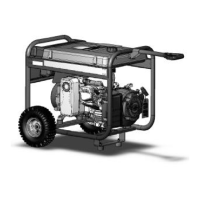
CX5500
See Figure 2-11.
Install wheels as follows:
1. Slide axle pin (3) through wheel (1), M12 x
4mm flat washer (7), and frame.
2. Install M12 x 4mm flat washer (7) and
insert cotter pin (4) through axle (3). Bend
tabs (of cotter pins) outward to lock into
place.
Install frame foot assembly as follows:
1. Slide M8 flat washer (9), rubber foot (6),
foot spacer (5) onto M8 x 80 bolt (10).
2. Align through holes in frame rail and
secure with M8 nyloc nut (12).
Install handle as follows:
1. Slide M8 x 50 bolt (10) through handle
bracket and handle (2). Secure with M8
nyloc nut (12).
 Loading...