11
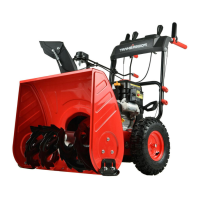
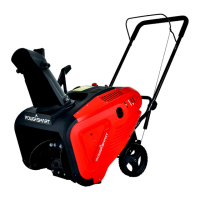
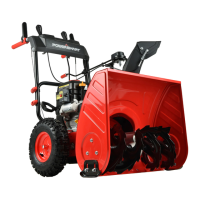
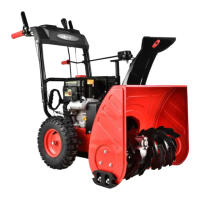
Assembling Your Snow Thrower
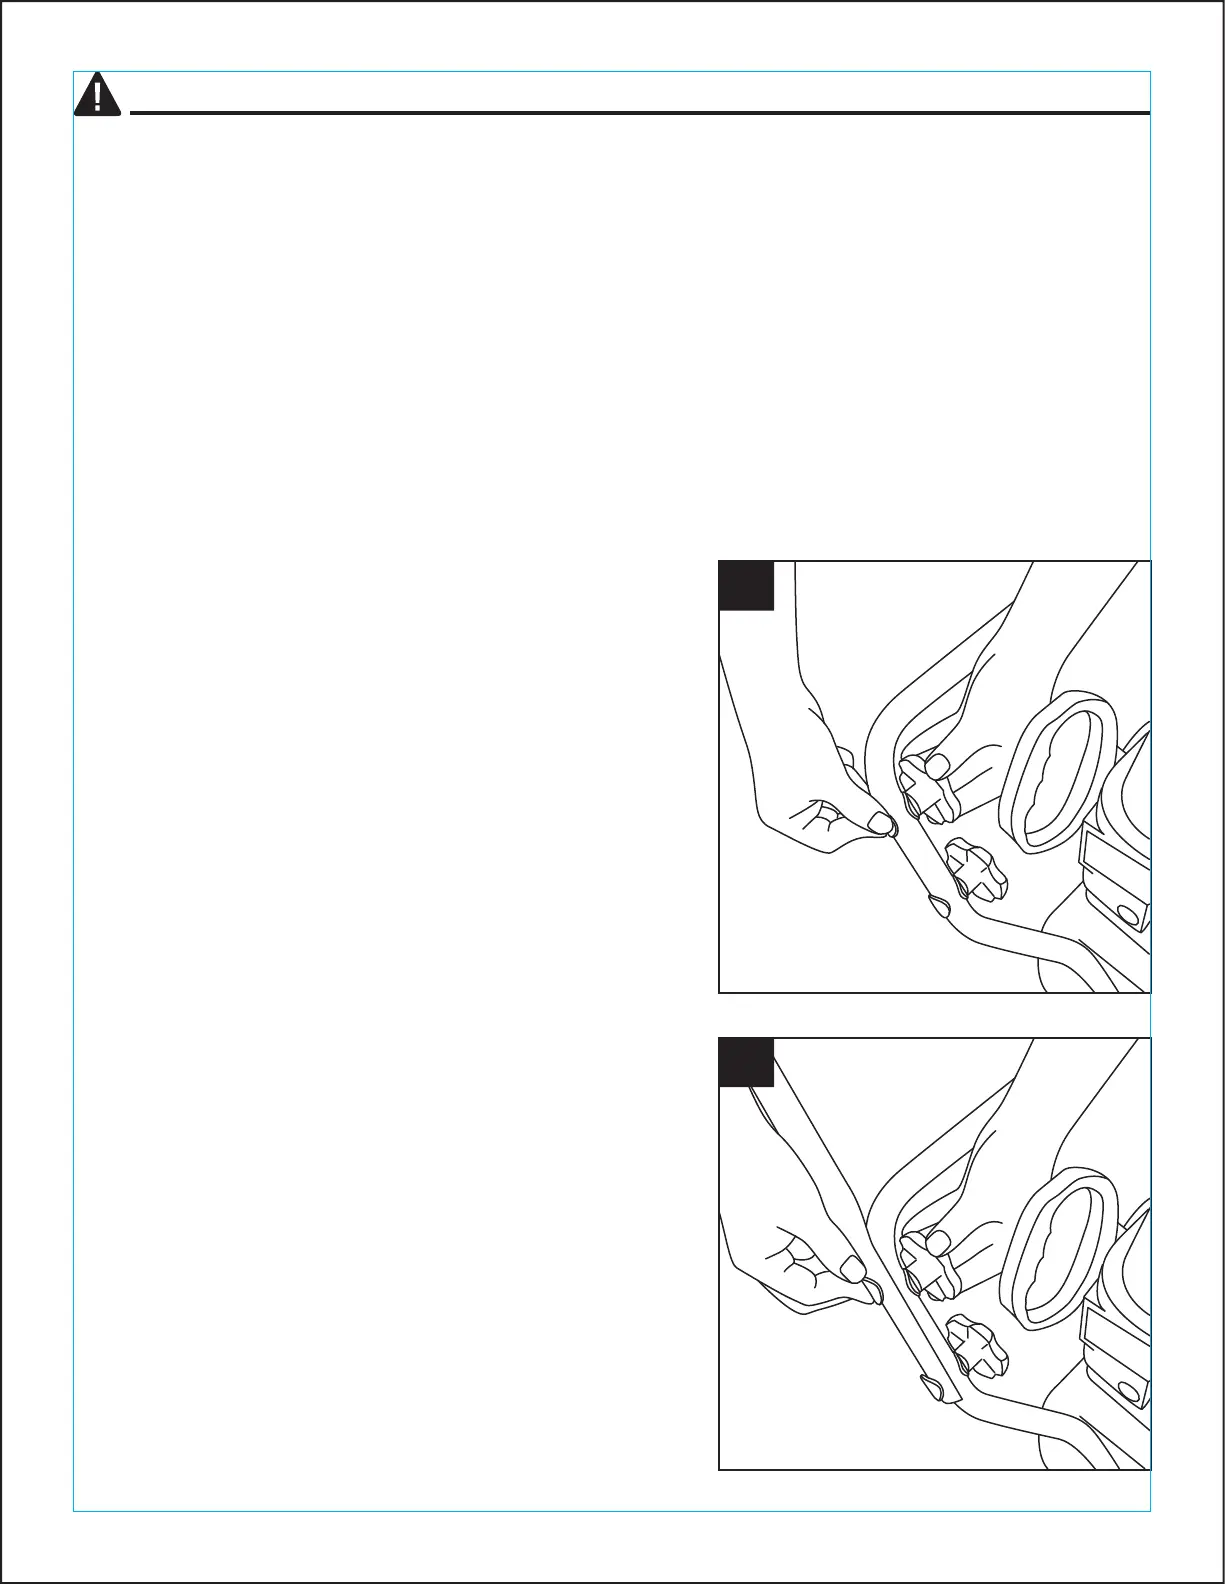
2. Loosen and remove the joint fixing knob, saddle
washer and carriage screw on each side of the lower
handle.
1. Remove all protective plastic wrapping from handles.
2
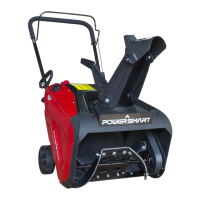
3. Hold the upper handle so that the holes align with the
holes on the lower handle. Insert the carriage screw
into the aligned holes on each side and use the
washers and joint fixing knobs to secure the
connections on both sides. The carriage screws
should be inserted from the outside of the frame of the
unit so that the saddle washers and joint fixing knobs
are fastened to the inside of the frame.
CAUTION: Be careful not to bend or kink the cables.
3
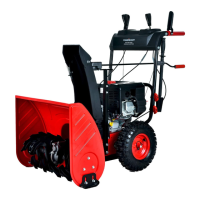
Contents of Carton
Check to make sure that the carton includes all of the following:
One Snow Thrower
Two Replacement Auger Shear Pins
One Chute Assembly
One Snow Thrower Operator’s Manual
One Engine’s Manual
Lower and Upper Handle Assembly