regularly.
To check if the belt needs to be lubricated, simply lit each side of the belt with your
hands and feel the top surface of the running deck. If it is slick to the touch, then no
lubrication is required. If it is dry to the touch, then lubricate.
To lubricate (where required):
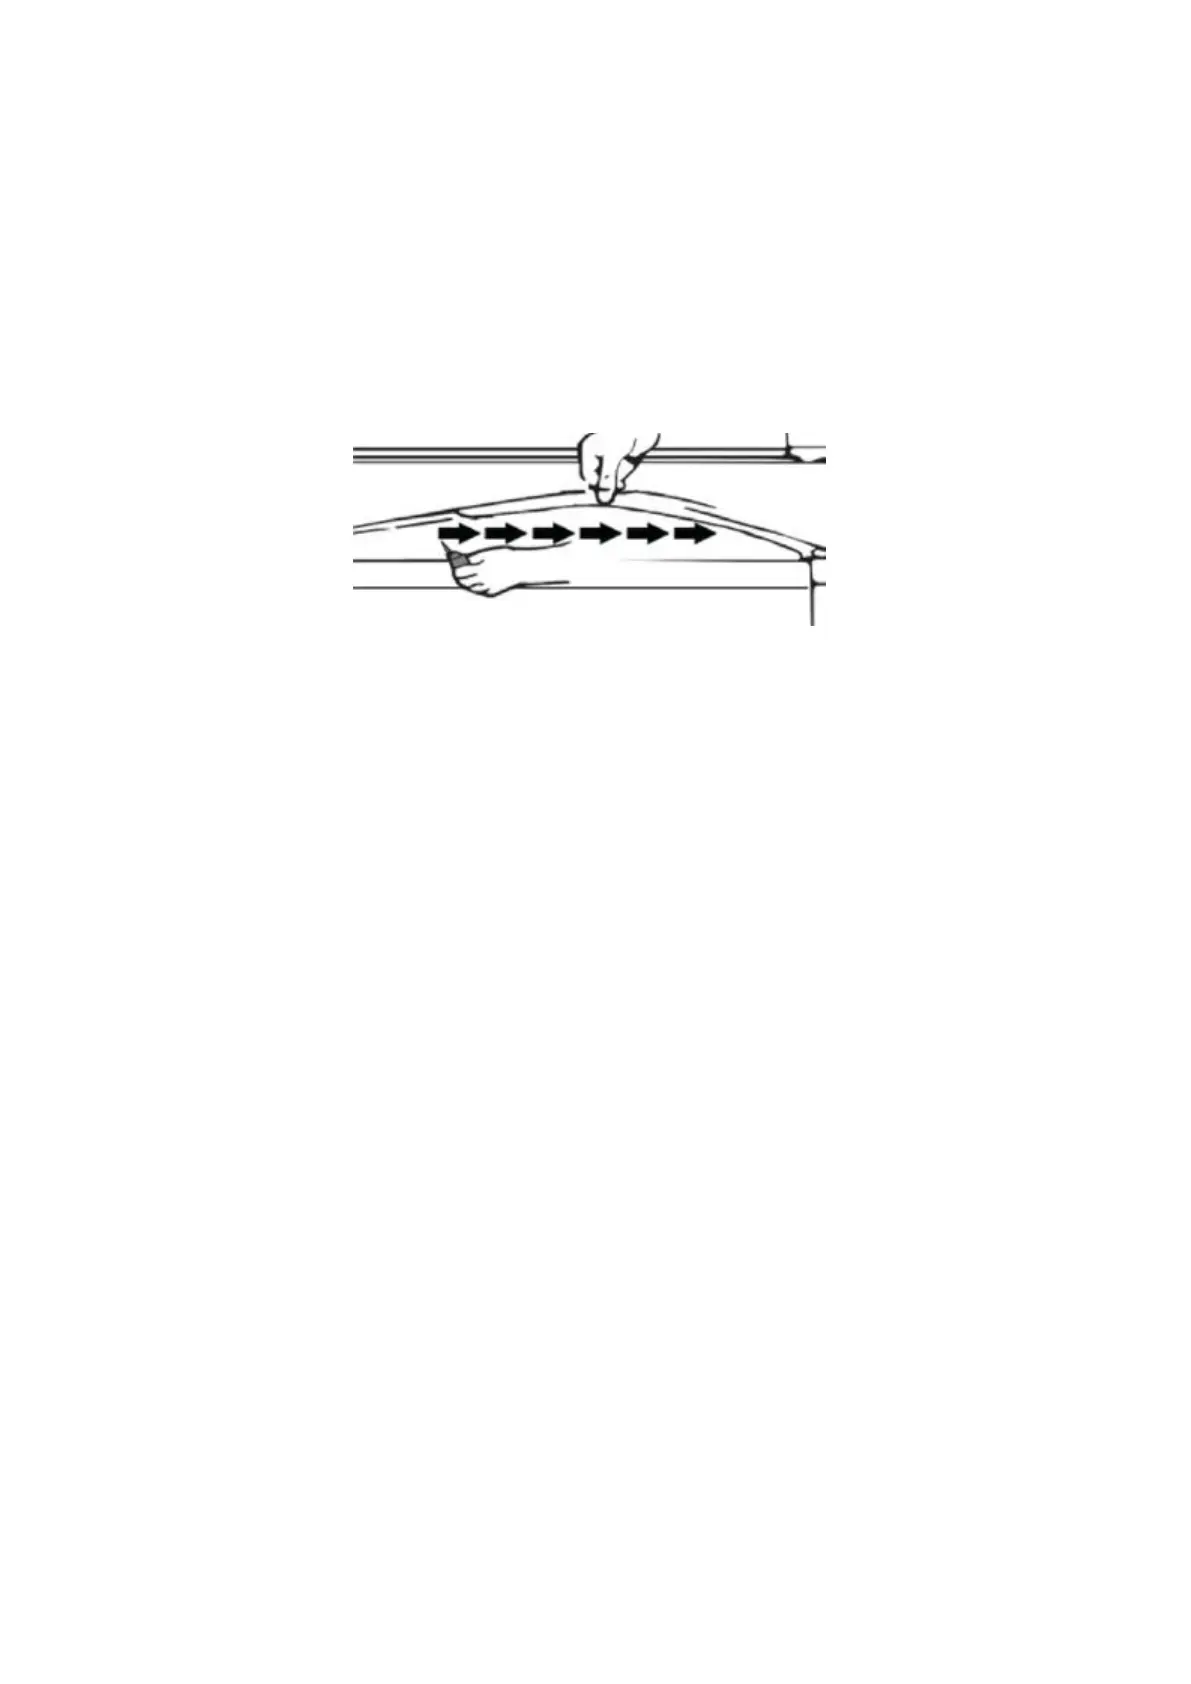
o Lift the edge of the running to expose the running deck.
o Place a few drops of the lubricant (all purpose household oil or sewing machine
oil is suitable) along the centre of the running deck
o Run the treadmill (without the user) at a slow speed for up to 5 minutes to evenly
distribute the lubricant.
CAUTION: Do not over lubricate. Wipe away excess lubricant from the belt.
If the board’s surface is damaged, please contact our customer service center to
purchase replacement parts.
We recommend applying lubricant between running belt and running board:
o Infrequent user (use less than 3 hours a week) - once per month;
o Frequent user (use more than 7 hours a week) - once a fortnight.
To safeguard your treadmill and extend the life of the unit, it is recommended that after 2
hours of continued use, the machine be switched off and allowed to cool for a minimum
of10 minutes before using it again.
If the treadmill belt is loose, it will skid when running. Conversely, if it’s too tight, it may
reduce motor performance and harden the abrasion of roller and the running belt.
You can lift two sides of the running belt for 50-75mm to adjust the tightness.
Adjusting alignment and tightness
The running belt is adjusted at the factory, however after prolonged use it may stretch
and will require to be re-tensioned. For best use, it may be required to adjust the running
belt for its optimum alignment.
Running Belt alignment
Place treadmill flat on the floor but do not stand on it.
Turn on treadmill and set the speed at 6-8km/hour .
If the running belt is shifting to the right, rotate the right adjusting bolt with 1/2 turn
clockwise, then rotate the left adjusting bolt with 1/2 turn counter-clockwise. (Picture A)
If the running belt is shifting to the left, rotate the left adjusting bolt with 1/2 turn
clockwise, then rotate the right adjusting bolt with 1/2 turn counter-clockwise. (Picture B)
 Loading...