MW
45
Tighten the 8 M16x150 screws starting cross-wise from the 4 inner screws, to then continue
with the 4 outer screws, always tightening cross-wise
Calibrate the M16x45 suction and outlet cover screws with a torque wrench as indicated in paragraph 3
“Screw tightening calibration”.
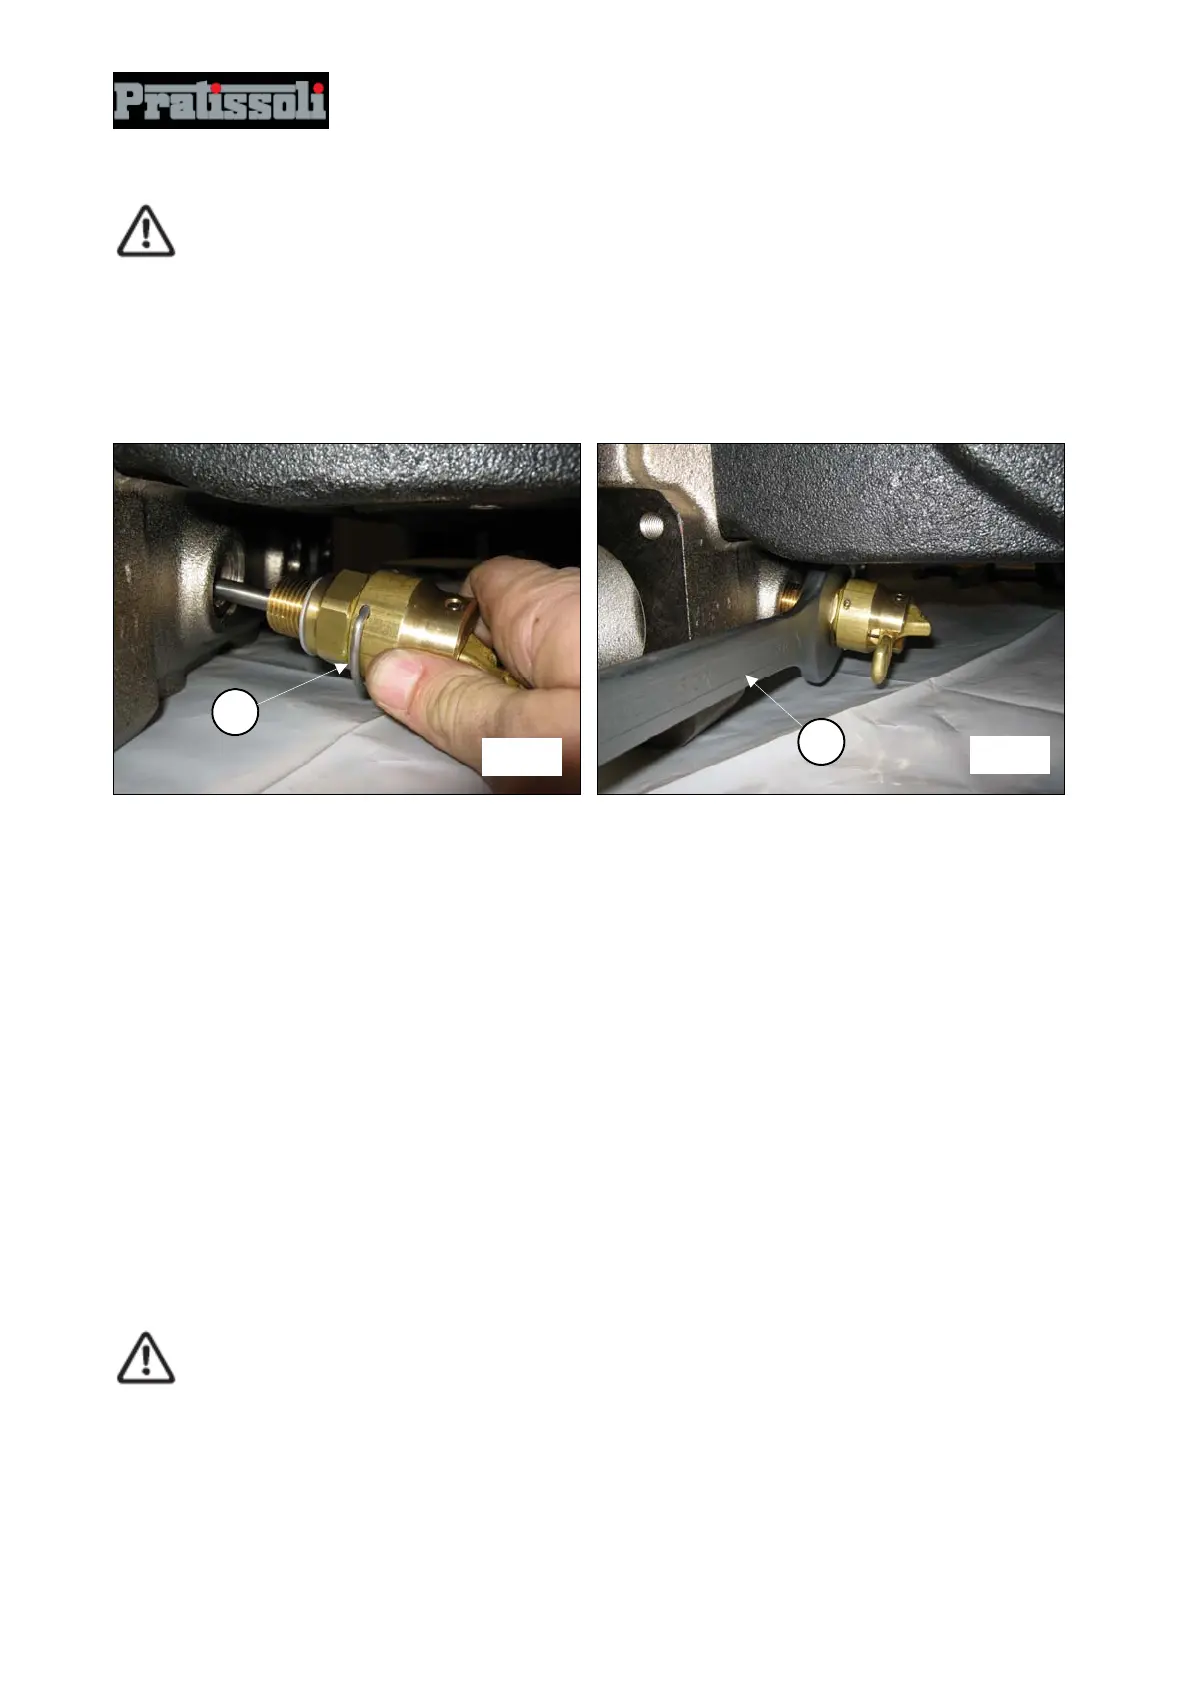
Apply the valve opening devices (pos.c, fig.165) and screw them in with the use of a 30 mm spanner
(pos.c, fig.166).
Apply the G1/2" plugs on the lower part of the head with relative washers.
Proceed with calibration of the G1/2” plugs with a torque wrench as indicated in paragraph 3 "Screw
tightening calibration”.
Apply the G1/4" plugs on the front of the head with relative O-rings.
Proceed with calibration of the G1/4” plugs with a torque wrench as indicated in paragraph 3 "Screw
tightening calibration”.
2.2.5 Dismantling the piston unit – supports – seals
The piston unit requires preventive checks as indicated in the preventive maintenance table in the use and
maintenance manual.
Maintenance is limited to visual inspection of any drainage from the hole present on the lower inspection
cover. If abnormalities / variations on the outlet pressure gauge or dripping from the drainage hole circuit are
detected, the seal pack will have to be checked and replaced.
Proceed as follows to extract piston units:
To access the piston unit, unscrew the M18x180 screws (for MW32-MW36-MW40) or M16x150 screws (for
MW45-MW50-MW55) and remove the head.
Remove the head taking care to avoid hitting the pistons
fig. 165
1
fig. 166
1
 Loading...