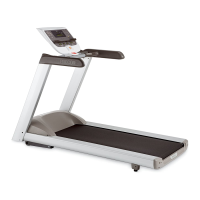
9.33, 9.35 240V Treadmill
Page 36
Procedure 6.3 - Replacing the Power Control Module
1. Set the treadmill’s on/off switch in the “off” position and remove the AC line cord from the AC
outlet.
2. Remove the treadmill’s hood.
3. Disconnect the COMM, INCLINE, INPUT, DB and OUTPUT connectors from the power
control module. See Diagram 5.3 and 5.4.
4. Remove the four screws that mount the power control module. See Diagram 6.3.
Diagram 6.3 - Power Control Module Mounting
5. Set the replacement power control module in its mounting position.
6. Fasten the power control module with the four screws removed in step 4.
7. Reconnect the COMM, INCLINE, INPUT, DB and OUTPUT connectors removed in step 3.
The mating connectors on the power control module are polarized, therefore they can not be
reconnected incorrectly.
8. Replace the treadmill’s hood.
9. Thoroughly check the treadmill per Section 3.
Mounting
Screw
Power
Control
Module

 Loading...