EST100/EST200
Installation Instructions Visit the Premier Mounts website at http://www.mounts.com Page 9
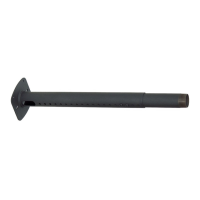
Step 5
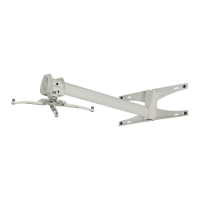
Put the projector arm cover plate on the projector arm.
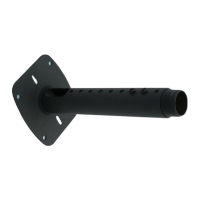
Projector Arm
Projector Arm
Cover Plate
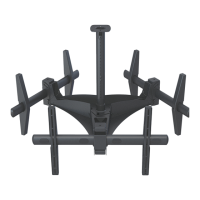
Step 6
Place the projector arm assembly within the desired
mounting slots on the back plate.
®
Use four (4) M5 x 10mm security screws, four (4)
M5 at washers and four (4) sleeve bushing nylons
to attach the projector arm assembly to the back
plate.
The elongated mounting slots in the back plate
allow some lateral shift for precisely adjusting the
projector arm.
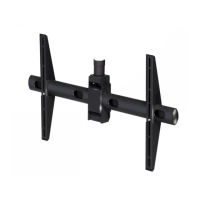
Use four (4) #14 x 2” wood screws to mount the back
plate to the wooden studs where the pilot holes are.
The elongated mounting slots in the back plate allow
some lateral shift for precise adjustments against
the studs.
Proceed to the “Throw Distance Calculation” section
on page 10.
Step 7