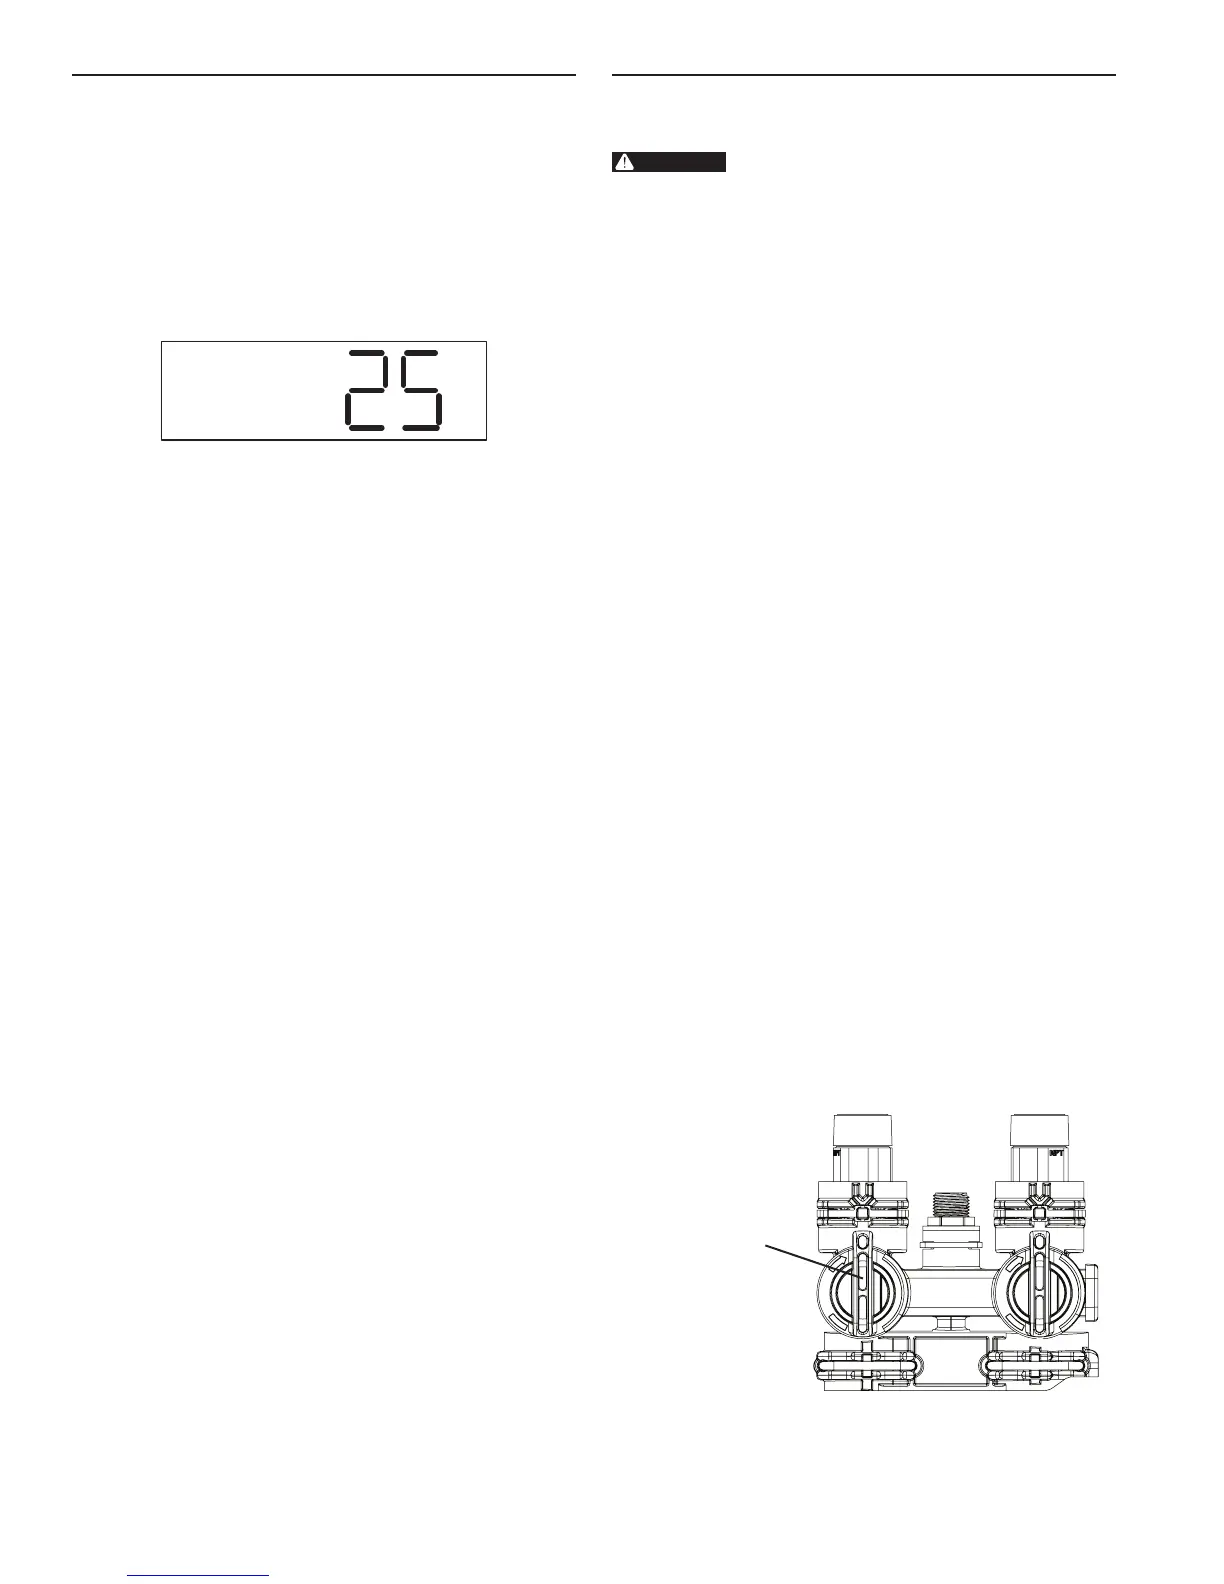
3. Enter the hardness of the water - The controller starts
(defaults) at a hardness of 25 gpg. Check your water for
the actual hardness. Press the Water Hardness button to
display the current settings. To change the setting press
the button again within 5 seconds. To rapidly increase the
setting push and hold the Water Hardness button. Release
the button and the setting will be saved after 5 seconds. A
hardness setting too high will cause the system to recharge
more often and use more salt and water than what is
needed to soften your water. A hardness setting too low will
cause the system to recharge less often. The system may
pass hard water shortly before it recharges.
Figure 21 Step 3
Programming is complete. The controller will begin normal
operation if no button is pushed for 5 seconds.
During normal operation (Service mode) the display will
show the current time of day with the colon blinking. This will
alternate with a display of the gallons remaining to be treated
before recharge.
RECHARGE continued PLACING SOFTENER INTO OPERATION
After you have performed the previous initial power-up steps,
you will need to place the softener into operation. Follow these
steps carefully.
WARNING:
If the inlet water valve is opened too rapidly
or too far, media may be lost out of the tank
into the valve or the plumbing. In the 1/4
open position, you should hear air slowly
escaping from the valve drain line.
NOTE: We recommend that you do not put salt into the
tank until after the control valve has been put into
operation. With no salt in the tank, it is much easier
to view water ow and motion in the tank.
NOTE: As you advance through each cycle there will
be a slight delay before you can advance to the
next cycle. The hourglass icon will light while the
camshaft is indexing.
Press and hold the Recharge key to start a recharge.
To Advance Recharge Cycles:
• Simultaneously press Time of Day and Recharge to
advance to the next cycle. An hourglass will display while
cam is advancing.
When Cam reaches the next cycle, Time Remaining will
be displayed.
• Repeat pressing Time of Day and Recharge to advance
through each cycle.
• To determine which cycle the controller is in during a
recharge, use Table 1. The time remaining is displayed
on the controller. Find the time remaining below your salt
setting. The cycle column will have the cycle number.
• Press and hold Time of Day and Recharge for 3 seconds
to advance through all remaining recharge cycles.
Hourglass will ash.
Camshaft will advance to service - may take 1 to
2 minutes.
• For cycle times see Table 1.
Before turning on the water supply check the following:
• All plumbing is installed and secured.
• The valve drain line is in place and the end is held
securely at the drain.
• There is no salt in the tank.
• The controller is on and has been programmed following
the three steps. The display should be showing the time
of day with the colon ashing.
• The inlet water is off and the bypass is not in bypass
Both valve
handles pointing
in direction of
water flow
If any of the above are not true please correct the item before
proceeding further.
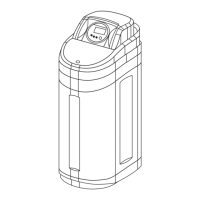
12 • MR12 Premier AF-40K